Windows 10
This section describes how to install, start, stop, and upgrade Driverless AI on a Windows 10 machine. The installation steps assume that you have a license key for Driverless AI. For information on how to obtain a license key for Driverless AI, visit https://www.h2o.ai/driverless-ai/. Once obtained, you will be prompted to paste the license key into the Driverless AI UI when you first log in, or you can save it as a .sig file and place it in the license folder that you will create during the installation process.
Overview of Installation on Windows
To install Driverless AI on Windows, use a Driverless AI Docker image. (While a deb install is still available, the Docker image is the recommended method for installing Driverless AI on Windows).
Keep in mind the following:
GPU support is not available on Windows.
Scoring is not available on Windows.
Caution: This should be used only for experimental purposes and only on small data. For serious use, please use Linux.
Environment
The following Windows 10 environments are supported. Driverless AI cannot be installed on versions of Windows 10 that do not support Hyper-V. Refer to https://docs.microsoft.com/en-us/virtualization/hyper-v-on-windows/reference/hyper-v-requirements for more information.
Operating System |
GPU Support? |
Min Mem |
Suitable for |
|---|---|---|---|
Windows 10 Pro |
No |
16 GB |
Experimentation |
Windows 10 Enterprise |
No |
16 GB |
Experimentation |
Windows 10 Education |
No |
16 GB |
Experimentation |
Docker Image Installation
Watch the installation video here. Note that some of the images in this video may change between releases, but the installation steps remain the same.
Notes:
Be aware that there are known issues with Docker for Windows. More information is available here: https://github.com/docker/for-win/issues/188.
Consult with your Windows System Admin if
Your corporate environment does not allow third-part software installs
You are running Windows Defender
You your machine is not running with
Enable-WindowsOptionalFeature -Online -FeatureName Microsoft-Windows-Subsystem-Linux.
Requirements
Windows 10 Pro / Enterprise / Education
Docker Desktop for Windows 2.2.0.3 (42716) (As of this writing, Driverless AI has only been tested on this version of Docker for Windows.)
Installation Procedure
Retrieve the Driverless AI Docker image from https://www.h2o.ai/download/.
Download, install, and run Docker for Windows from https://docs.docker.com/docker-for-windows/install/. You can verify that Docker is running by typing
docker versionin a terminal (such as Windows PowerShell). Note that you may have to reboot after installation.Before running Driverless AI, you must:
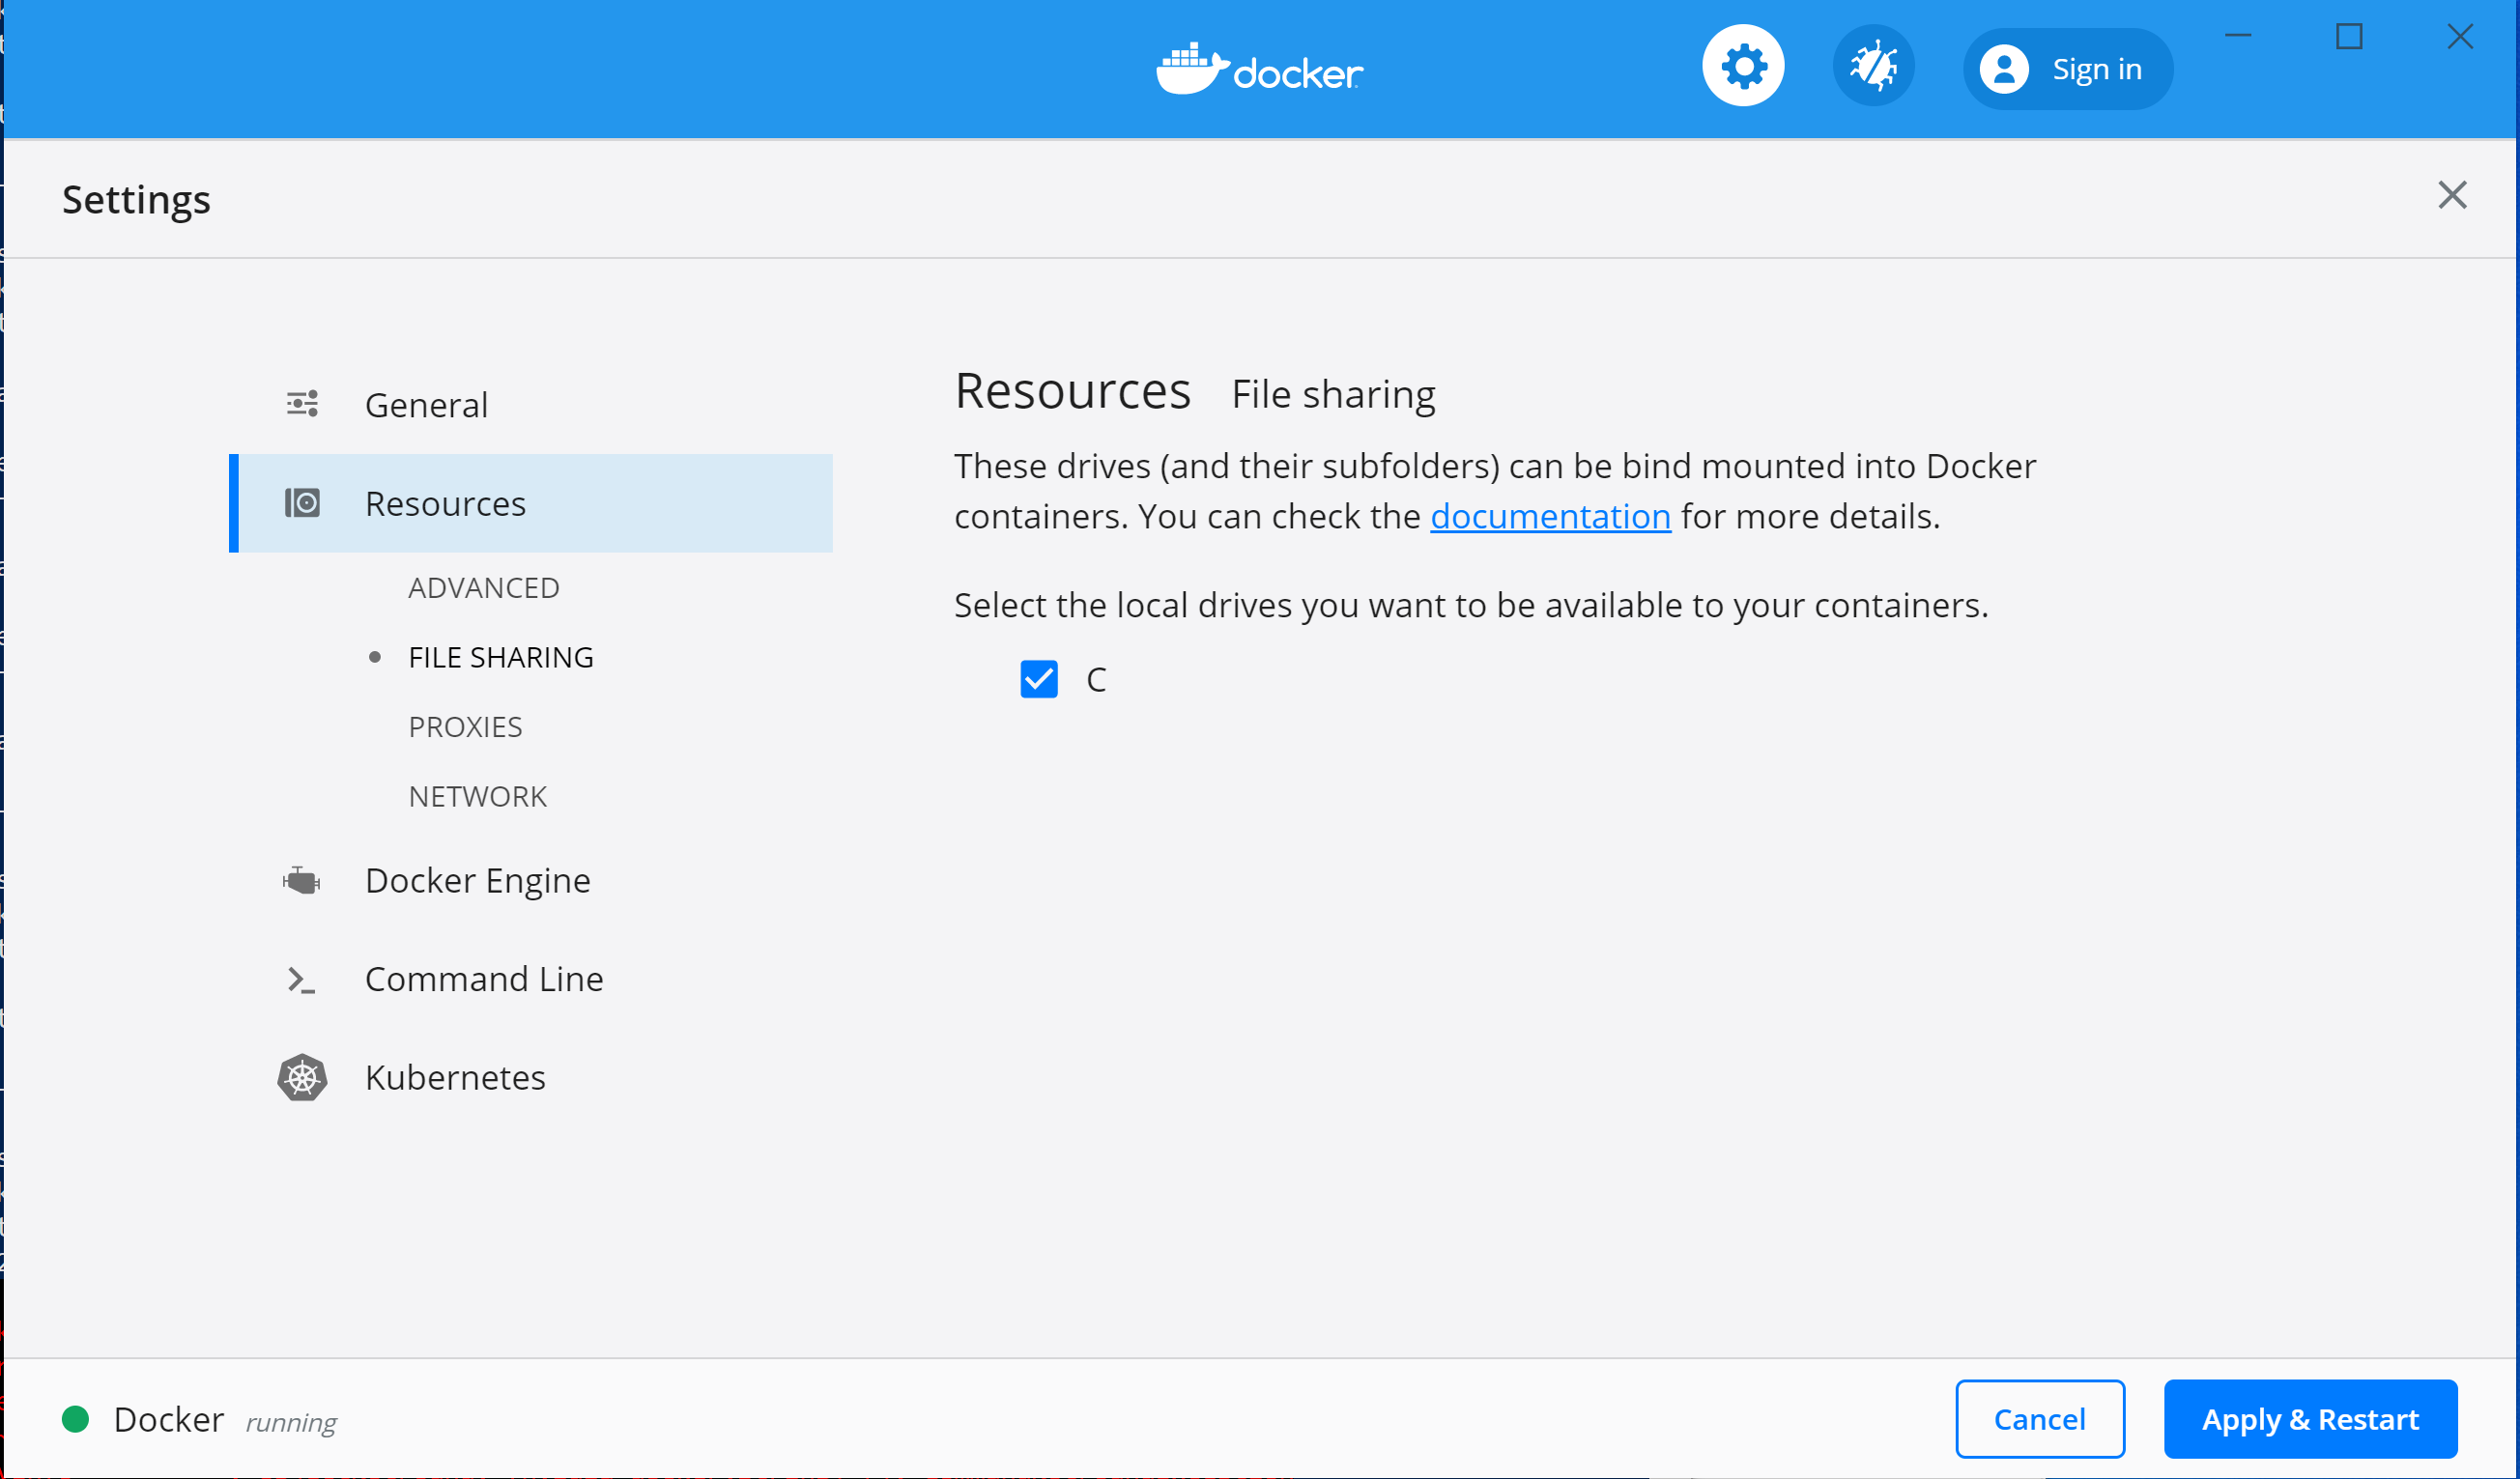
Enable shared access to the C drive. Driverless AI will not be able to see your local data if this is not set.
Adjust the amount of memory given to Docker to be at least 10 GB. Driverless AI won’t run at all with less than 10 GB of memory.
Optionally adjust the number of CPUs given to Docker.
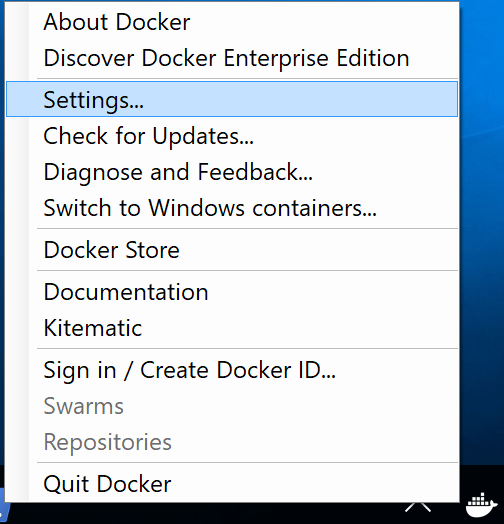
You can adjust these settings by clicking on the Docker whale in your taskbar (look for hidden tasks, if necessary), then selecting Settings > Shared Drive and Settings > Advanced as shown in the following screenshots. Don’t forget to Apply the changes after setting the desired memory value. (Docker will restart.) Note that if you cannot make changes, stop Docker and then start Docker again by right clicking on the Docker icon on your desktop and selecting Run as Administrator.

Open a PowerShell terminal and set up a directory for the version of Driverless AI on the host machine:
md dai_rel_VERSION
With Docker running, navigate to the location of your downloaded Driverless AI image. Move the downloaded Driverless AI image to your new directory.
Change directories to the new directory, then load the image using the following command. Replace VERSION with your image.
cd dai_rel_VERSION
docker load -i .\dai-docker-centos7-x86_64-VERSION.tar.gz
Set up the data, log, license, and tmp directories (within the new directory).
md data
md log
md license
md tmp
Copy data into the /data directory. The data will be visible inside the Docker container at /data.
Run
docker imagesto find the image tag.Start the Driverless AI Docker image. Be sure to replace
path_to_below with the entire path to the location of the folders that you created (for example, “c:/Users/user-name/driverlessai_folder/data”), and replace TAG with the Docker image tag. Note that this is regular Docker, not NVIDIA Docker. GPU support will not be available.
docker run --pid=host --init --rm --shm-size=256m -p 12345:12345 -v c:/path_to_data:/data -v c:/path_to_log:/log -v c:/path_to_license:/license -v c:/path_to_tmp:/tmp h2oai/dai-centos7-x86_64:TAG
Connect to Driverless AI with your browser at http://localhost:12345.
Stopping the Docker Image
To stop the Driverless AI Docker image, type Ctrl + C in the Terminal (Mac OS X) or PowerShell (Windows 10) window that is running the Driverless AI Docker image.
Upgrading the Docker Image
This section provides instructions for upgrading Driverless AI versions that were installed in a Docker container. These steps ensure that existing experiments are saved.
WARNING: Experiments, MLIs, and MOJOs reside in the Driverless AI tmp directory and are not automatically upgraded when Driverless AI is upgraded.
Build MLI models before upgrading.
Build MOJO pipelines before upgrading.
Stop Driverless AI and make a backup of your Driverless AI tmp directory before upgrading.
If you did not build MLI on a model before upgrading Driverless AI, then you will not be able to view MLI on that model after upgrading. Before upgrading, be sure to run MLI jobs on models that you want to continue to interpret in future releases. If that MLI job appears in the list of Interpreted Models in your current version, then it will be retained after upgrading.
If you did not build a MOJO pipeline on a model before upgrading Driverless AI, then you will not be able to build a MOJO pipeline on that model after upgrading. Before upgrading, be sure to build MOJO pipelines on all desired models and then back up your Driverless AI tmp directory.
Note: Stop Driverless AI if it is still running.
Requirements
As of 1.7.0, CUDA 9 is no longer supported. Your host environment must have CUDA 10.0 or later with NVIDIA drivers >= 410 installed (GPU only). Driverless AI ships with its own CUDA libraries, but the driver must exist in the host environment. Go to https://www.nvidia.com/Download/index.aspx to get the latest NVIDIA Tesla V/P/K series driver.
Upgrade Steps
SSH into the IP address of the machine that is running Driverless AI.
Set up a directory for the version of Driverless AI on the host machine:
# Set up directory with the version name
mkdir dai_rel_VERSION

# cd into the new directory
cd dai_rel_VERSION
Retrieve the Driverless AI package from https://www.h2o.ai/download/ and add it to the new directory.
Load the Driverless AI Docker image inside the new directory. This example shows how to load Driverless AI version. If necessary, replace
VERSIONwith your image.
# Load the Driverless AI docker image
docker load < dai-docker-centos7-x86_64-VERSION.tar.gz
Copy the data, log, license, and tmp directories from the previous Driverless AI directory to the new Driverless AI directory:
# Copy the data, log, license, and tmp directories on the host machine
cp -a dai_rel_1.4.2/data dai_rel_VERSION/data
cp -a dai_rel_1.4.2/log dai_rel_VERSION/log
cp -a dai_rel_1.4.2/license dai_rel_VERSION/license
cp -a dai_rel_1.4.2/tmp dai_rel_VERSION/tmp
At this point, your experiments from the previous versions will be visible inside the Docker container.
Use
docker imagesto find the new image tag.Start the Driverless AI Docker image.
Connect to Driverless AI with your browser at http://Your-Driverless-AI-Host-Machine:12345.