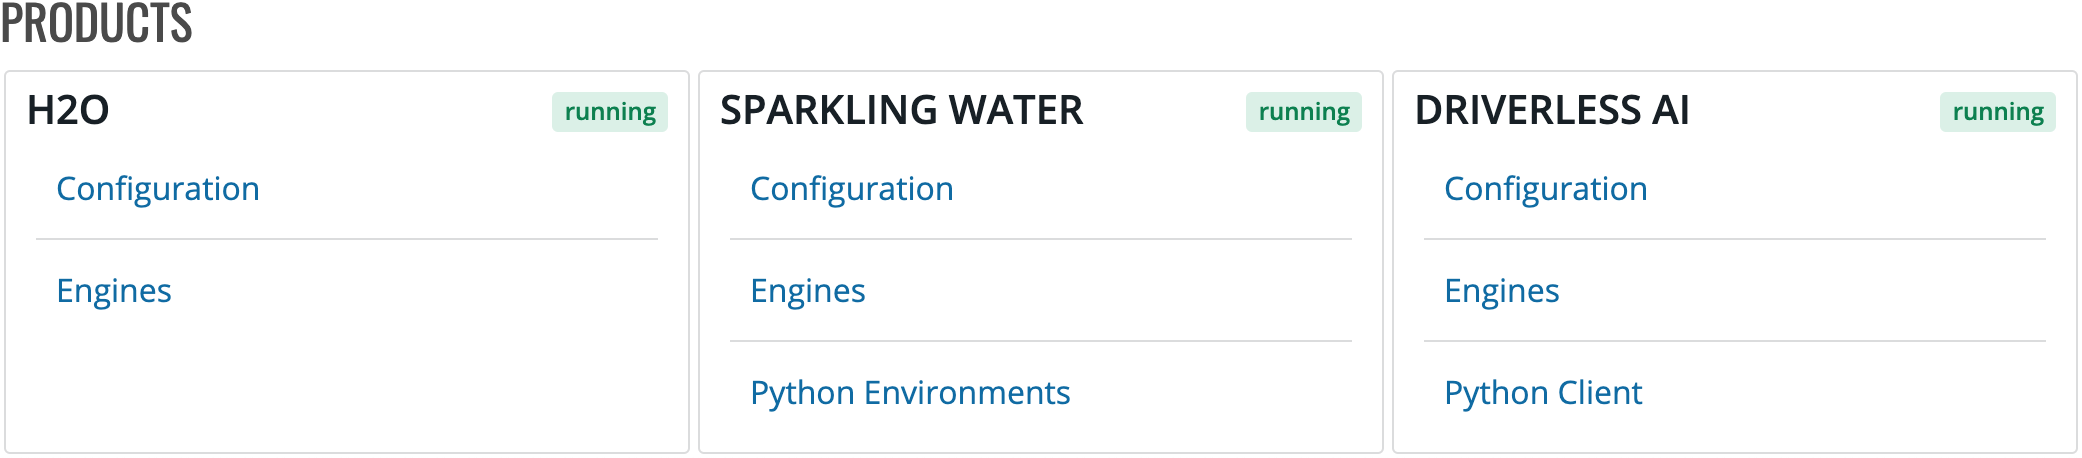
The H2O section allows you to enable Enterprise Steam to work with H2O. From this section, you can also add new H2O engines and specify launch parameters to be used when starting H2O.
When using H2O version 3.30.1.1 or higher Enterprise Steam will launch on-demand XGBoost cluster if it is requested by the original H2O cluster.
Since XGBoost normally requires the H2O cluster to have extra memory this addition saves compute resources.
XGBoost cluster is brought up and shut down on demand.
H2O Configuration allows you to enable Enterprise Steam to work with H2O. When enabled, the default-h2o profiles will be available. (See the Profiles section for more information.)
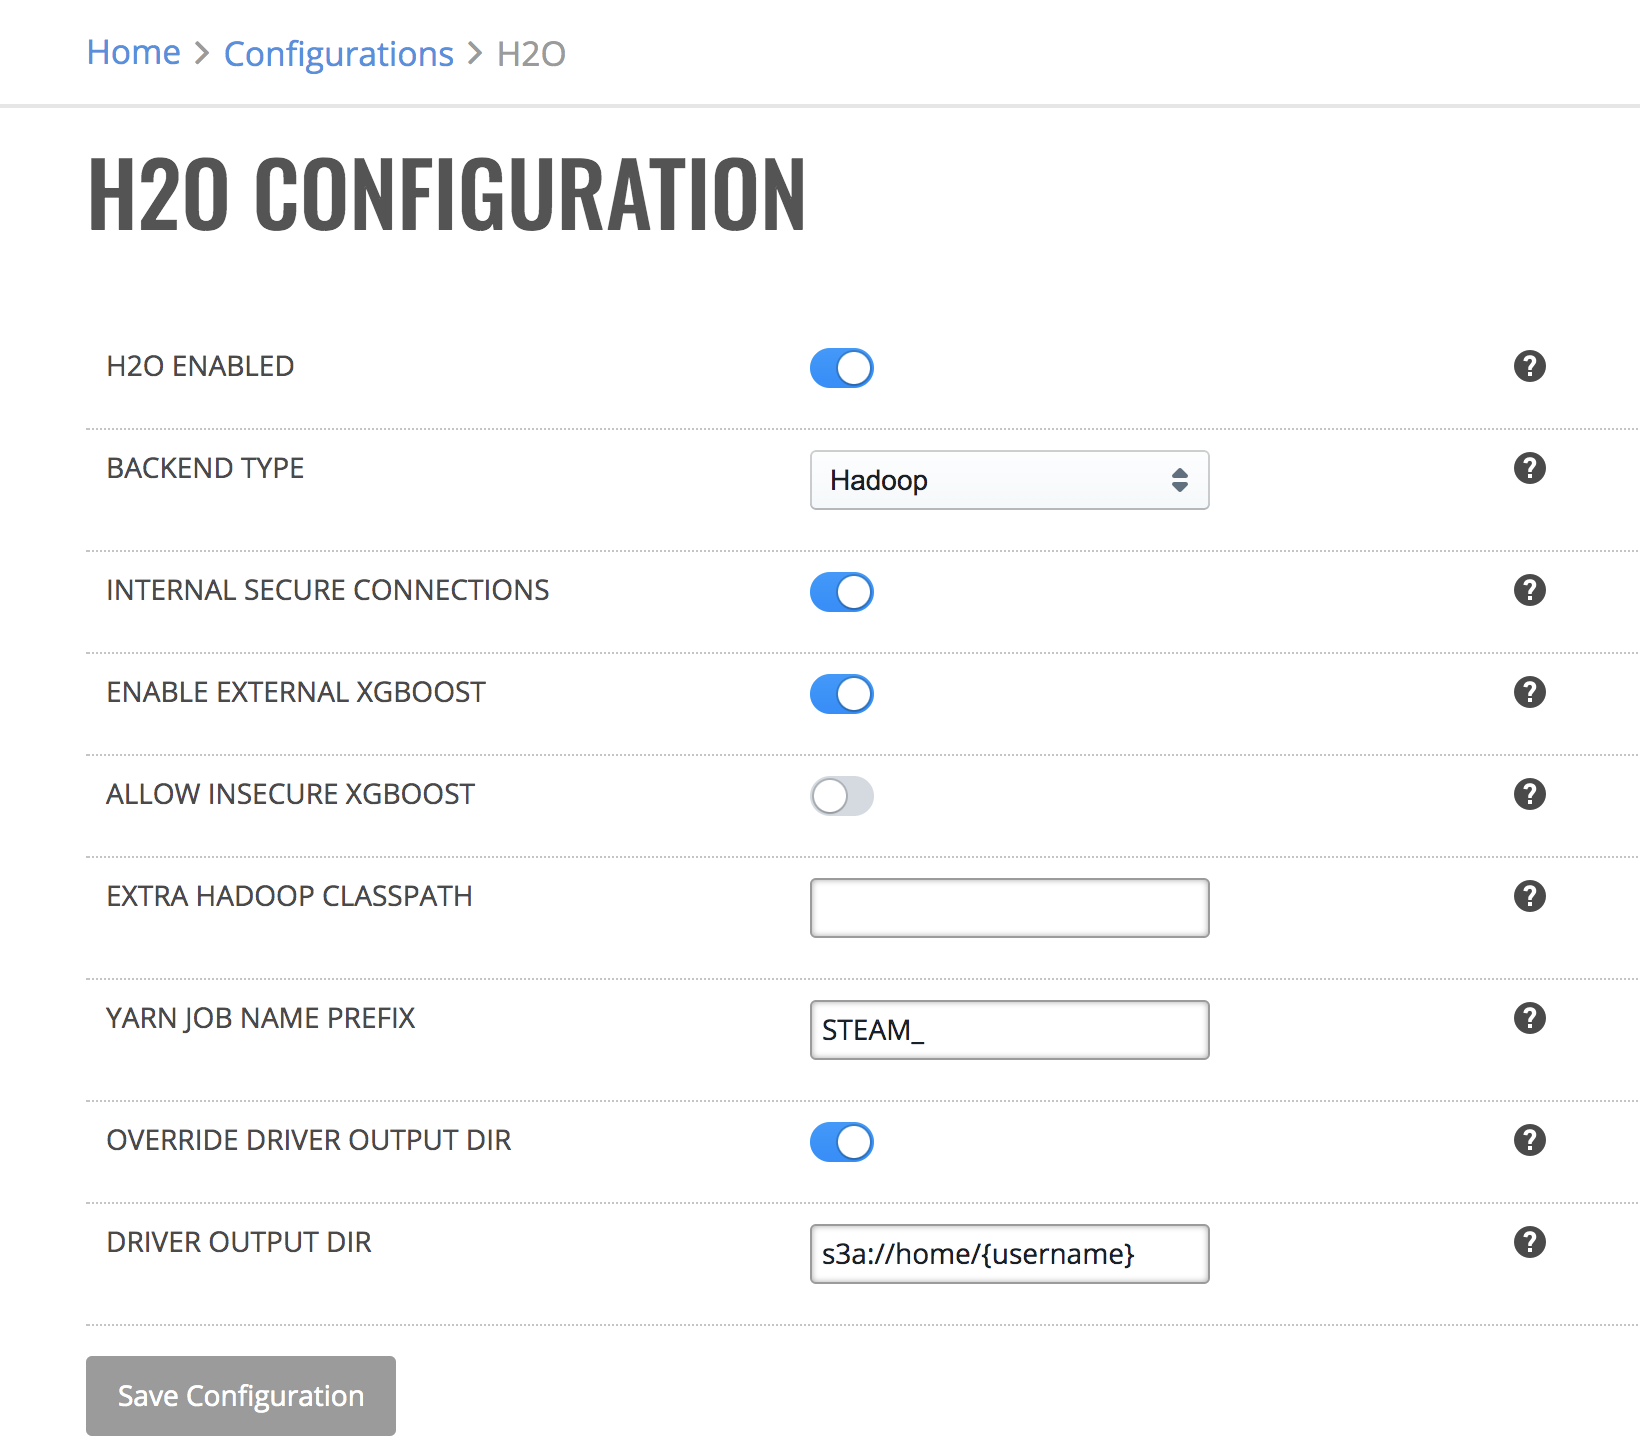
Click the Configuration option under the H2O section.
Enable H2O and select the Hadoop backend.
(Optional) Turn on Internal Secure Connections. This enables SSL internal security.
(Optional) Turn on External XGBoost cluster support as described in the previous section.
(Optional) Allow insecure XGBoost on clusters with Internal Secure Connections enabled.
(Optional) Specify any additional Hadoop CLASSPATH options. These will be added to HADOOP_CLASSPATH when launching H2O clusters.
(Optional) Specify a custom prefix that will appear in front of the jobname in YARN resource manager.
(Optional) Override default H2O driver output directory - this will enable following configuration
(Optional) Specify custom H2O driver output directory. You can use ‘{username}’ as a template that will be replaced with the name of the user launching cluster. Example: ‘s3a://home/{username}/’ expands to ‘s3a://home/john/’.
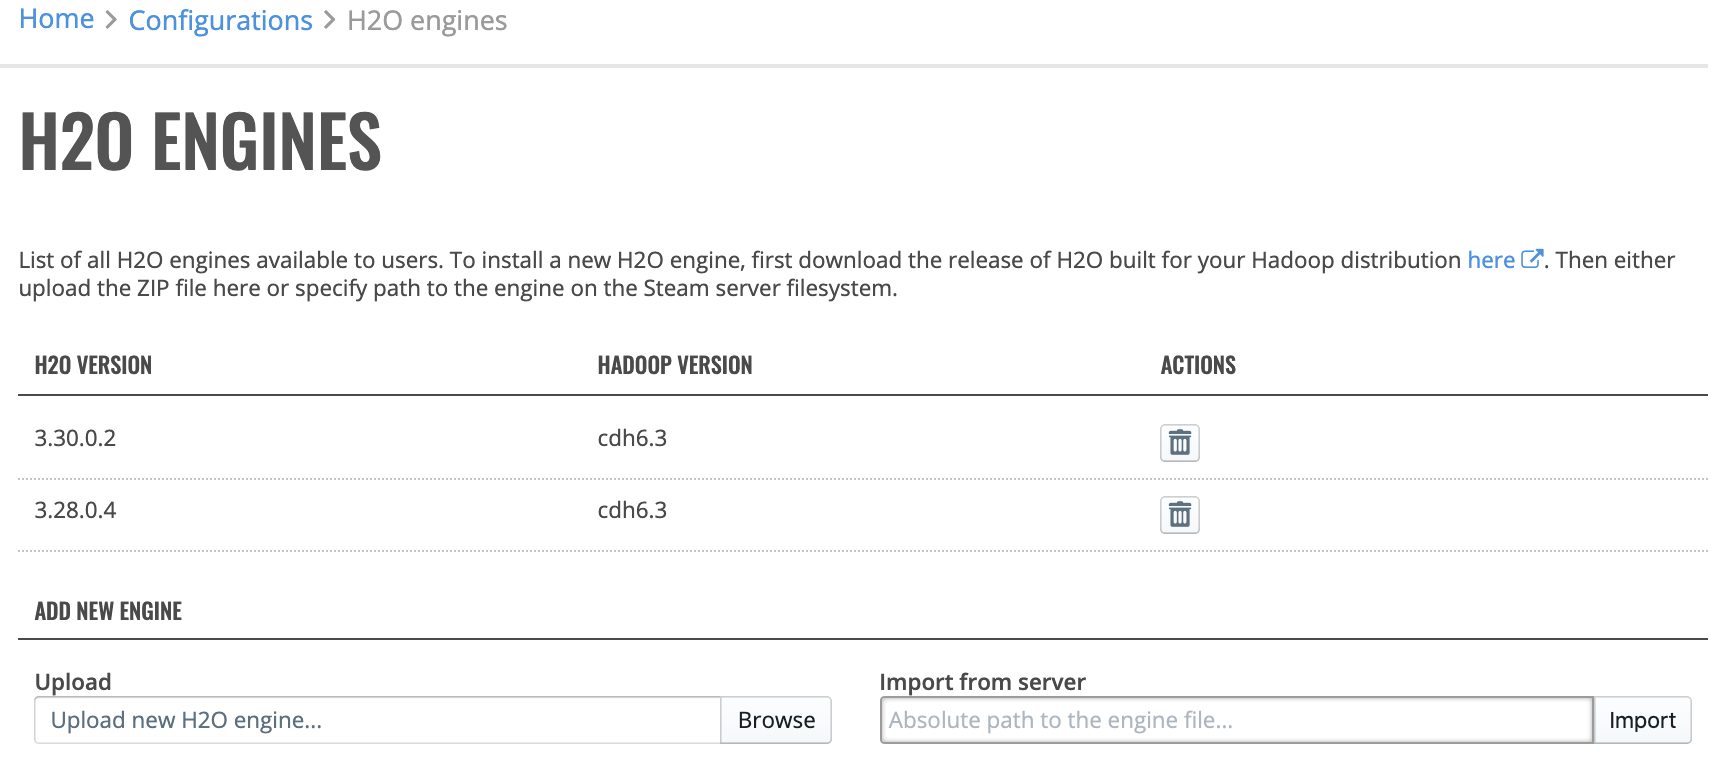
Click the Engines option in the H2O section to view a list of available H2O engines. To install a new H2O engine, download the engine that matches your desired H2O version and Hadoop distribution. Files can be uploaded by clicking the Browse button or imported from the server by providing the absolute path to the engine file and clicking the Import button. You can also delete engines that are no longer needed by clicking on the Remove engine icon next to the engine you want to delete.
Note: The minimum supported version of H2O-3 in Enterprise Steam is 3.10.0.7
The Startup Parameters option in the H2O section allows you to specify startup parameters to be used when starting H2O. A list of parameters that can be specified is available in the H2O-3 User Guide.
Click Add Parameter to add a new startup parameter.
Enter the name of the paramter.
Specify a value for the parameter.
Specify if this paramter is the default or an override.
Specify if this is a Hadoop or H2O Driver parameter.
When using H2O version 3.30.1.1 or higher Enterprise Steam will launch on-demand XGBoost cluster if it is requested by the original H2O cluster.
Since XGBoost normally requires the H2O cluster to have extra memory this addition saves compute resources.
XGBoost cluster is brought up and shut down on demand.
Following sections provide information on how to configure H2O deployment on Kubernetes backend.
Click the Engines option in the H2O section to view a list of available H2O engines.
You can delete engines that are no longer needed by clicking on the Remove engine icon next to the engine you want to delete.
Note: The minimum supported version of H2O-3 in Enterprise Steam is 3.30.0.5
To add a new H2O kubernetes engine, click on Add engine button in the top right corner.
Specify the H2O version of your Docker image.
Copy full image name from Docker Hub or your private repository.
(Optional) Set the image pull policy.
(Optional) Set the image pull secret for your private repository.
The Sparkling Water section allows you to enable Enterprise Steam integration with Sparkling Water. From this section, you can also upload new Sparkling Water engines and new Python environments.
Sparkling Water Configuration allows you to enable Sparkling Water and/or RSparkling. When enabled, the default-sparkling-internal and default-sparkling-external profiles will be available. (See the Profiles section for more information.)
Note: Sparkling Water Jupyter Notebooks are saved to disk at: /opt/h2oai/steam/data/jupyterhub/home/{username}
Note: When using SudoSpawner, Notebooks are saved to disk at: /home/{username}/{NotebookPath}
Note: RSparkling requires all Hadoop worker nodes to have R installed.
All worker nodes also need to have devtools and sparklyr==1.9.4 package installed.
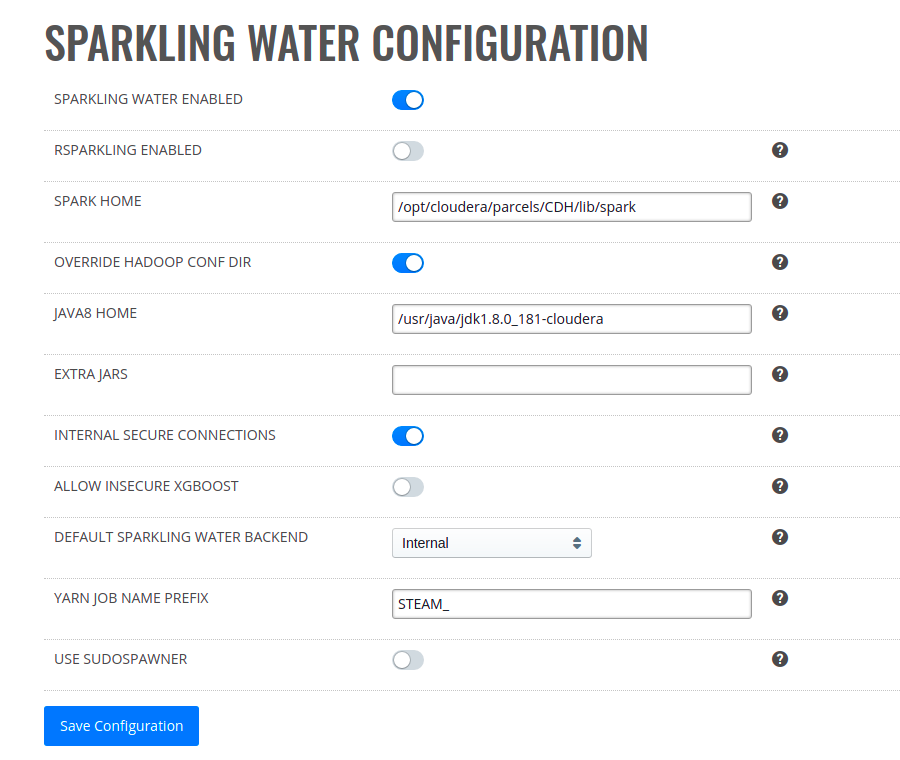
Click the Configuration option under Sparkling Water.
Enable Sparkling Water and/or R Sparkling. See requirements is notes above.
Specify the path to your Spark home directory (SPARK_HOME).
(Optional) Override default HADOOP_CONF_DIR to user defined HADOOP_CONF_DIR (from Hadoop configuration).
Specify the path to your Java 8 home directory (JAVA_HOME).
(Optional) Add a comma-separated list of JAR paths that will be added to the classpath
(Optional) Turn on Internal Secure Connections. This enables SSL internal security.
(Optional) Allow insecure XGBoost on clusters with Internal Secure Connections enabled.
Select a Sparkling Water backend to enforce. You can change this to Internal or External backend.
(Optional) Change prefix to the cluster name that appears in YARN.
(Optional) Enable use of sudospawner for jupyterhub (requires sudoers setup, detailed in Knowledge Base)
(Optional) Set the notebook directory for sudospawner, relative to the user’s home directory
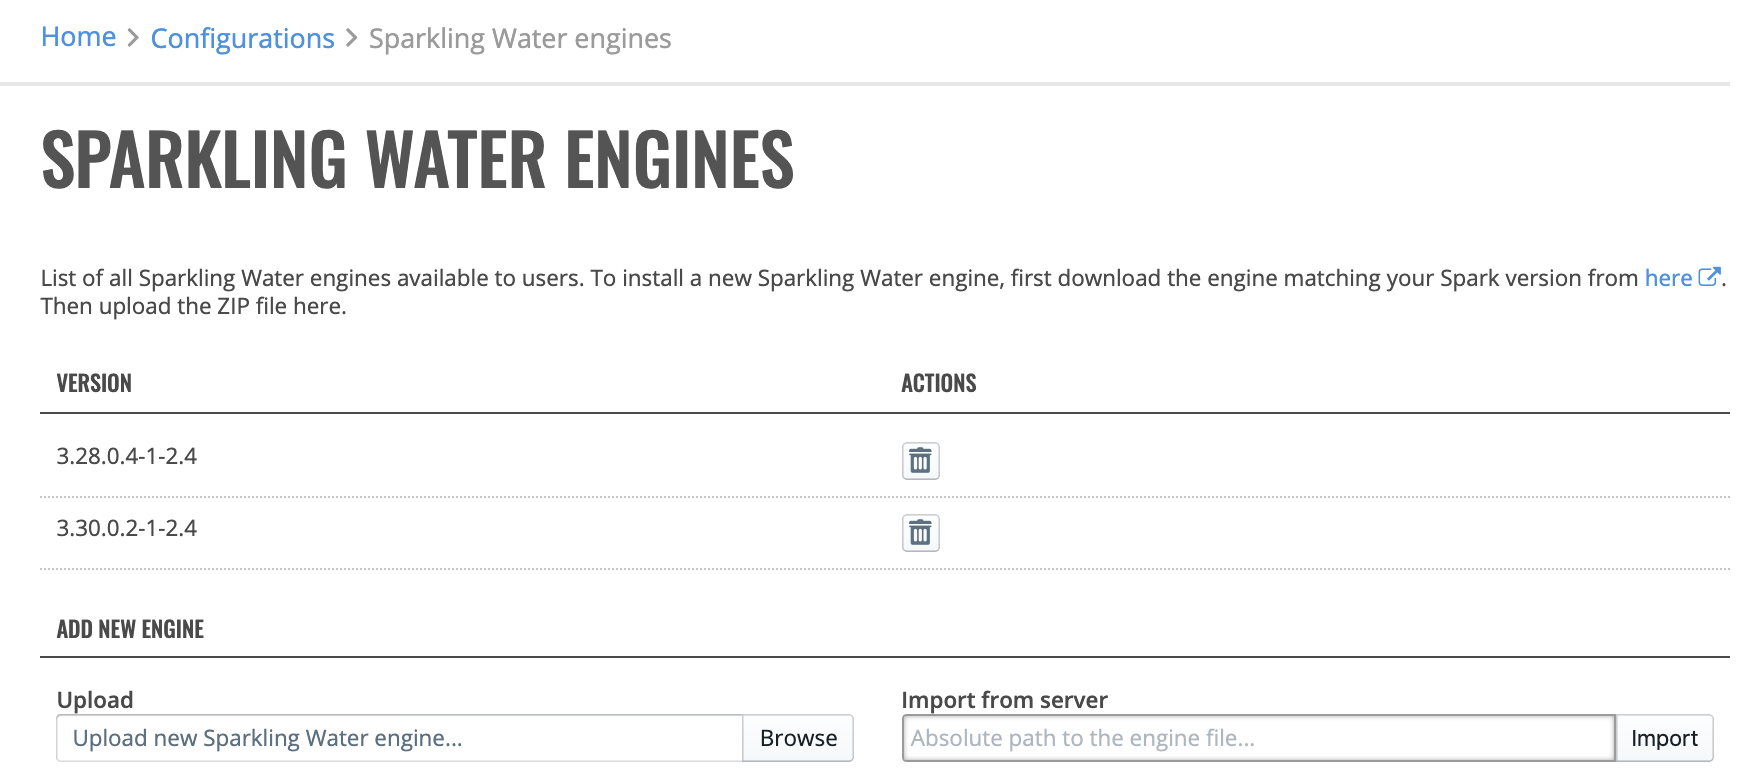
Click the Engines option to view a list of available Sparkling Water engines. To install a new Sparkling Water engine, download the engine that matches your version of Spark. Files can be uploaded by clicking the Browse button or imported from the server by providing the absolute path to the engine file and clicking the Import button. You can also delete engines that are no longer needed by clicking on the Remove engine icon next to the engine you want to delete.
Note: The minimum supported versions of Sparkling Water in Enterprise Steam are:
2.1.41
2.2.27
2.3.16
2.4.1
Enterprise Steam 1.6.6 added support for Sparkling Water 3.28.1.1 and higher.
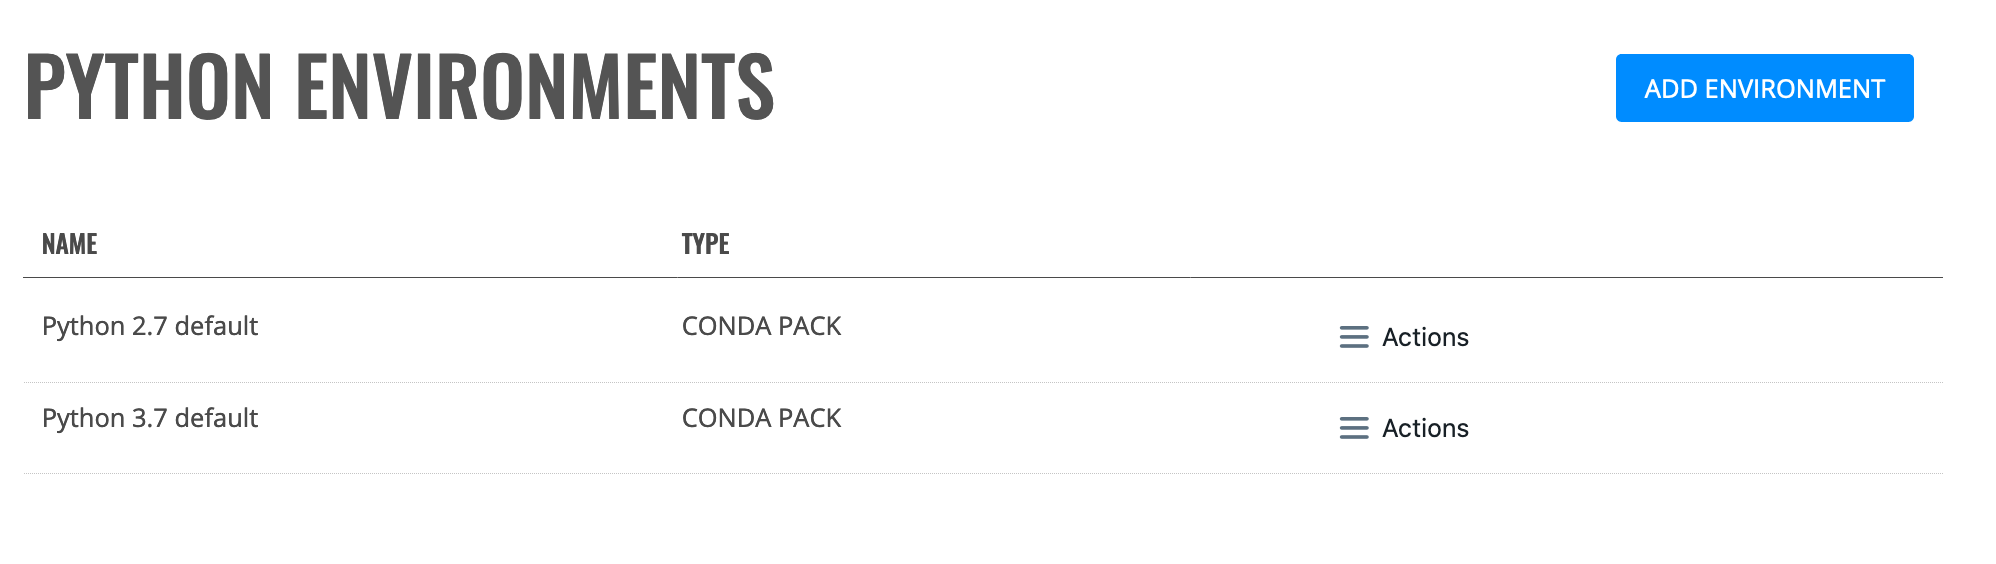
Click the Python Environments option view a list of available Python environments. Enterprise Steam ships with two default environments - Python 2.7 and Python 3.7. These environments allow Enterprise Steam to utilize PySparkling.
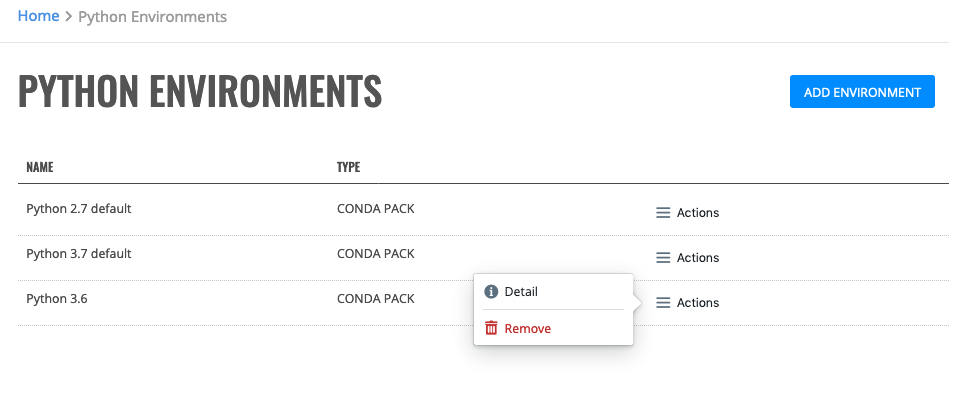
Click the Actions > Remove option beside the Python environment that you want to delete. A confirmation message will display. Click Confirm to complete the removal.
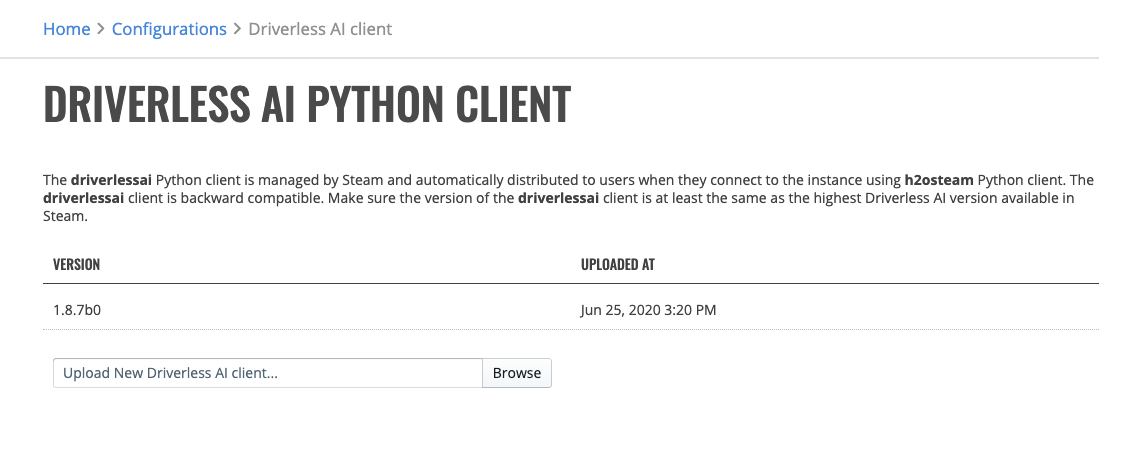
Enterprise Steam ships with Driverless AI Python client that is automatically distributed and used by users of Steam Python client.
You may upgrade the client by downloading it from Pypi https://pypi.org/project/driverlessai/#files and then uploading it on this screen.
Note: Driverless AI Python client is backward compatible. Make sure the client as at least the same version as your Driverless AI engines.