Using AutoDoc
The following sections describe Driverless AI’s AutoDoc feature.
Understanding AutoDoc
The AutoDoc feature is used to generate automated machine learning documentation for individual Driverless AI experiments. This editable document contains an overview of the experiment and includes other significant details like feature engineering and final model performance.
To download and view a sample experiment report in Word format, click here.
AutoDoc Support
AutoDoc only supports resumed experiments for certain Driverless AI versions. See the following table to check the types of resumed experiments that are supported for your version:
AutoDoc Support for Resumed Experiments Via
1.7.0 and older
1.7.1
1.9.0 and later
New experiment with same settings
yes
yes
yes
Restart from last checkpoint
no
yes
yes
Retrain final pipeline
no
no
yes
备注
To ensure that AutoDoc pipeline visualizations are generated correctly on native installations, installing fontconfig is recommended.
AutoDoc does not support experiments that were built off of previously aborted or failed experiments.
Reports for unsupported resumed experiments will still build, but they will only include the following text: “AutoDoc not yet supported for resumed experiments.”
Custom AutoDocs
All Driverless AI experiments can generate either a standard or custom AutoDoc. A standard AutoDoc uses the default AutoDoc template that is included with Driverless AI, while a custom AutoDoc uses a customer-specific template that Driverless AI automatically populates.
If you are interested in creating a custom AutoDoc, contact support@h2o.ai. If you have already purchased a custom AutoDoc template and want to learn how to generate custom AutoDocs from your experiments, see Generating a Custom AutoDoc.
备注
For a list of custom AutoDoc placeholders, see AutoDoc Custom Template Placeholders.
Custom AutoDocs are Driverless AI version-specific.
BYOR Recipes with AutoDoc
The experiment AutoDoc supports experiments that use custom scorers, transformers, or models. Custom scorers and transformers are documented in the same manner as Driverless AI scorers and transformers. If Driverless AI used a custom transformer, it is included in the Feature Transformations table under its display name; otherwise, it is only included in the Feature Evolution section. (Note: Custom transformer descriptions are currently shown as “None” in this section.) For custom models, the standard performance metrics and plots are included; however, information that Driverless AI cannot access is not included, or is shown as “custom”, “unavailable”, or “auto.” For example, in the Model Tuning table, the booster is listed as “custom”, and in the Alternative Models section, the model package documentation is listed as “unavailable.”
Final model performance calculation in AutoDoc
The Performance of Final Model section of the experiment AutoDoc contains a Performance Table that includes the following columns:
Final ensemble standard deviation on validation column: This column includes the standard deviation of the scores across all validation folds. The standard deviation measures the model’s performance variability across folds to indicate prediction consistency.
Final ensemble scores on validation column: This column represents the average score value derived from all validation folds used in the cross-validation process. Note that the number of folds can vary based on the fixed_num_folds and fixed_fold_reps configuration settings.
Note that standard deviation is calculated whenever a sampled dataset avg score is calculated. If it’s an internal holdout, the STD will be across the folds. If it’s external holdout (that is, if you provide an explicit validation file), it will be based on that file.
Generating an AutoDoc
Three different approaches can be used to generate an AutoDoc:
Notes:
For more information on how to configure plots/tables and enable/disable specific sections in the AutoDoc, see Configuring AutoDoc.
These approaches also apply to custom AutoDocs. For more information, see Generating a Custom AutoDoc.
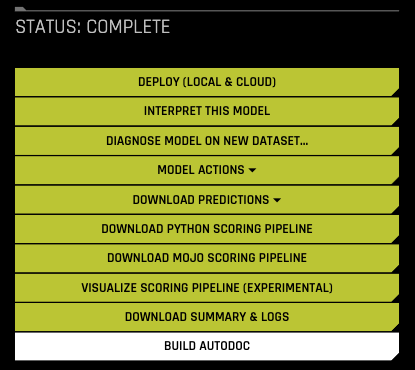
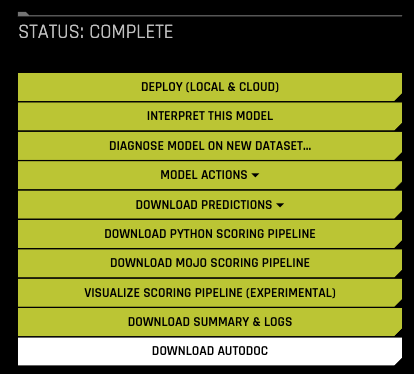
Experiment UI
Navigate to the Experiments page and click on the completed experiment you want to generate an AutoDoc for.
If AutoDoc was not previously enabled for the experiment, click the Build AutoDoc button.
If AutoDoc was previously enabled for the experiment, click the Download AutoDoc button.
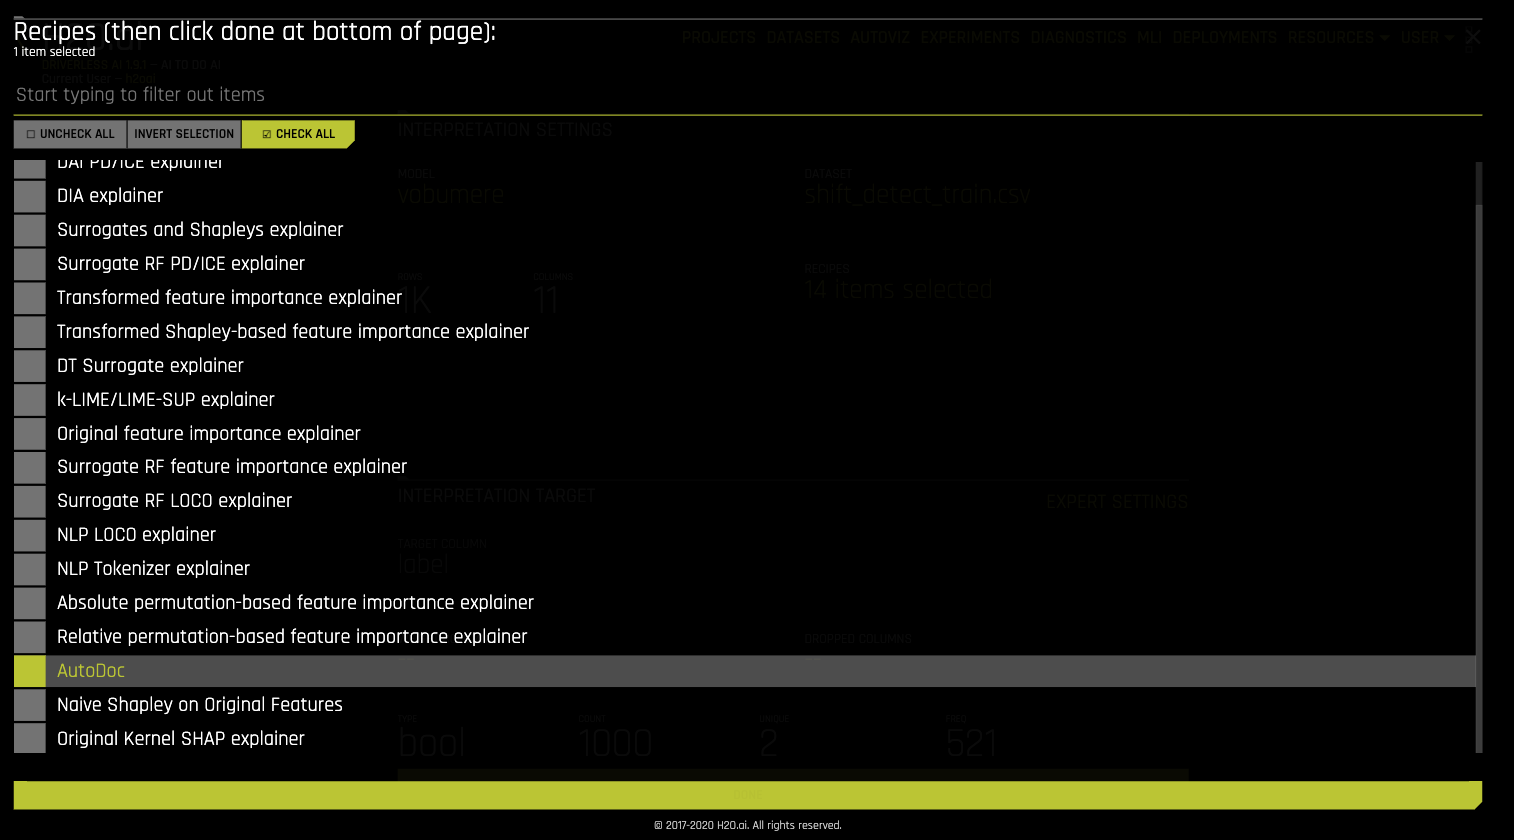
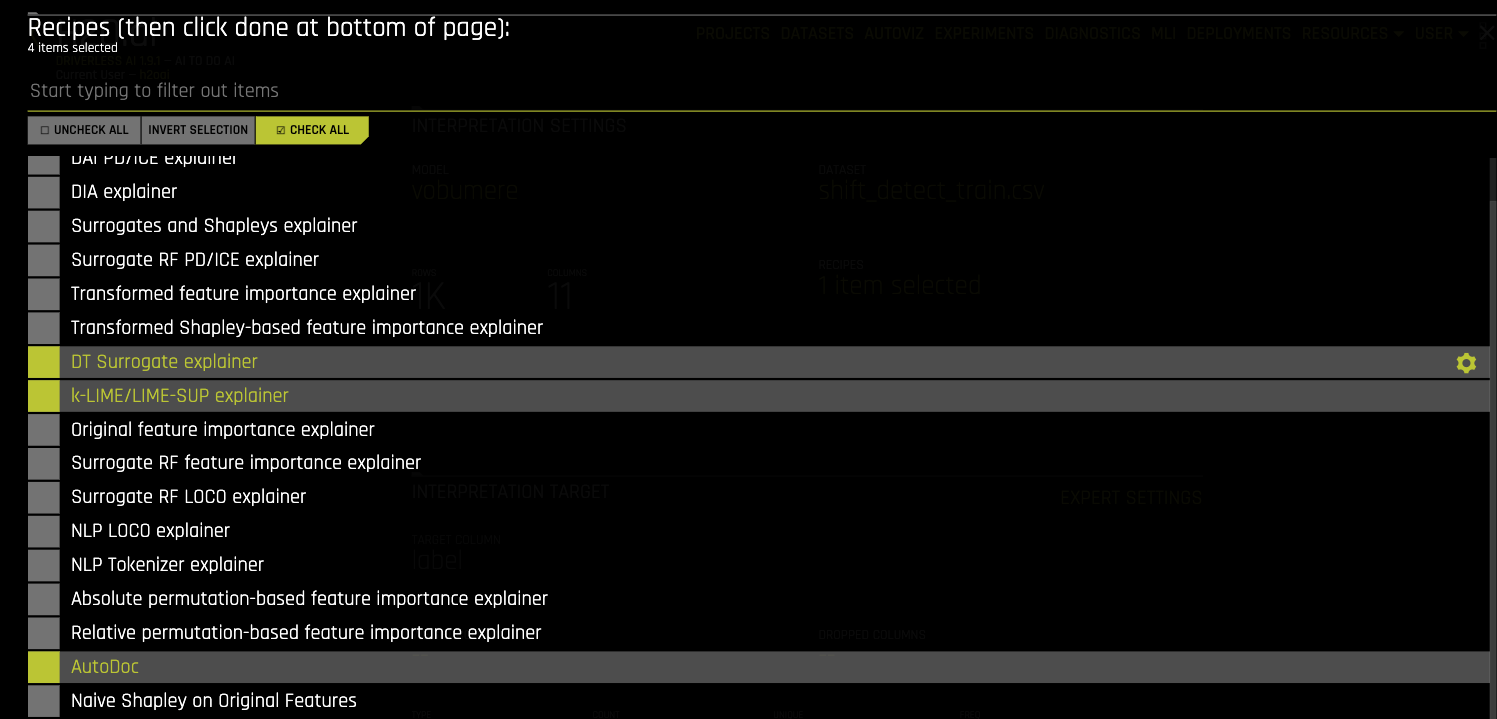
MLI UI
Navigate to the MLI page and click on the completed experiment you want to generate an AutoDoc for.
Select AutoDoc from the MLI RECIPES’s menu and optionally select explainers that can be included in the AutoDoc (the standard AutoDoc supports the k-LIME Explainer and DT Surrogate Explainer).
The Standard AutoDoc with Explainers:
Python Client
AutoDoc Functions
create_and_download_autodoc()make_autodoc_sync()
For local downloads:
create_and_download_autodoc(
    model_key:str,
    template_path:str='',
    config_overrides:str='',
    dest_path:str='.',
    mli_key:str='',
    individual_rows:list=[],
    external_dataset_keys:list=[])
To save an AutoDoc to the DAI experiment directory (recommended if local downloads are disabled):
make_autodoc_sync(
    model_key:str,
    template_path:str='',
    config_overrides:str='',
    mli_key:str='',
    individual_rows:list=[],
    external_dataset_keys:list=[])
model_key: The experiment key string.template_path: The full path the custom AutoDoc template.config_overrides: The TOML string format with configurations overrides for the AutoDoc.dest_path: The local path where the AutoDoc should be saved.mli_key: The mli key string.individual_rows: List of row indices for rows of interest in the training dataset, for which additional information can be shown (ICE, LOCO, KLIME).external_dataset_keys: List of DAI dataset keys.
driverlessai
Connect to a running DAI instance:
import driverlessai
address = 'http://ip_where_driverless_is_running:12345'
username = 'username'
password = 'password'
dai = driverlessai.Client(address=address, username=username, password=username)
Generate an AutoDoc and download it to your current working directory:
report = dai._backend.create_and_download_autodoc(
    model_key=exp_key,
    dest_path:str='.',
)
Configuring AutoDoc
The plots, tables, and sections of an AutoDoc can be configured through four different workflows:
You can also configure the font for the AutoDoc plots by setting the H2O_AUTODOC_PLOTS_FONT_FAMILY environment variable.
Experiment Setup > Expert Settings window
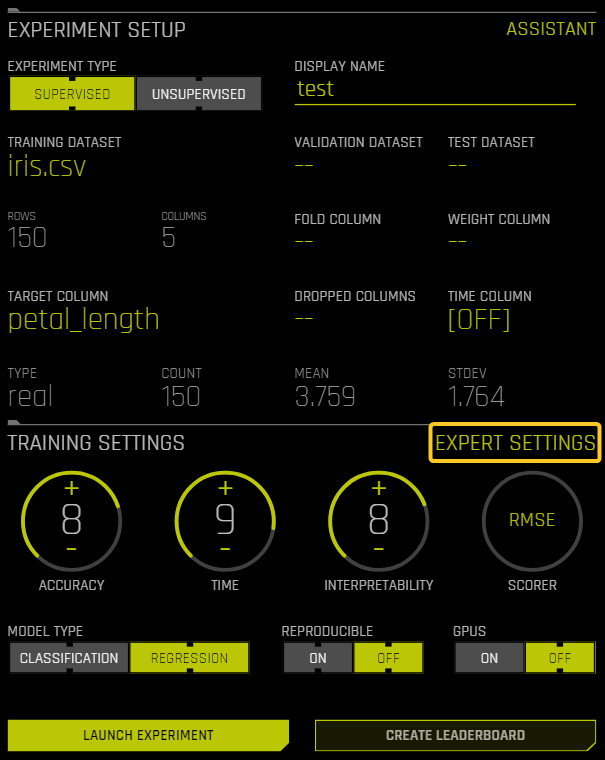
The following steps describe how to access AutoDoc-related settings from the Experiment Setup page.
On the experiment setup page, click Expert Settings. The Expert Settings window is displayed.
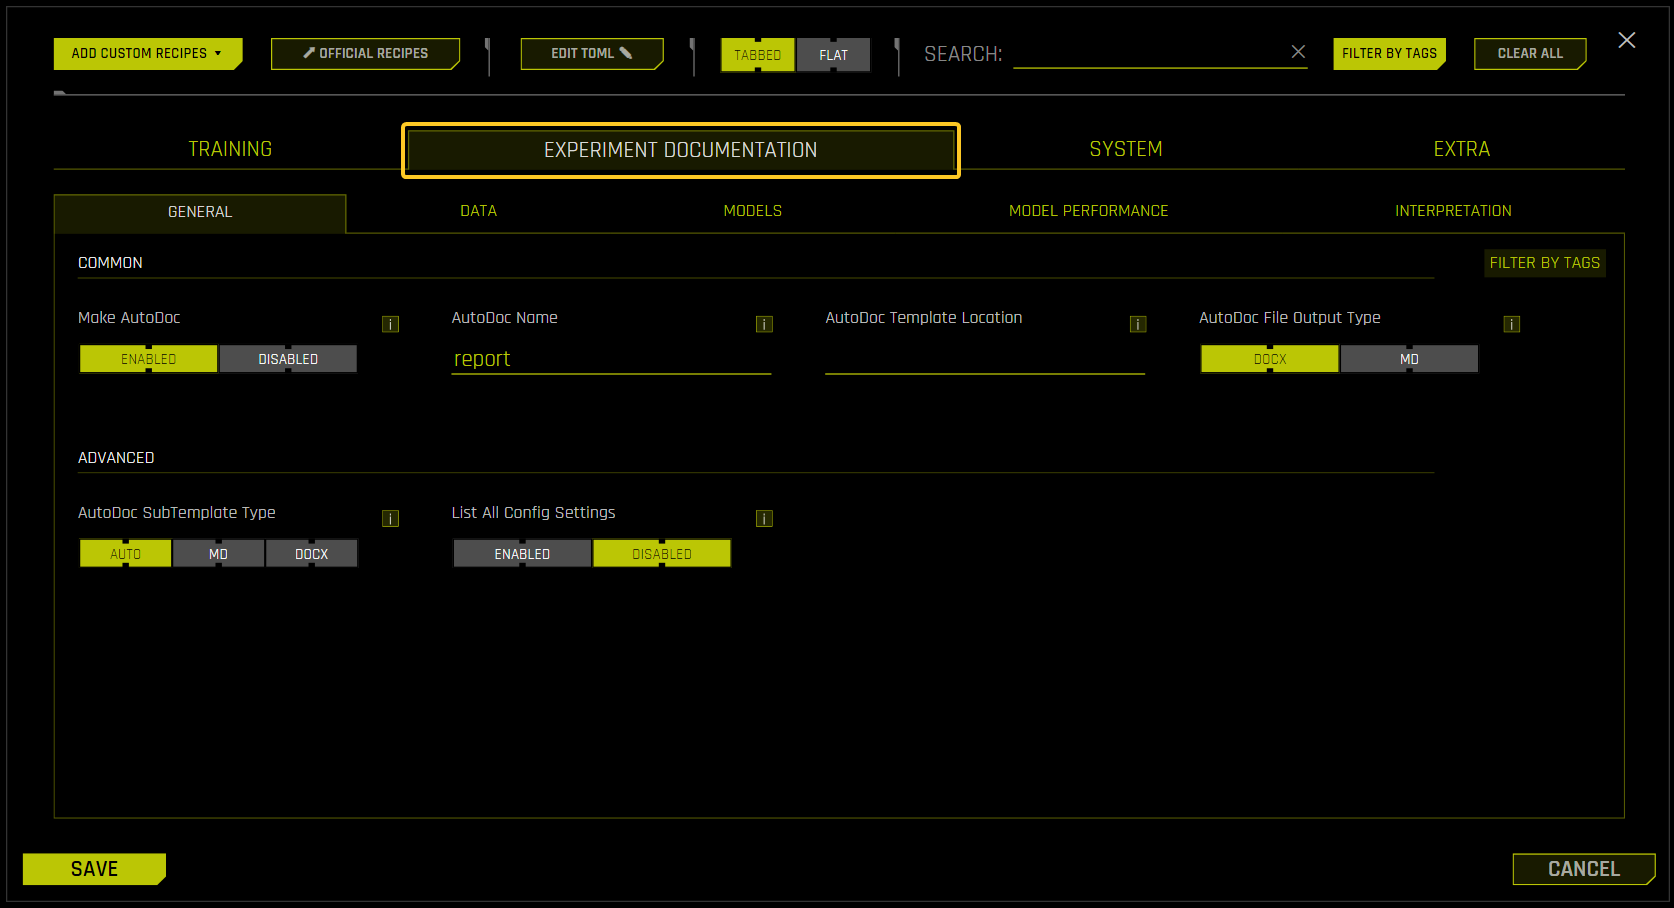
In the Expert Settings window, click Experiment Documentation.
The General sub-tab contains the most commonly used AutoDoc settings. For advanced settings, see the Data, Models, Model Performance, and Interpretation sub-tabs.
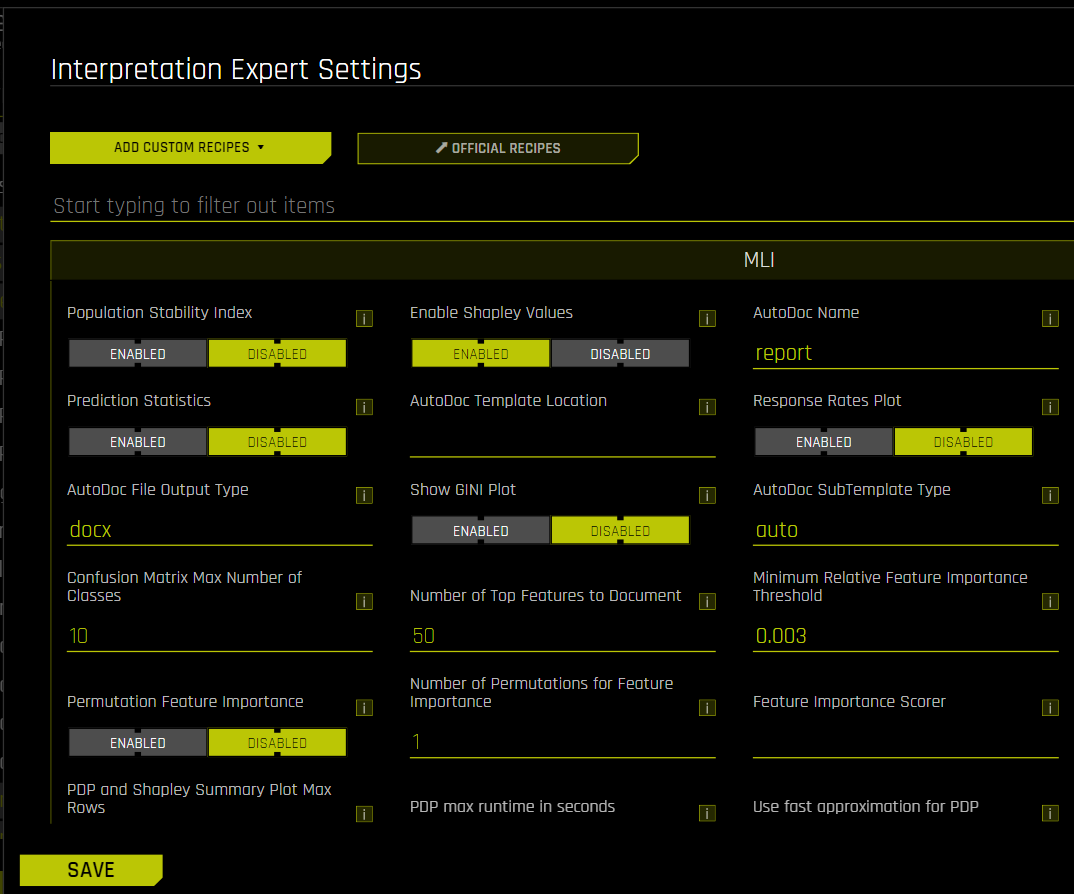
Interpretation Settings > MLI Recipes (Explainers)
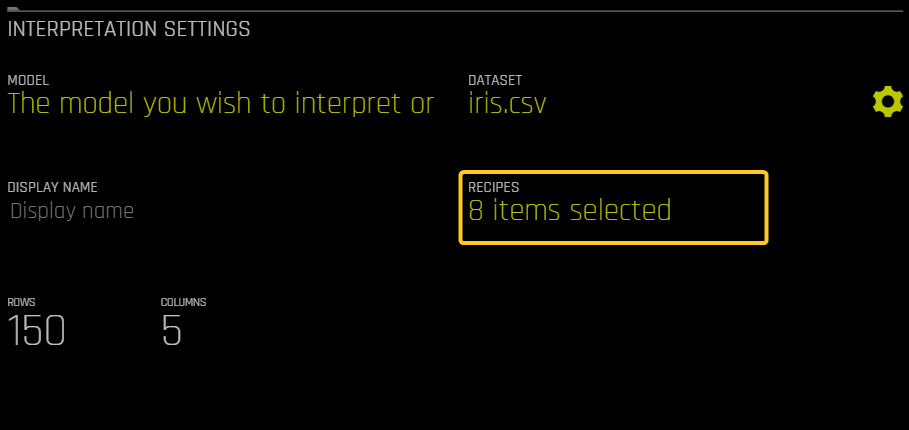
The following steps describe how to access AutoDoc-related settings from the Interpretation Settings page.
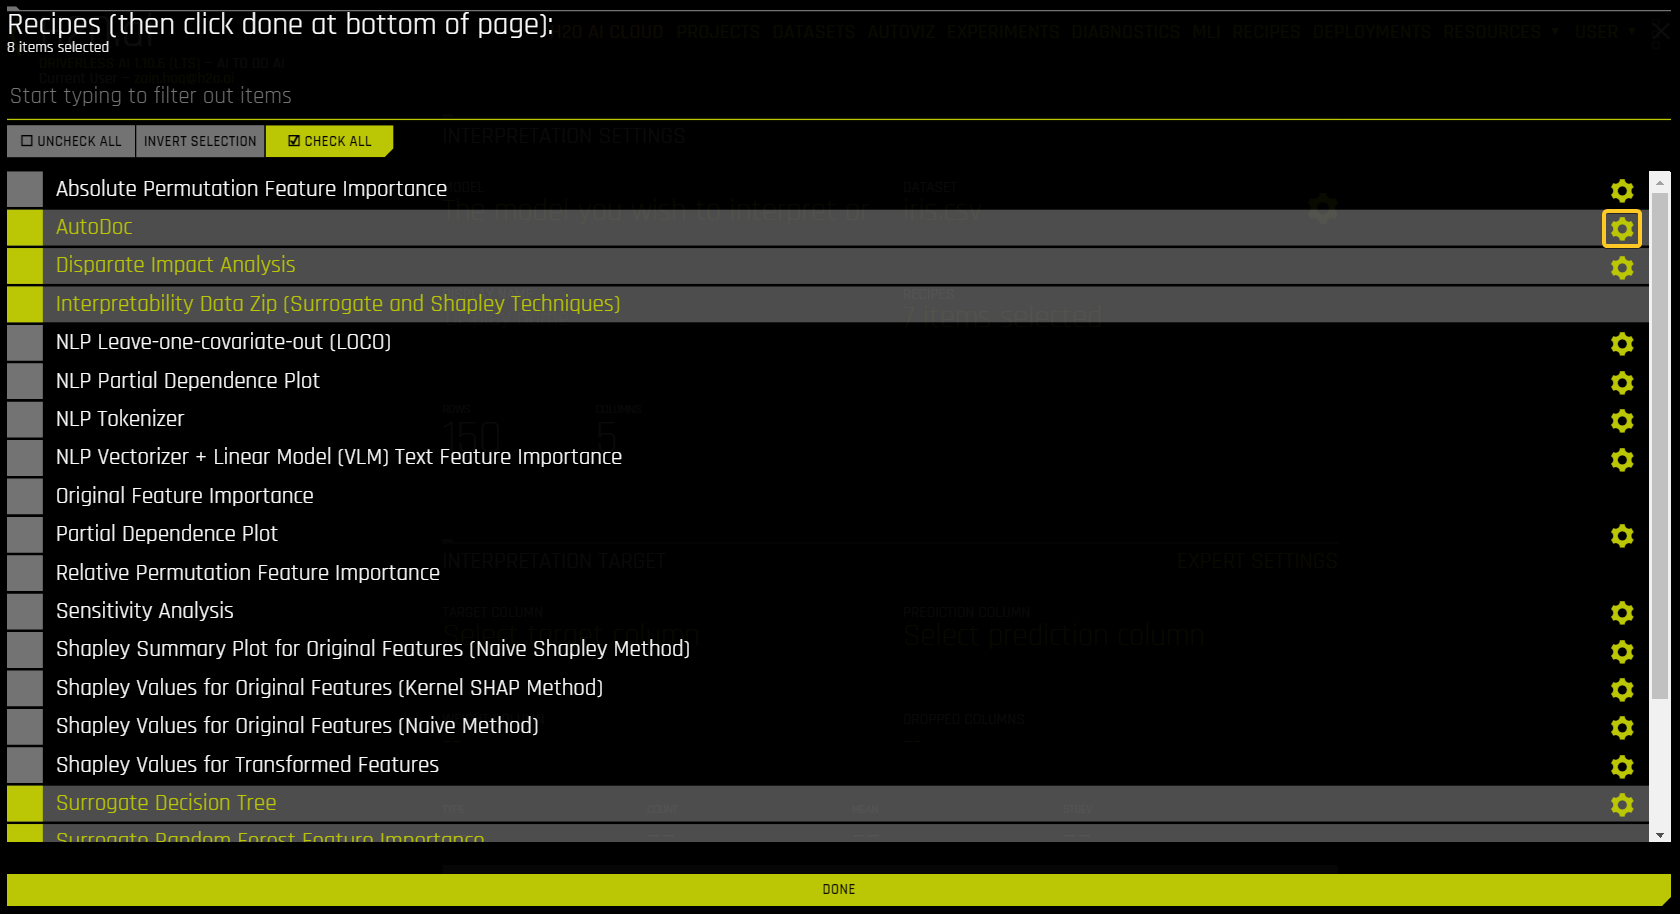
On the Interpretation Settings page, click Recipes. The list of available MLI recipes (explainers) is displayed.
In the list of MLI recipes, enable the AutoDoc recipe by clicking AutoDoc.
In the list of MLI recipes, click the gear icon next to AutoDoc. The available AutoDoc-related settings are displayed.
Python Client
All configuration options for the AutoDoc are listed in the config.toml file. The following are several commonly used configuration parameters:
import toml

# Set the document to limit features displayed to the top ten
config_dict={
   "autodoc_num_features": 10
}

# Partial Dependence Plots (PDP) and ICE Plots
config_dict["autodoc_pd_max_runtime"] = 60
config_dict["autodoc_num_rows"] = 4

# Prediction statistics
config_dict["autodoc_prediction_stats"] = True
config_dict["autodoc_prediction_stats_n_quantiles"] = 10

# Population Stability Index (PSI)
config_dict["autodoc_population_stability_index"] = True
config_dict["autodoc_population_stability_index_n_quantiles"] = 10

# Permutation feature importance
config_dict["autodoc_include_permutation_feature_importance"] = True
config_dict["autodoc_feature_importance_scorer"] = "GINI"
config_dict["autodoc_feature_importance_num_perm"] = 1

# Response rates (only applicable to Binary classification)
config_dict["autodoc_response_rate"] = True
config_dict["autodoc_response_rate_n_quantiles"] = 10

toml_string = toml.dumps(config_dict)
print(toml_string)
After setting these parameters, generate an AutoDoc and download it to your current working directory:
driverlessai
report = dai._backend.create_and_download_autodoc(
    model_key=exp_key,
    config_overrides=config_overrides,
    dest_path:str='.',
)
Configuring AutoDoc font
The following sections describe how to configure the AutoDoc font environment variable.
Note: The following steps assume that DAI has been installed on an EC2 instance or an Ubuntu lab machine. These steps still apply if you are using H2O Enterprise Puddle to run a DAI instance—just log in to the EC2 instance where the DAI service is running using the provided SSH key.
If the DAI service has not been started
Create an EC2 instance with enough memory and storage to run DAI.
Install the font you want to use. In this example, the font TakaoPGothic is used.
sudo apt install fonts-takao-pgothic
Create and install the DAI debian file.
wget https://s3.amazonaws.com/artifacts.h2o.ai/releases/ai/h2o/dai/rel-1.10.3.1-10/x86_64/dai_1.10.3.1-1_amd64.deb
sudo dpkg -i dai_1.10.3.1-1_amd64.deb
Set the font setting environment variable by adding the following line to the
EnvironmentFile.conffile.
# either can set a font already installed system wide
H2O_AUTODOC_PLOTS_FONT_FAMILY=TakaoPGothic

# or provide a downloadable link of the preferred font
H2O_AUTODOC_PLOTS_FONT_FAMILY="https://h2o-data.s3.amazonaws.com/h2o-autodoc-data/fonts/TakaoPGothic.ttf"
Start the DAI service.
sudo systemctl start dai
If the DAI service has already been started
Ensure that the font is available on your system. In this example, the font TakaoPGothic is used.
fc-list | grep TakaoPGothic
Stop the DAI service.
sudo systemctl stop dai
Set the font setting environment variable by adding the following line to the
EnvironmentFile.conffile.
# either can set a font already installed system wide
H2O_AUTODOC_PLOTS_FONT_FAMILY=TakaoPGothic

# or provide a downloadable link of the preferred font
H2O_AUTODOC_PLOTS_FONT_FAMILY="https://h2o-data.s3.amazonaws.com/h2o-autodoc-data/fonts/TakaoPGothic.ttf"
Start the DAI service.
sudo systemctl start dai
Generating a Custom AutoDoc
This section describes how to generate an AutoDoc from a custom AutoDoc template. Choose from the following options:
Have Driverless AI use a custom AutoDoc for all experiments
Have Driverless AI generate a custom AutoDoc for an individual experiment
备注
For a list of custom AutoDoc placeholders, see AutoDoc Custom Template Placeholders.
AutoDoc template directories must be mapped to the Driverless AI container or pod.
Custom AutoDoc for All Experiments
To use a custom AutoDoc template, edit the config.toml file to point to the location of your custom AutoDoc. Use the following config.toml settings:
autodoc_template: Specify the path for the main template file.autodoc_additional_template_folder: If you have additional custom sub-templates, use this setting to specify the location of additional AutoDoc templates. Note that if this field is left empty, only the default sub-templates folder is used.
To generate custom AutoDocs, Driverless AI must have access to the custom template(s). To make sure that Driverless AI has access, update the path in the following example with your own path:
autodoc_template="/full/path/to/your/custom_autodoc_template.docx"

# Required if you have additional custom sub-templates.
autodoc_additional_template_folder="/path/to/additional_templates_folder"
Custom AutoDoc for Individual Experiments
You can use the Python Client to generate standard or custom AutoDocs from an experiment by setting the template_path variable to your custom AutoDoc’s path:
template_path='/full/path/to/your/custom_autodoc_template.docx'
Python Client: driverlessai
report = dai._backend.create_and_download_autodoc(
    model_key=exp_key,
    template_path=template_path,
    dest_path:str='.',
)