Create and manage memory blocks
Overview
The Memory page in Enterprise h2oGPTe lets you create, view, edit, and delete memory blocks. You can also filter your memory blocks by name and by when they were last updated.
Open the Memory page
- In the Enterprise h2oGPTe navigation menu, click Memory.
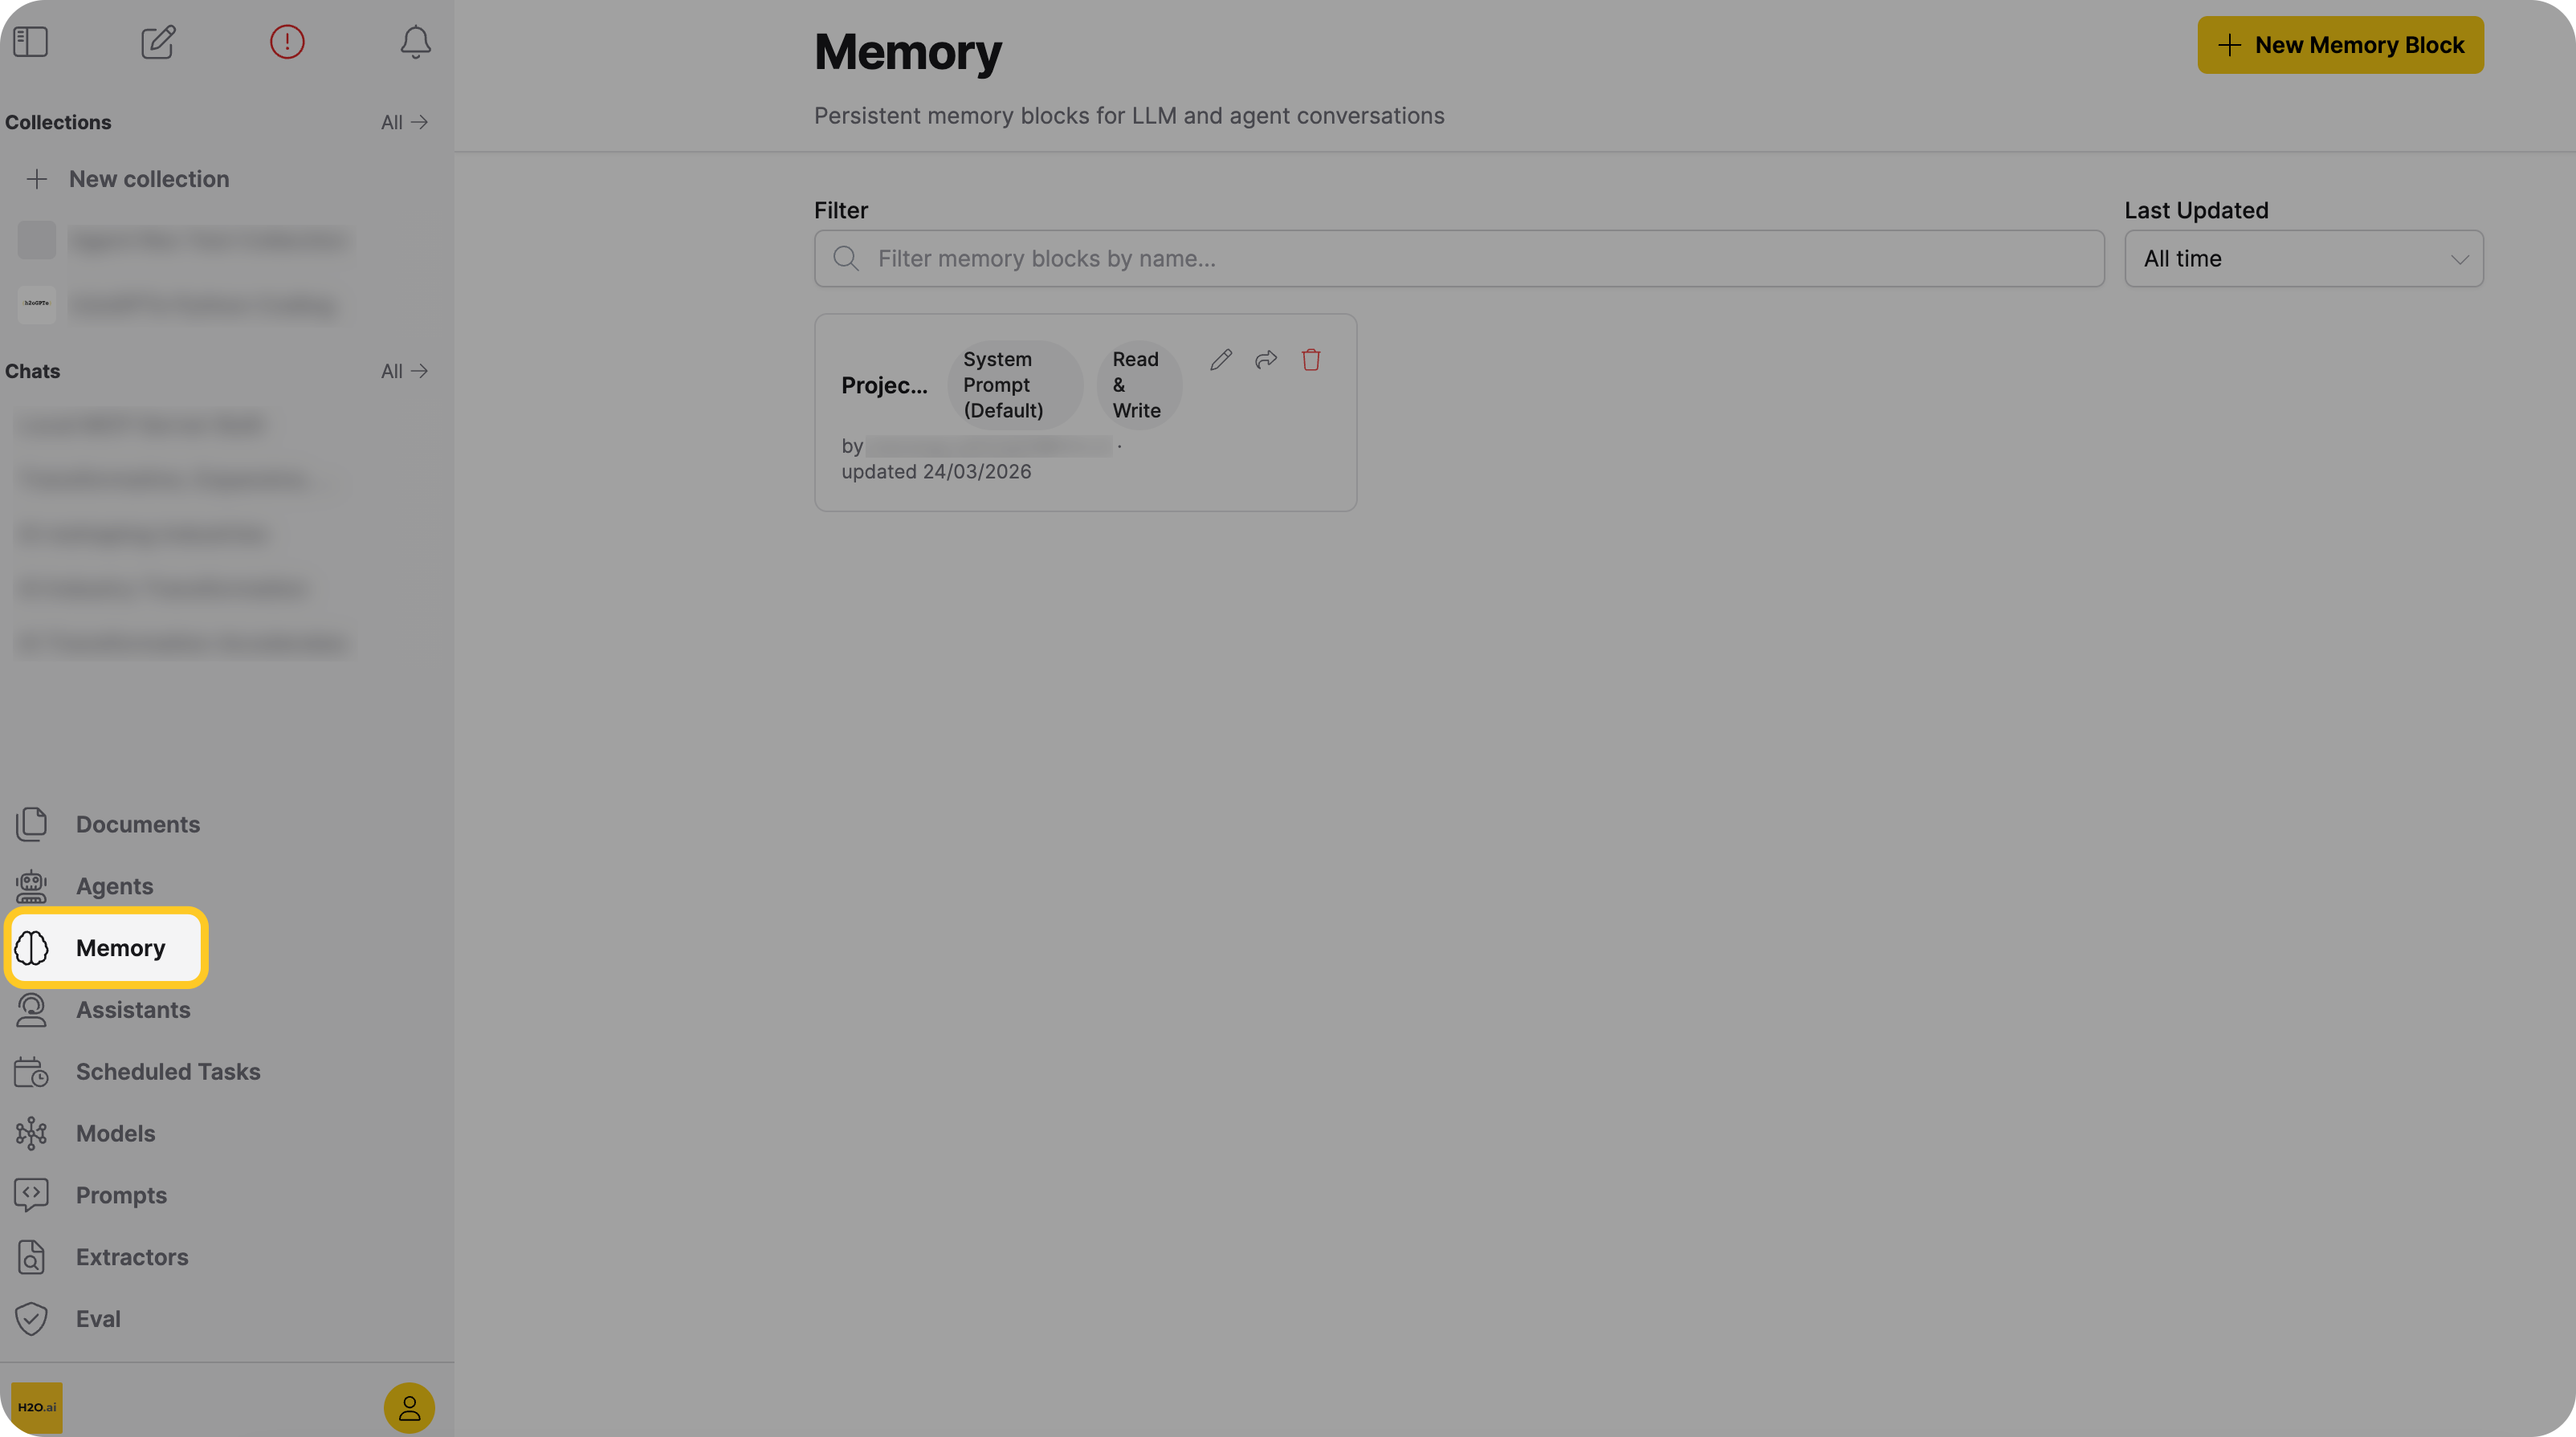
The Memory page displays all memory blocks you have access to, including blocks you own, blocks shared with you, and public blocks.
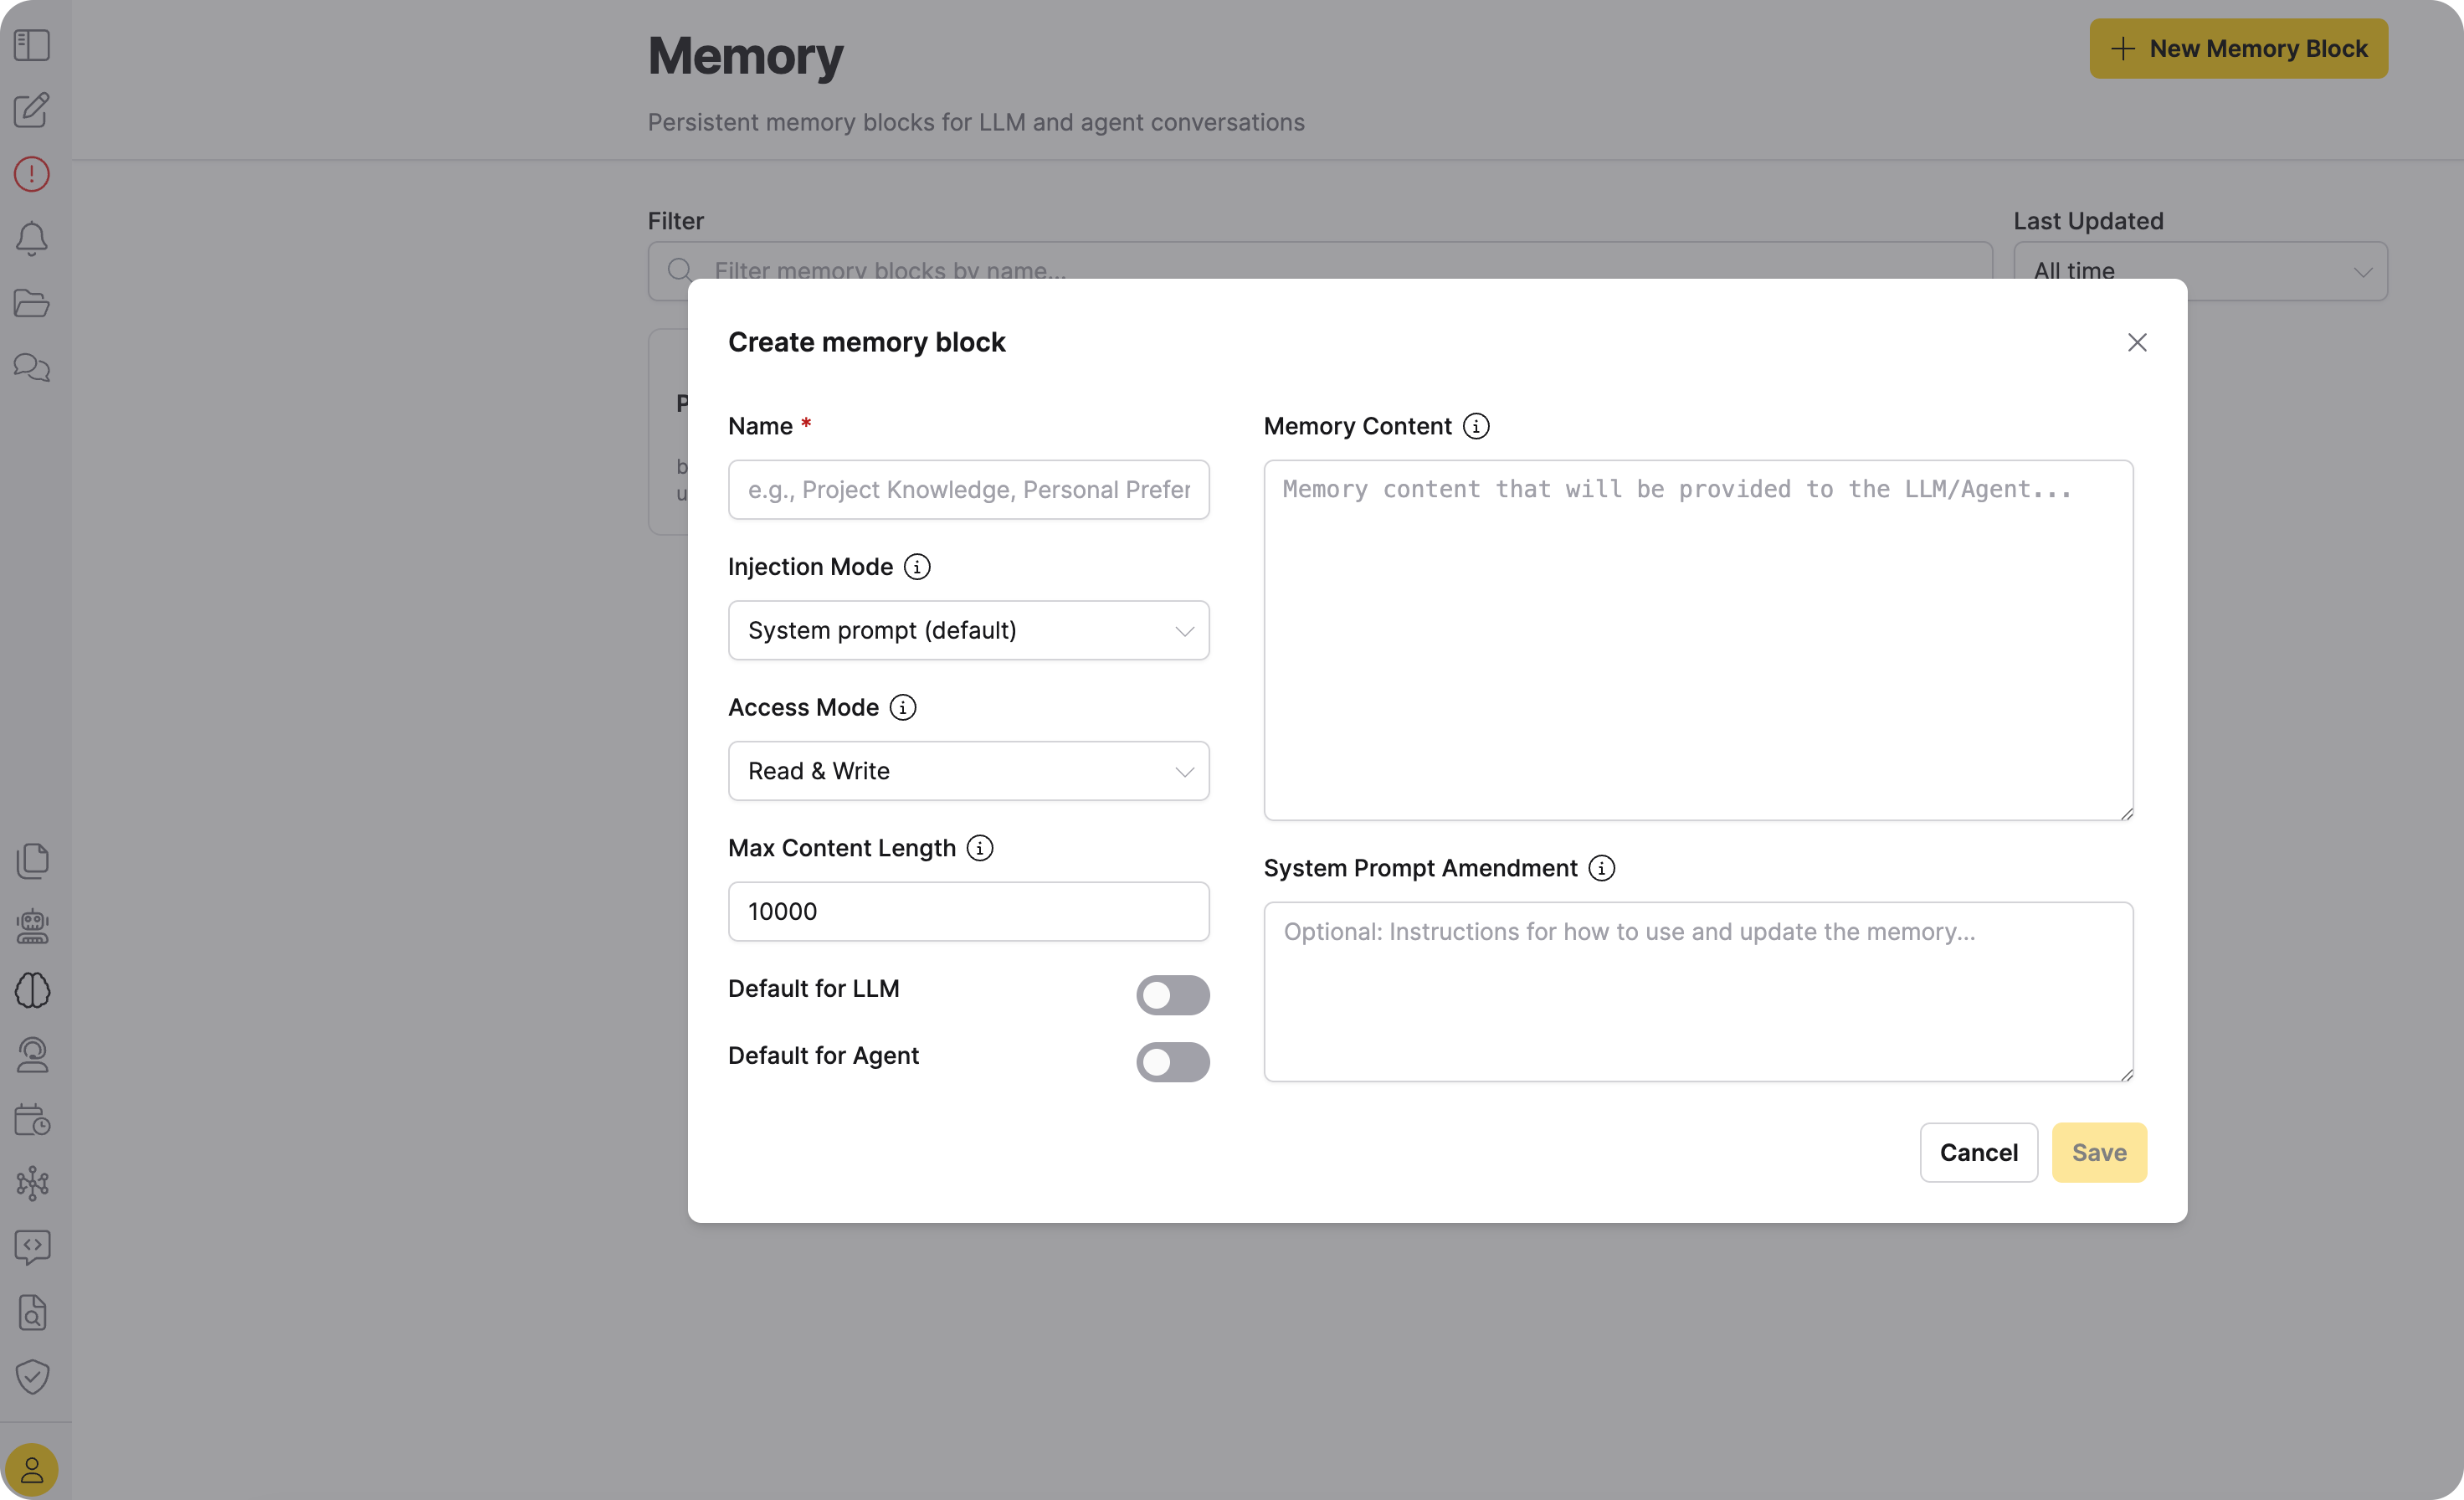
Create a memory block
- On the Memory page, click + New Memory Block.
-
Fill in the memory block fields:
Field Required Description Name Yes A unique name for the memory block. Each user can have only one memory block with a given name. Use a descriptive name that makes the block easy to identify later, such as "Q1 Research Notes" or "Customer Preferences." Memory Content No The initial text content of the memory block. You can leave this empty if you want the LLM or agent to populate it over time. Injection Mode No Where the memory content appears in the prompt. Options: System prompt (default), User instruction, Agent file only (AGENTS.md). See Injection modes. Access Mode No Whether the LLM or agent can read, write, or both. Options: Read & Write (default), Read only, Write only. See Access modes. Max Content Length No Maximum number of characters allowed in the content. Defaults to 10,000. Set to 0 for unlimited. System Prompt Amendment No Optional instructions that guide how the LLM or agent uses and updates the memory. For example: "Focus on saving key financial metrics and decisions." Default for LLM No Enable this toggle to attach this memory block to LLM chats by default. Default for Agent No Enable this toggle to attach this memory block to agent chats by default. -
Click Save.
Memory block names must be unique per user. If you try to create a memory block with a name that already exists, the operation fails with a conflict error.
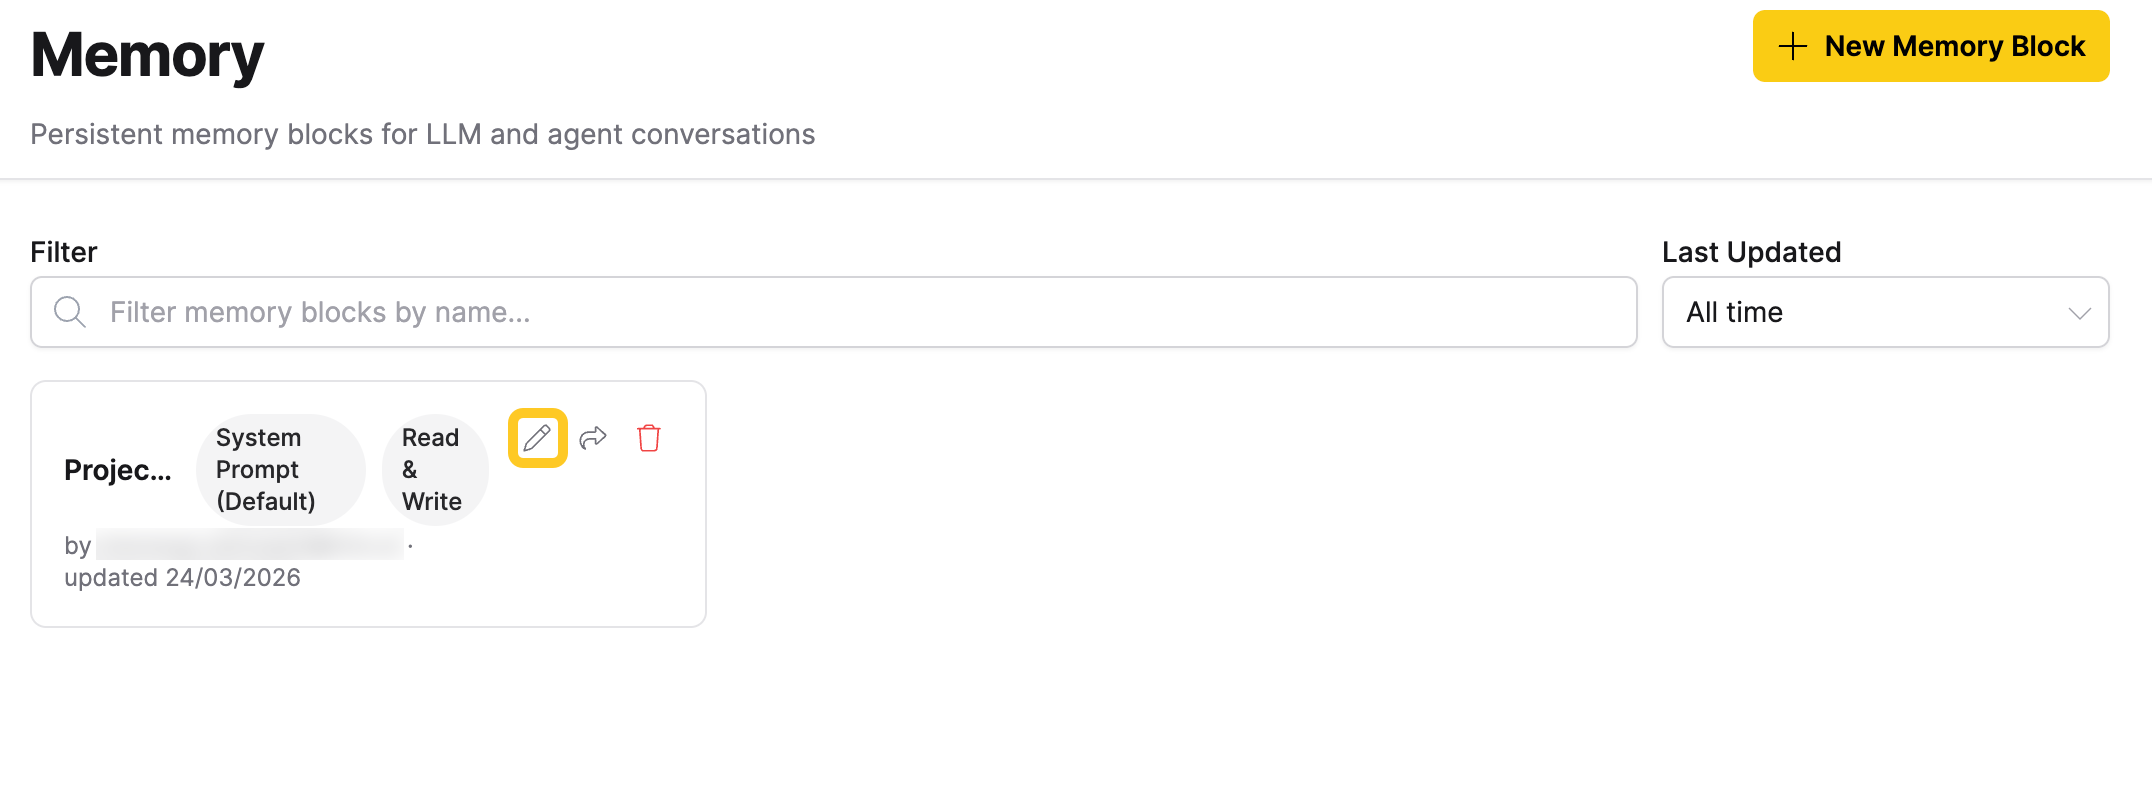
Edit a memory block
- On the Memory page, find the memory block you want to edit.
- Click the Edit (pen) icon on the memory block card.
- Update any of the fields: name, content, injection mode, access mode, max content length, or system prompt amendment.
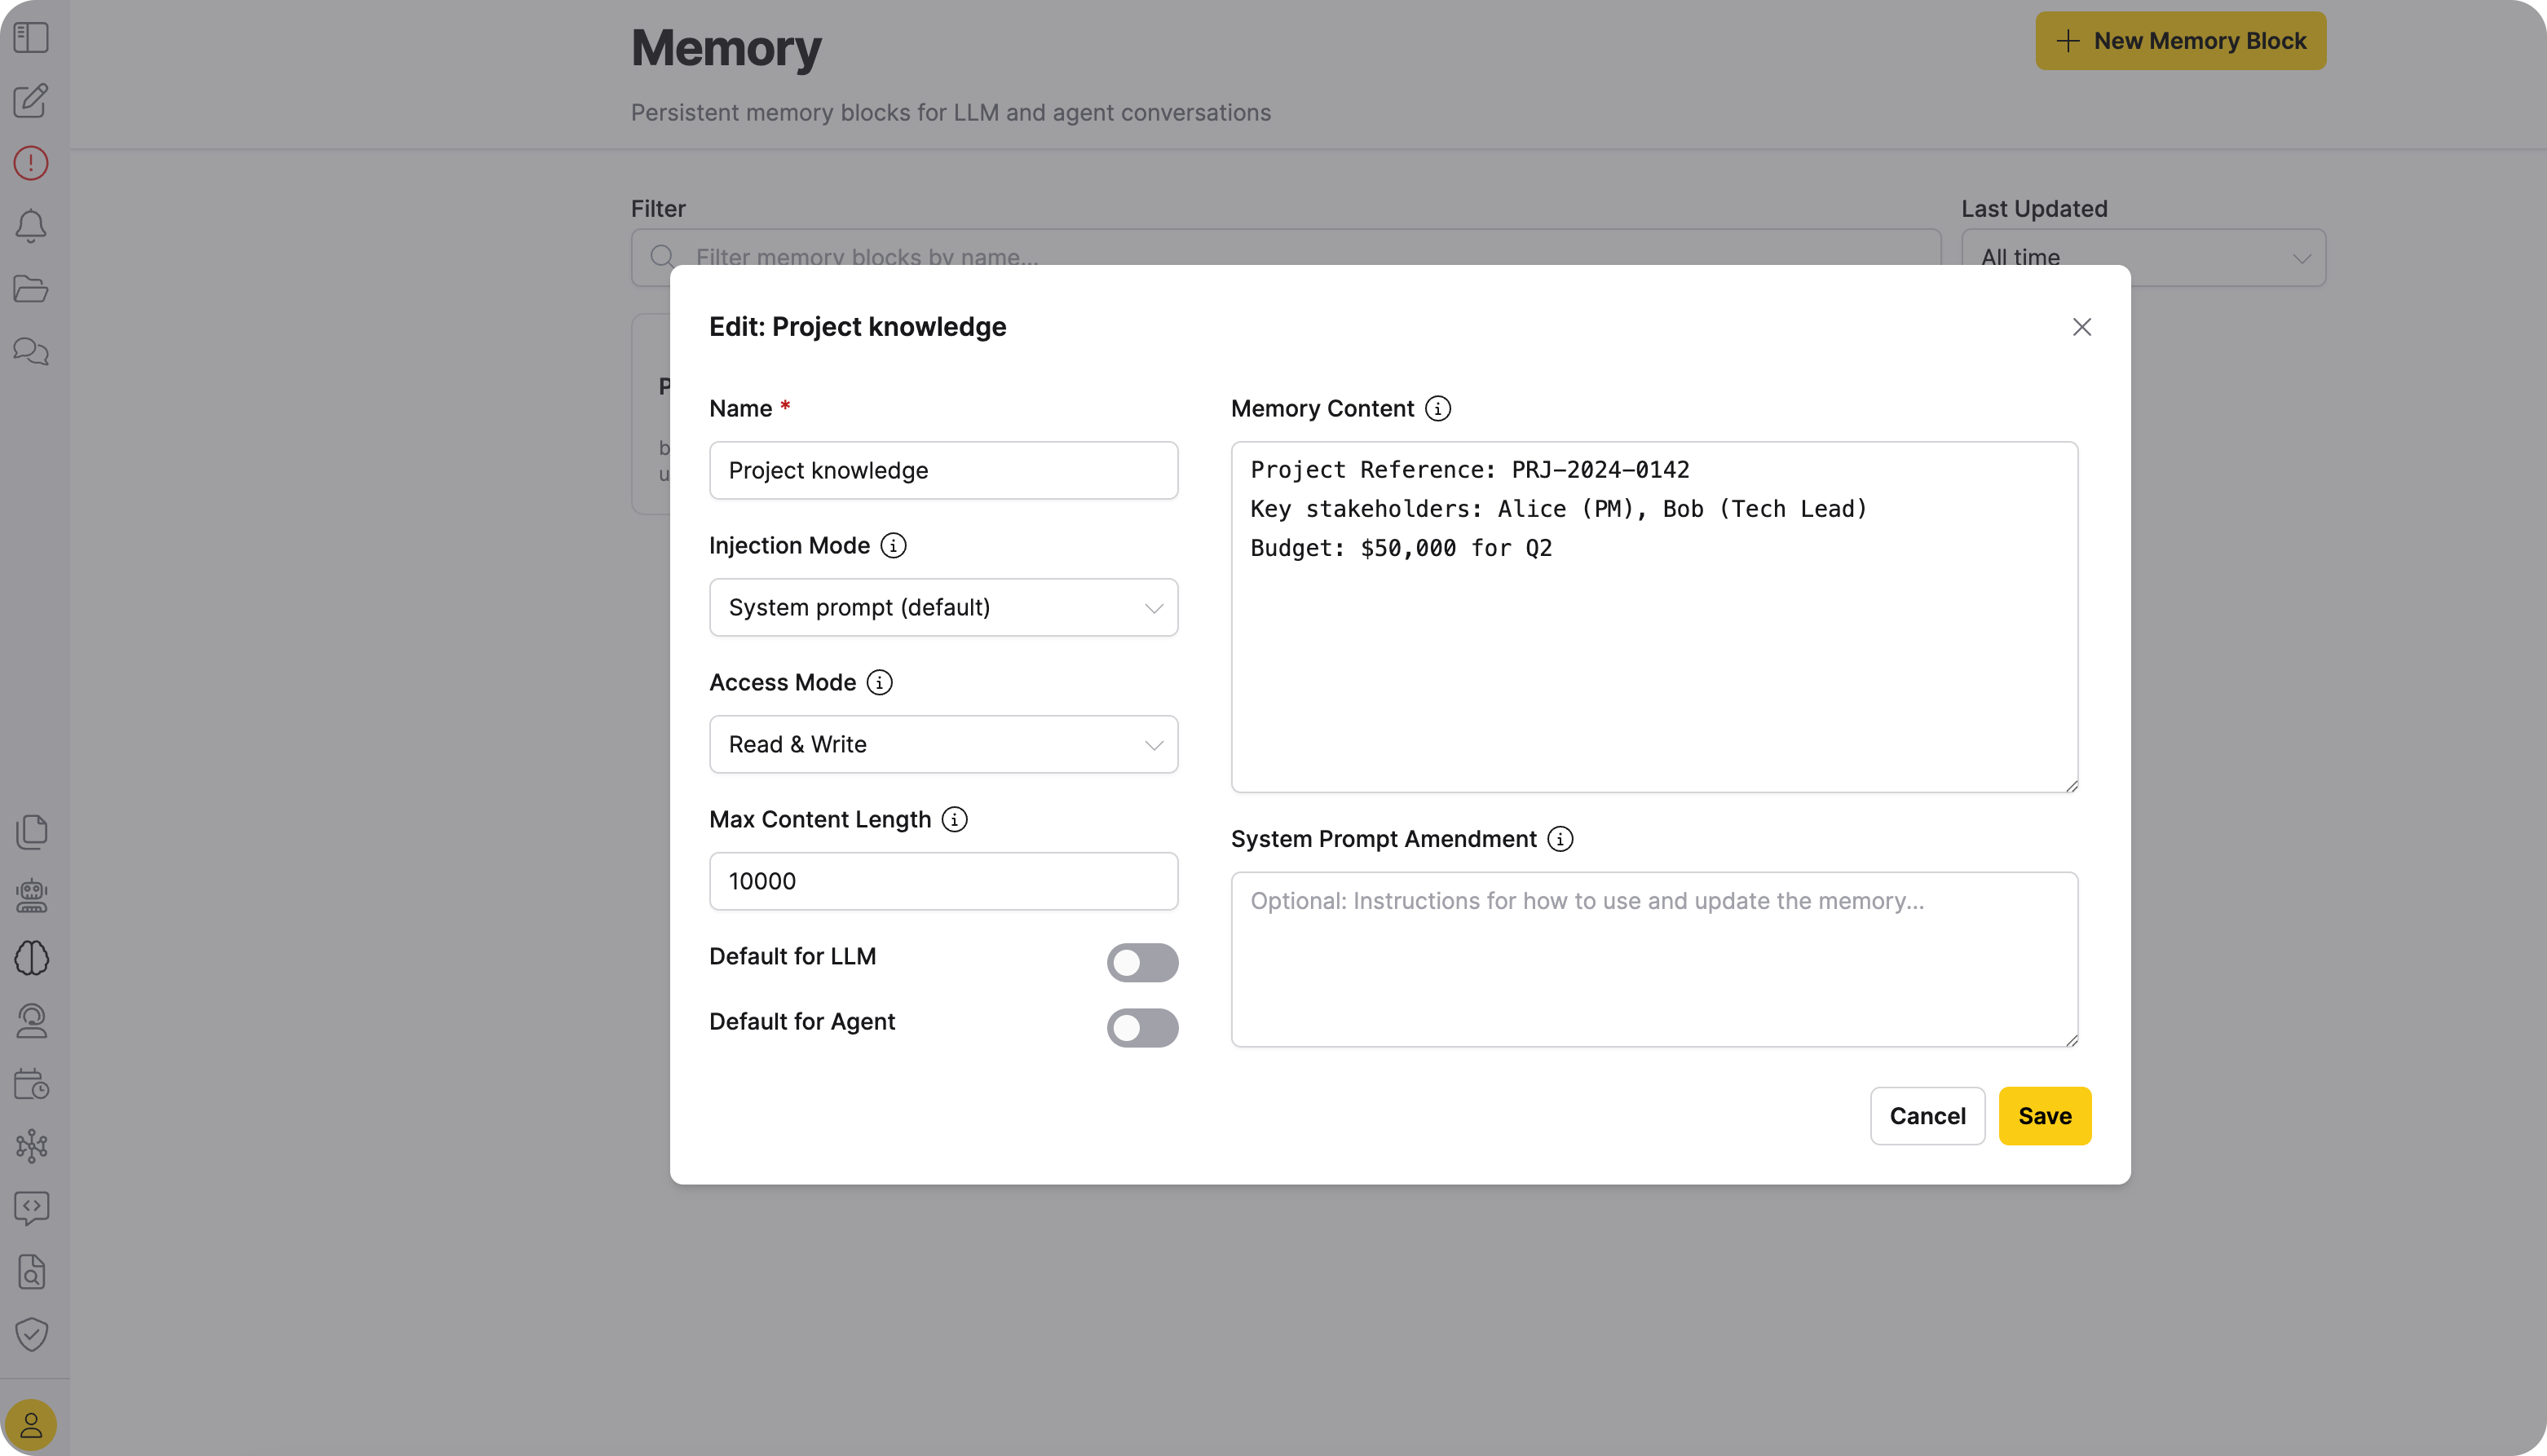
- Click Save.
You can edit memory blocks that you own and memory blocks that have been shared with you with edit permission.
Delete a memory block
- On the Memory page, find the memory block you want to delete.
- Click the Delete icon on the memory block card.
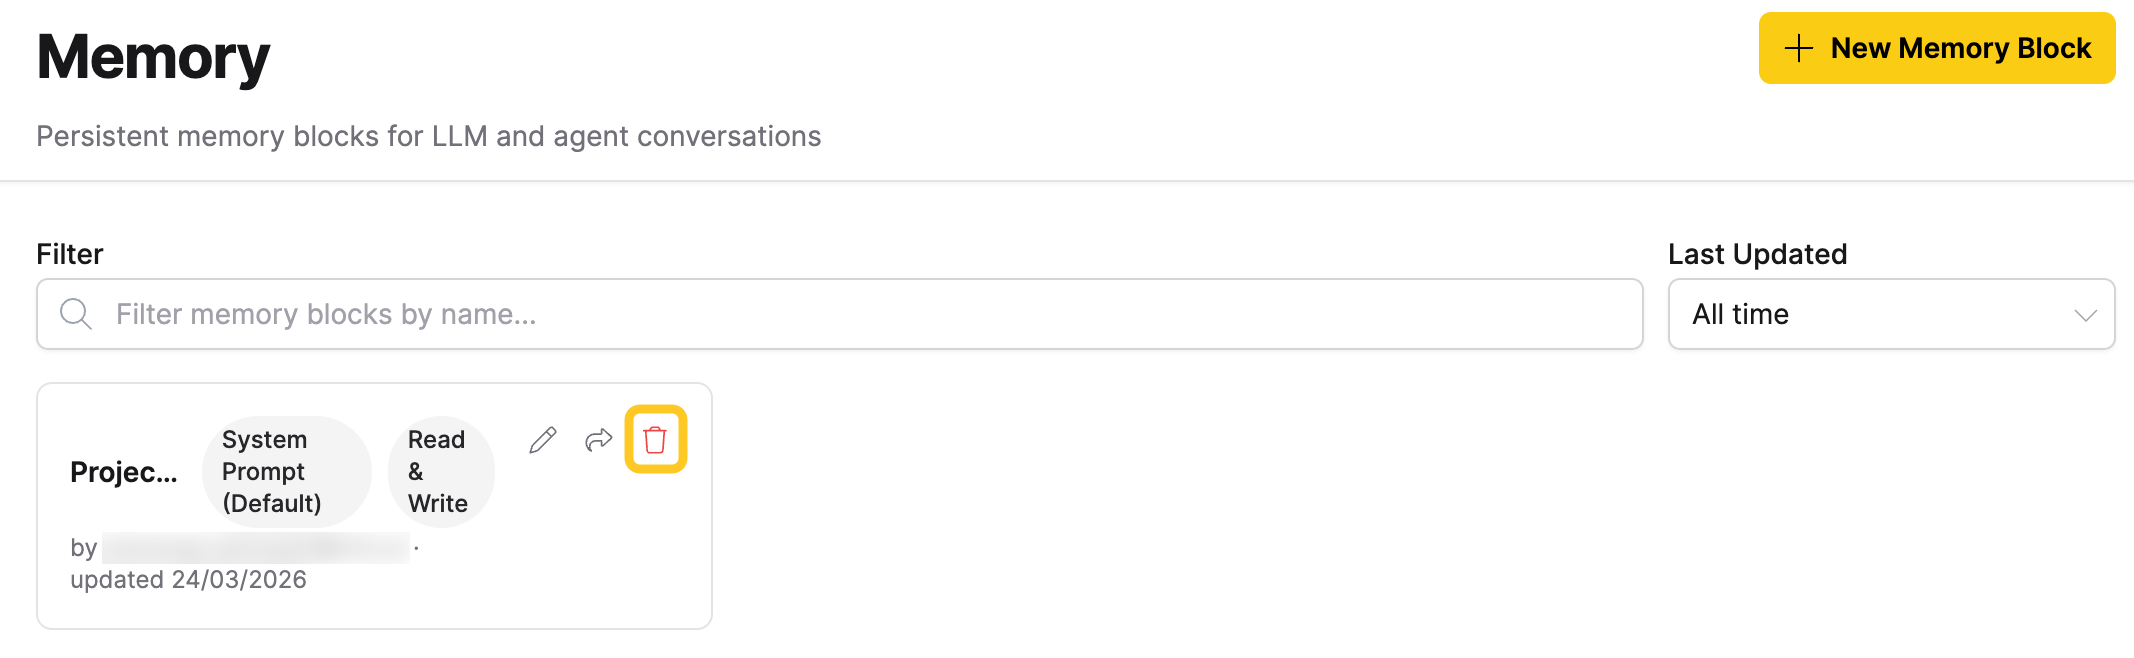
- Confirm the deletion.
Only the owner of a memory block can delete it. If a memory block was shared with you, you cannot delete it. Contact the owner instead.
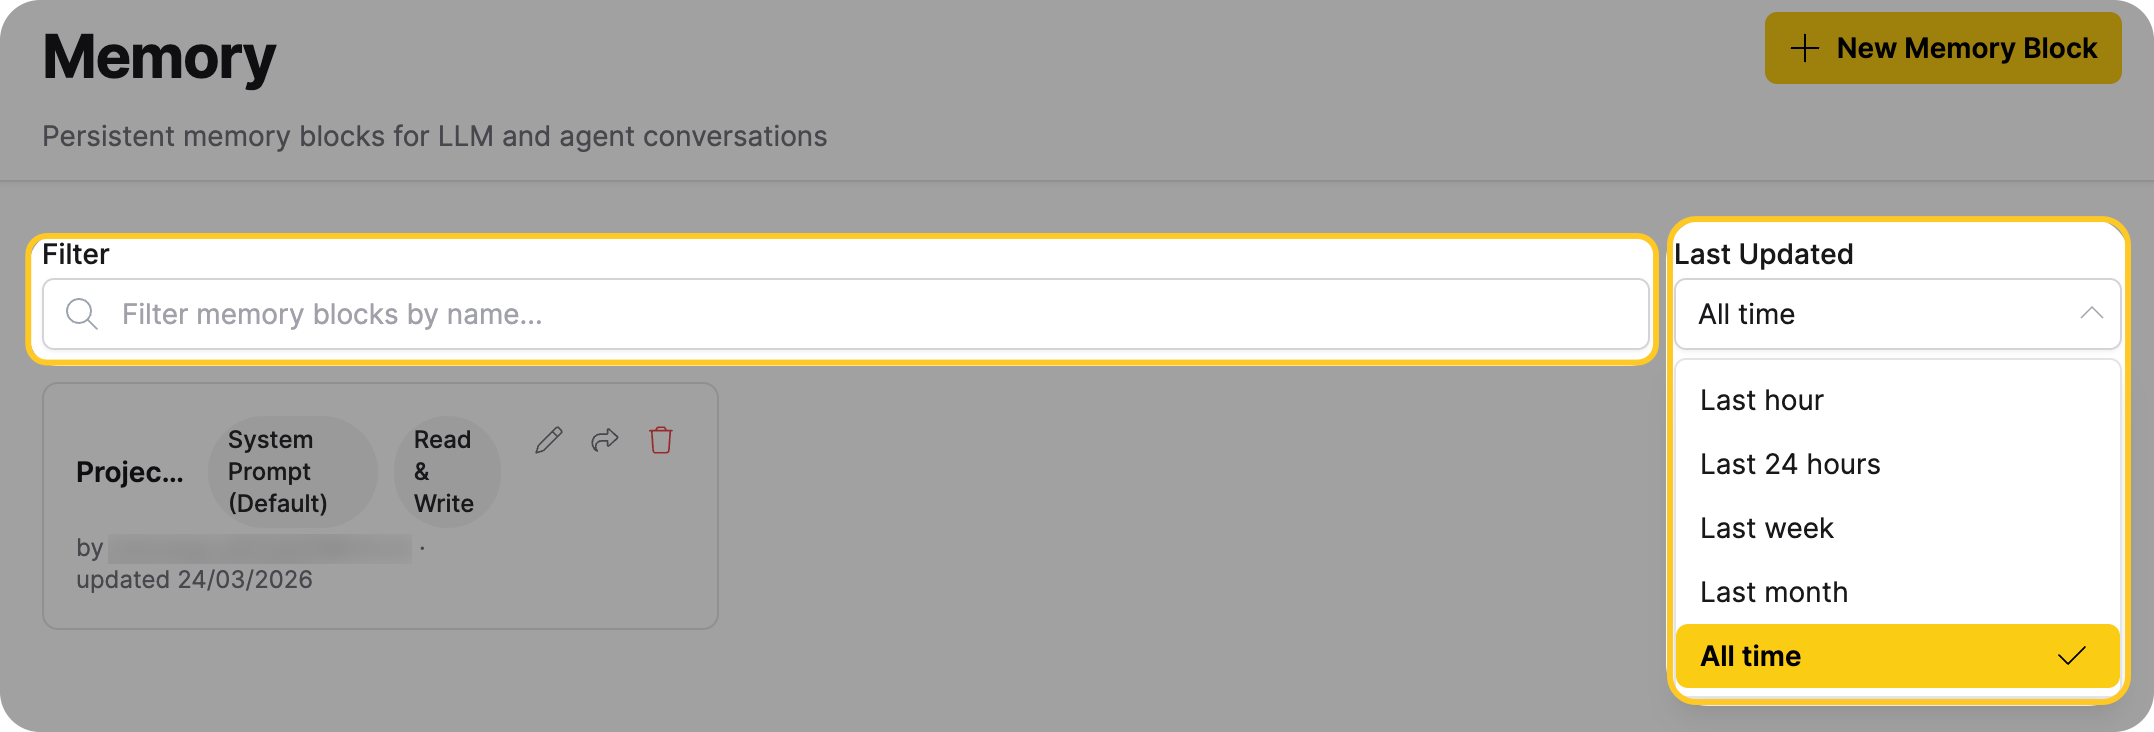
Filter and search memory blocks
The Memory page provides two filtering options:
- Name filter: Type in the filter field to search memory blocks by name. The list updates as you type.
- Last Updated: Use the dropdown to filter memory blocks by when they were last updated. Options: Last hour, Last 24 hours, Last week, Last month, All time (default).
The list loads more memory blocks as you scroll down.
Memory block cards
Each card shows the block's name, injection and access mode badges, owner, last updated date, and action buttons for editing, sharing, and deleting. Shared or public blocks also display a visibility badge.
Share a memory block
You can share memory blocks with other users to give them access to the same persistent context. Sharing supports two permission levels:
| Permission | Description |
|---|---|
| Read | The user can view the memory block and use it in their chats. |
| Edit | The user can modify the memory block's name, content, system prompt amendment, and other settings. |
When you share a memory block through the UI, the user receives both read and edit permissions. To grant read-only access, use the REST API.
Only the owner of a memory block can share it, delete it, or change its public/private visibility. Users with edit permission can modify the block's content and settings, but they cannot share it with others or delete it.
Share with a specific user
- On the Memory page, click the Share icon on the memory block card.
- In the share dialog, select the Users tab.
- Use the Share with users dropdown to find and select the user.
- Click Save.
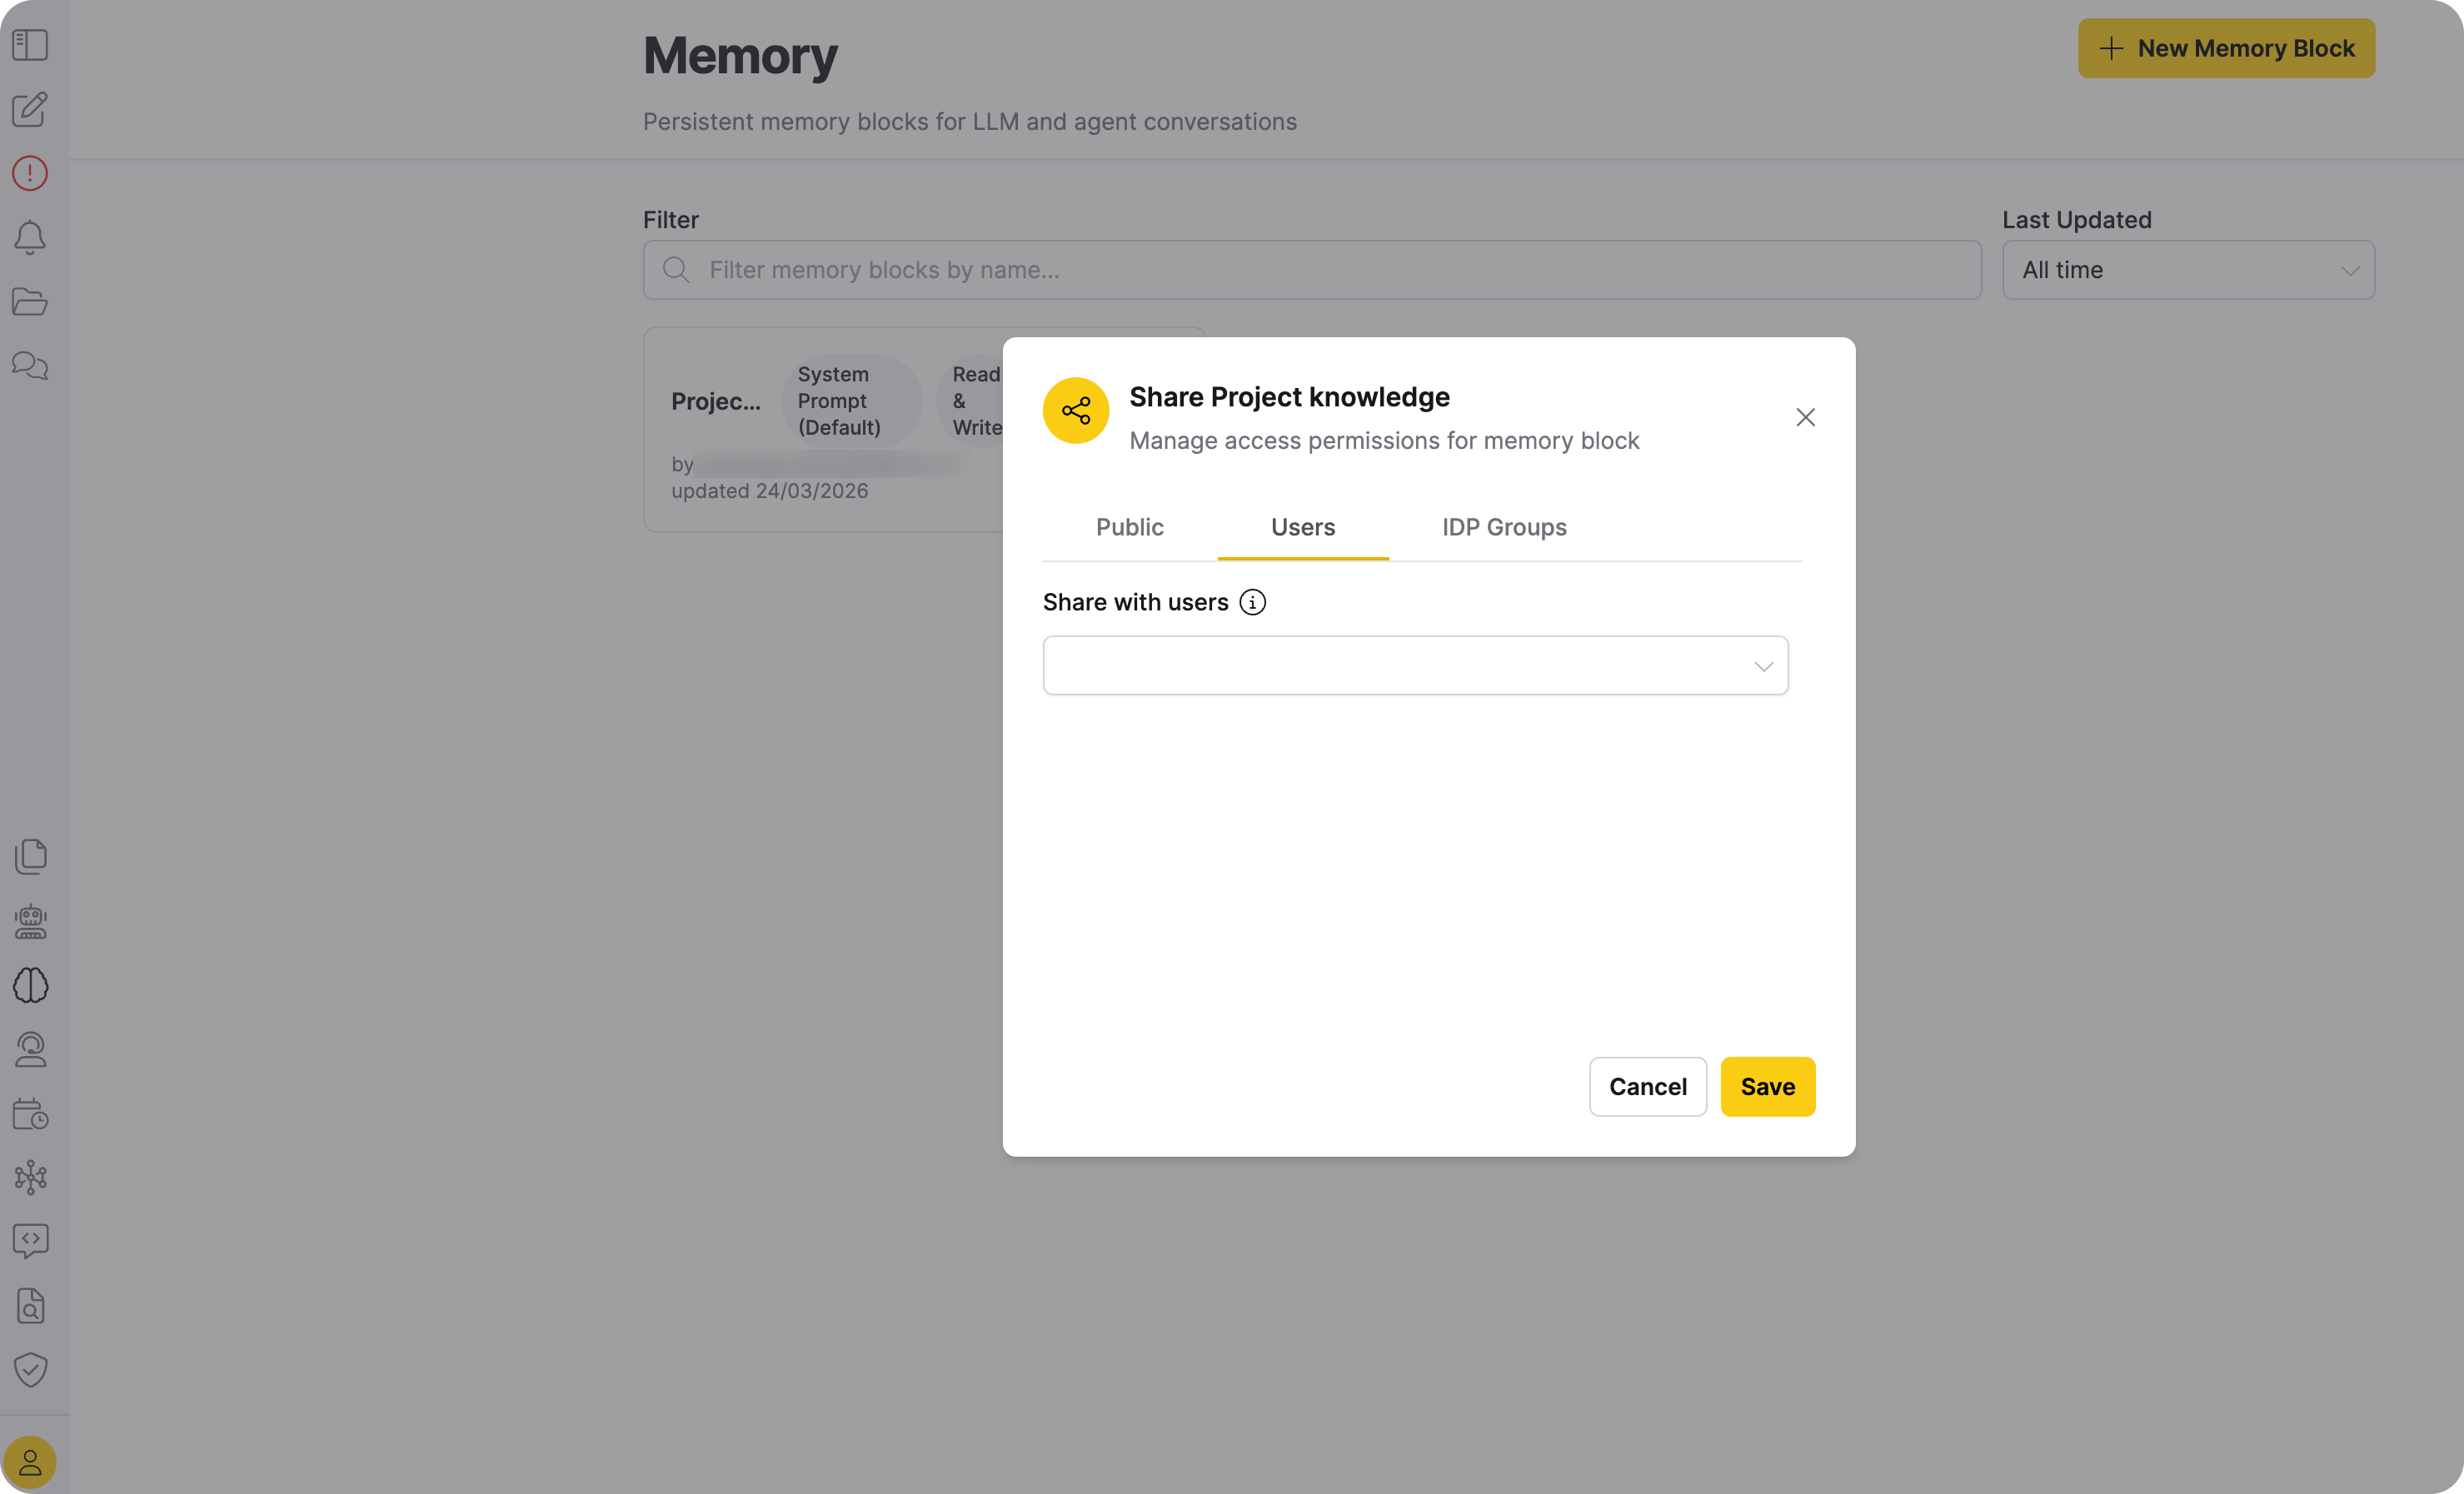
The shared user can now see the memory block on their Memory page, marked with a Shared badge.
Remove sharing from a user
- Click the Share icon on the memory block card.
- Select the Users tab.
- Click the X icon next to the user you want to remove.
- Click Save.

After you remove sharing, the user can no longer see or use the memory block (unless it is public).
Share with IDP groups
If your organization uses an external identity provider (IDP), the IDP Groups tab lets you share memory blocks with identity provider groups. All members of a selected group receive access to the memory block.
- Click the Share icon on the memory block card.
- Select the IDP Groups tab.
- Search for and select the IDP group to share with.
- Click Save.
Set public or private visibility
A public memory block is visible and usable by all logged-in users.
- Click the Share icon on the memory block card.
- On the Public tab, toggle the Make memory block public switch on or off.
- Click Save.
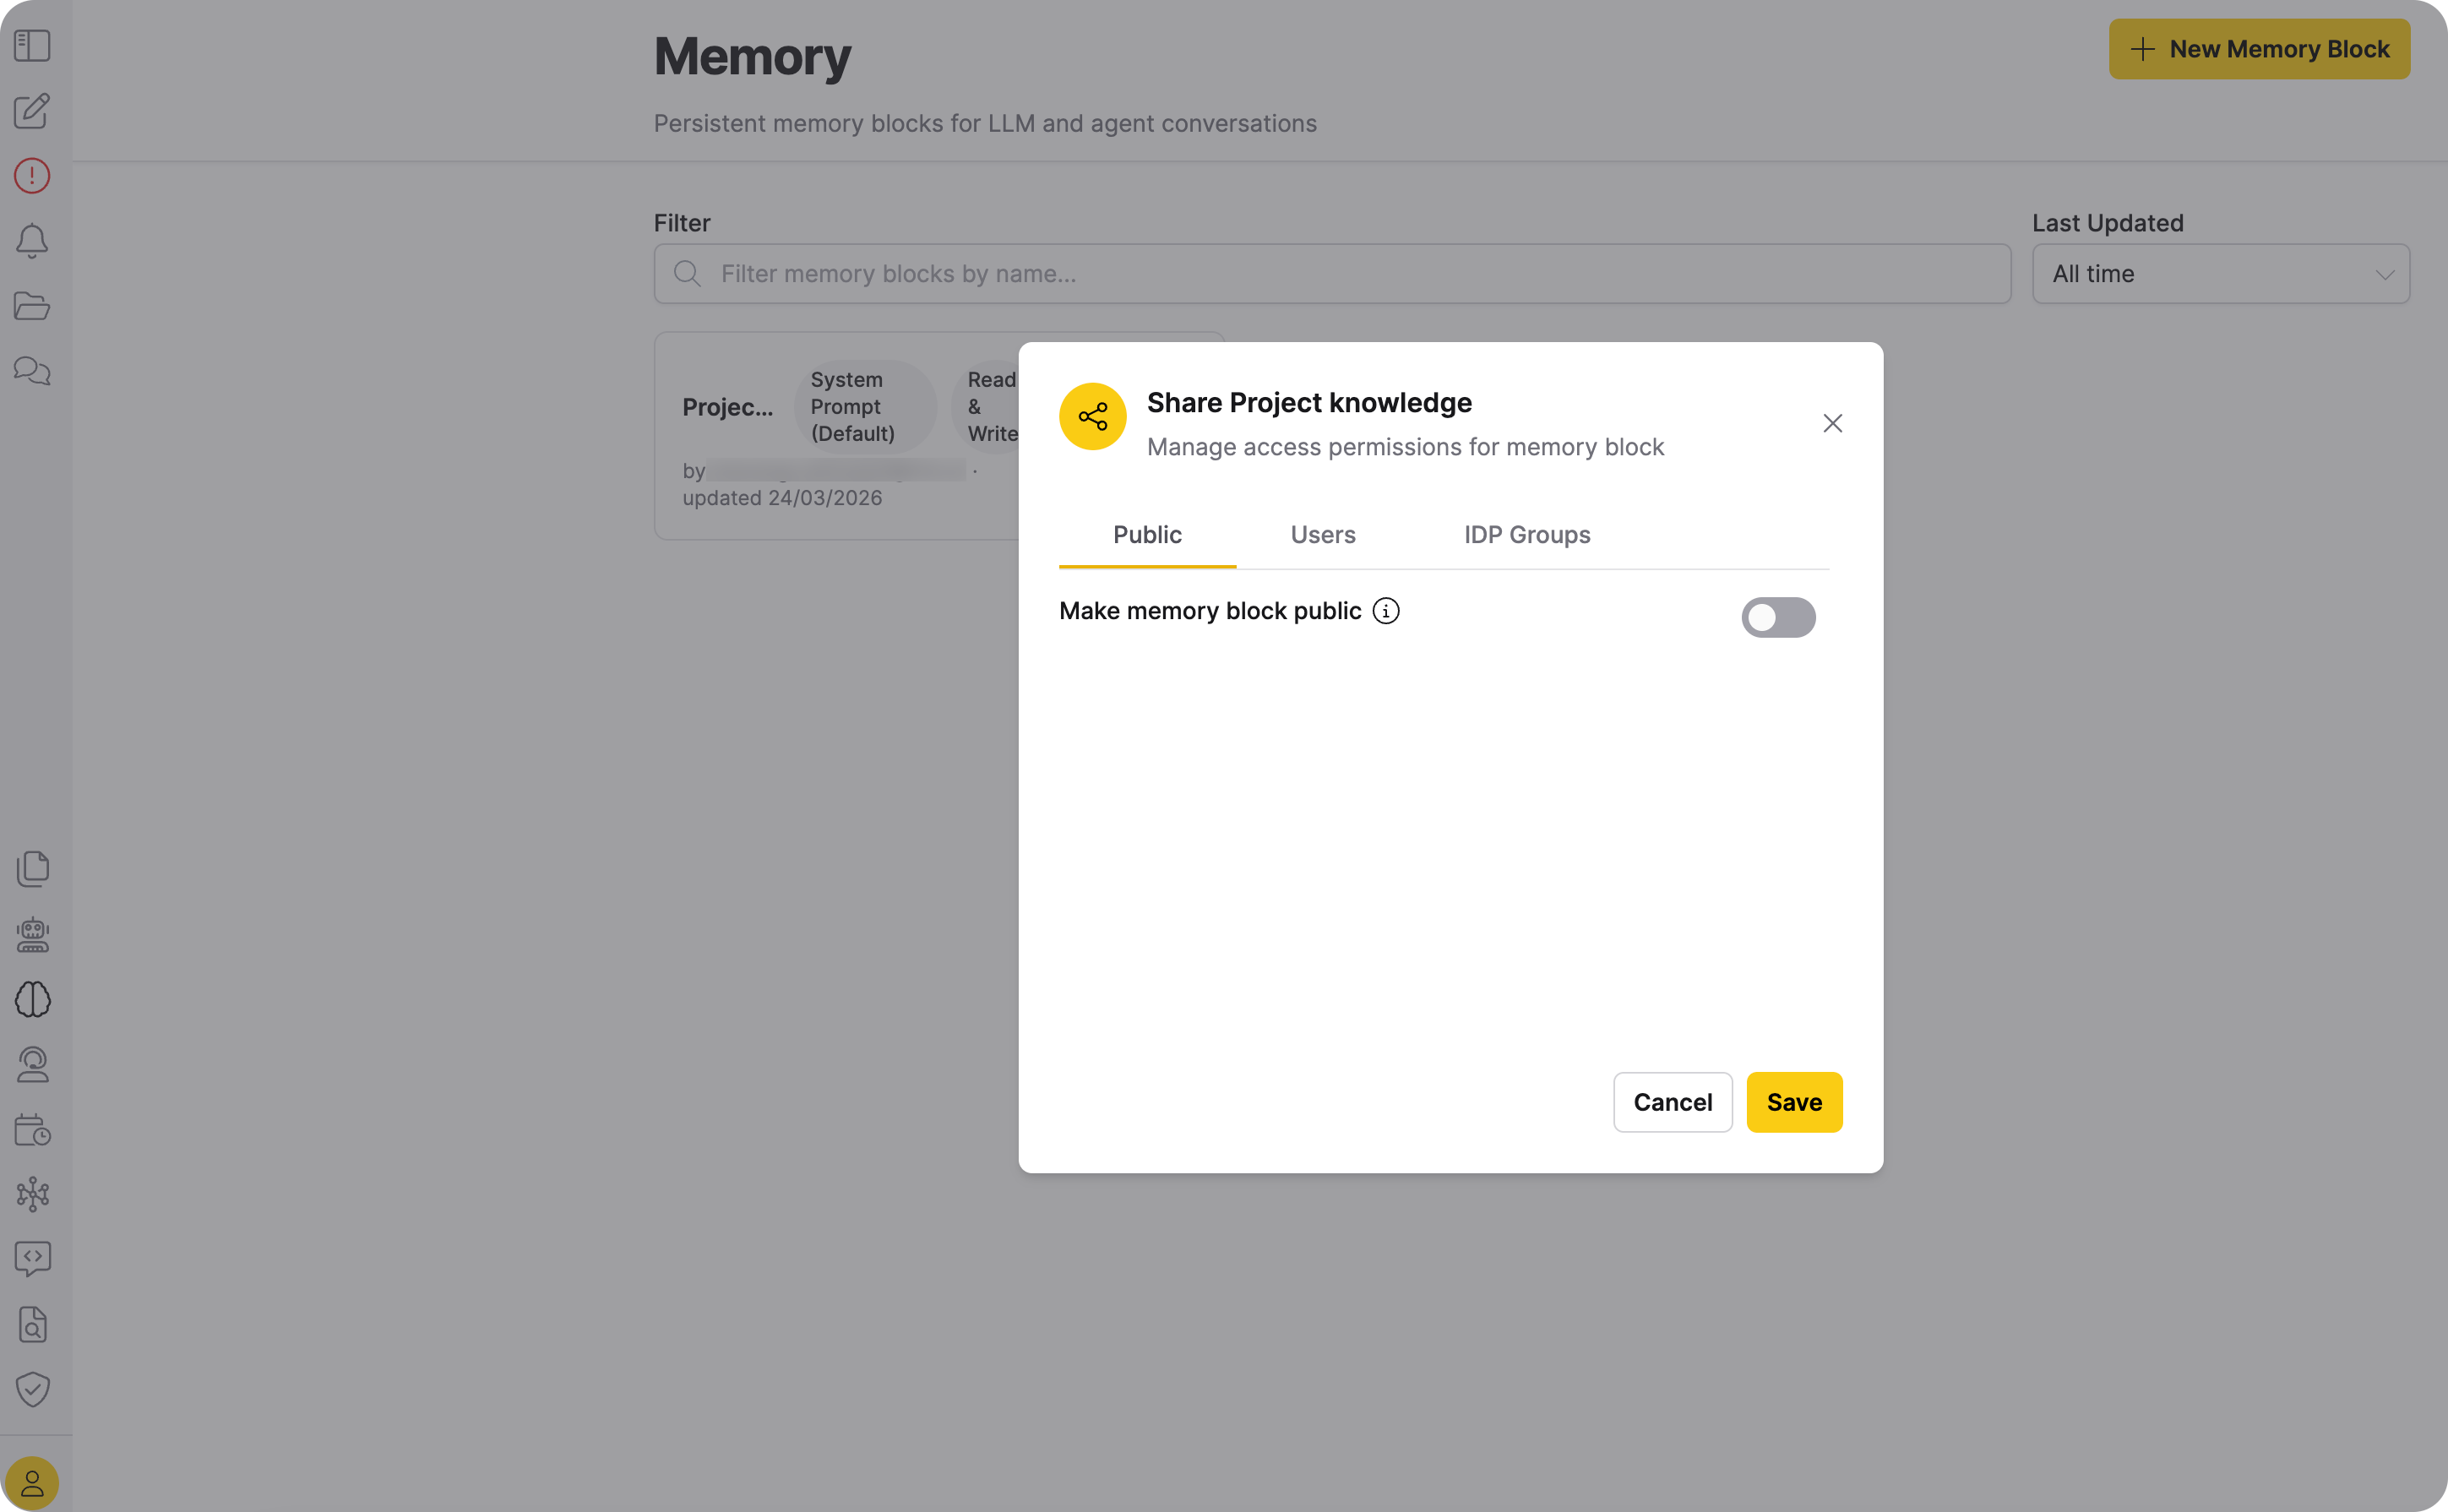
Public memory blocks appear with a Public badge on the Memory page.
- Submit and view feedback for this page
- Send feedback about Enterprise h2oGPTe to cloud-feedback@h2o.ai