Custom Recipe Management
The following sections describe custom recipe management in Driverless AI.
Understanding Custom Recipes
Custom recipes are Python code snippets that can be uploaded into Driverless AI at runtime like plugins. Restarting Driverless AI is not required. Custom recipes can be provided for transformers, models, and scorers. During training of a supervised machine learning modeling pipeline, Driverless AI can use these code snippets as building blocks in combination with or in place of built-in code pieces. When selecting recipes for an experiment in the Expert Settings panel, only custom recipes that are currently active are visible.
New datasets can be created by modifying an existing dataset with a data recipe. You can also apply data recipes as standalone recipes. Additionally, the set of MLI techniques and methodologies used in Driverless AI can be extended with recipes. For more information on MLI explainer recipes, see MLI Custom Recipes.
Note
The Python Scoring Pipeline for deployment features full support for custom recipes. You may be required to build several dependencies before running scorers that use custom recipes and to be able to compile. For complete examples that demonstrate how to download these dependencies and run the Python Scoring Pipeline, see Driverless AI Standalone Python Scoring Pipeline.
In most cases, and especially for complex recipes, MOJO for model deployment is not available out of the box. However, it is possible to get the MOJO. Contact support@h2o.ai for more information about creating MOJOs for custom recipes.
To enable Shapley calculations in MLI, custom model recipes must use the
has_pred_contribsmethod. Refer to the model recipe template for more info.When enabling recipes, you can use the
pip_install_optionsTOML option to specify your organization’s internal Python package index as follows:
pip_install_options="['--extra-index-url', 'http://my-own-repo:port']"
Adding Custom Recipes
To add a custom recipe, go to the recipe management page by clicking Recipes in the top navigation, then click the Add Custom Recipes button. Select one of the following options from the drop-down menu that appears:
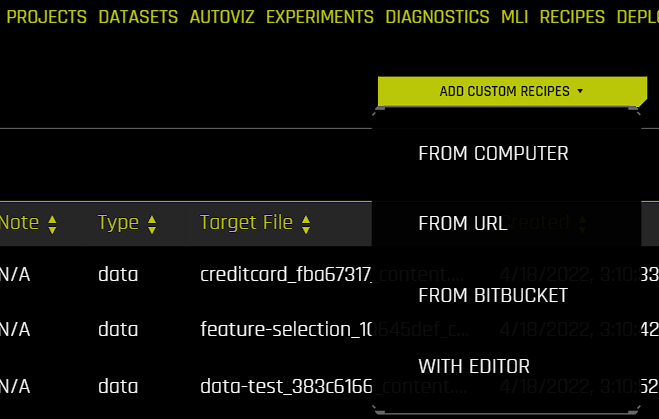
From computer: Add a custom recipe as a Python or ZIP file from your local file system.
From URL: Add one or more custom recipes from a URL that points to one of the following locations:
A GitHub repository. For example, you can enter
https://github.com/h2oai/driverlessai-recipes/to add all the custom recipes contained in the official Recipes for Driverless AI repository.A GitHub tree. For example, you can enter
https://github.com/h2oai/driverlessai-recipes/tree/master/modelsto add only the custom model recipes contained in the official Recipes for Driverless AI repository, or enterhttps://github.com/h2oai/driverlessai-recipes/tree/master/models/algorithmsto add only the custom algorithm recipes contained in the repository.A file system path. This option is equivalent to the File System option when adding datasets.
Note
You can add multiple custom recipes at a time by entering the URL of a GitHub repository or GitHub tree that contains multiple recipes.
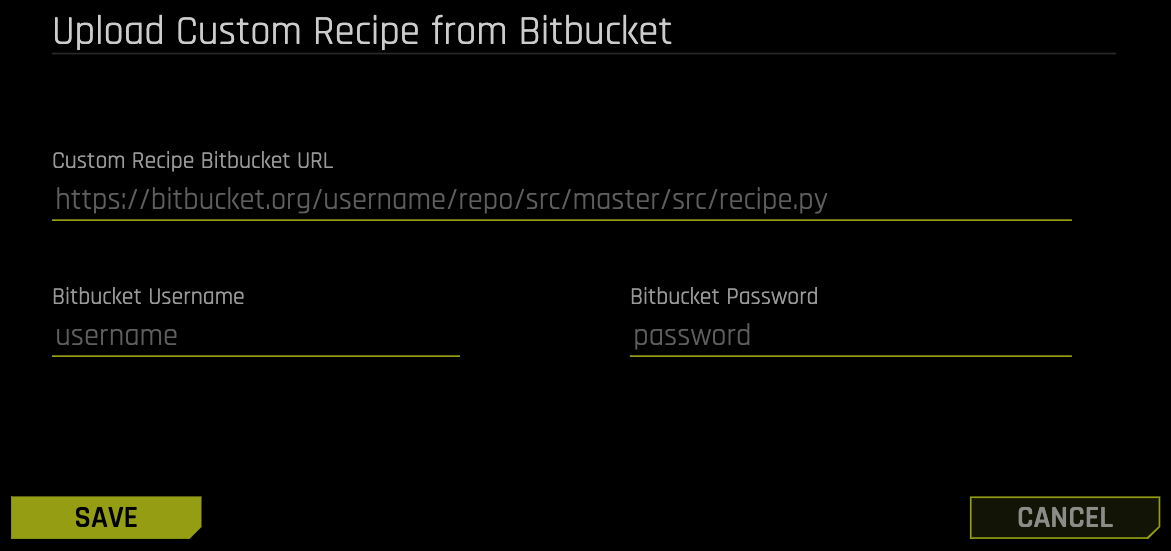
From Bitbucket: Add a custom recipe from a Bitbucket repository. To use this option, your Bitbucket username and password must be provided along with the custom recipe Bitbucket URL.
With Editor: Add a custom recipe with a built-in code editor.
Notes:
You can access the official Recipes for H2O Driverless AI GitHub repository by clicking the Official Recipes button on the Custom Recipes page.
When uploading a new recipe, any recipes that share either the same class name or
_display_nameattribute are deactivated because they are considered to be previous versions.If you set the
_global_modules_needed_by_nameparameter in a custom recipe, then ensure that it is set on a single line before uploading it. Using line breaks when setting the_global_modules_needed_by_nameparameter results in a syntax error when attempting to upload the custom recipe.
Managing Recipes
Two distinct views are available on this page:
List view: This view displays all available custom recipes. Only active recipes are listed by default, but deactivated recipes can also be viewed. For more information, see List View.
Detail view: This view lets you edit custom recipe code in Driverless AI and save the edited code. The detail view is available for both active and deactivated recipes. For more information, see Detail View.
List View
The following is a list of actions that you can take from the recipe list view:
General actions:
View deactivated recipes by selecting Include inactive recipes.
Deactivate a recipe by selecting it and clicking Deactivate \(x\) Item(s). You can use this option to deactivate multiple recipes at one time. Note that recipes can only be deactivated, not deleted.
Search and sort recipes. Note that if enough recipes are uploaded, they are listed on multiple pages.
Select which columns are visible on the list view.

Recipe-specific actions:
Open: View a specific recipe in detail.
Edit note: Create or edit a note for a recipe to keep track of its functionality.
Deactivate: Deactivate the selected recipe.
Apply on Dataset (For data recipes only): Apply an existing data recipe to the dataset. For more information on modifying datasets with data recipes, see Modify by custom data recipe.
Apply Without Dataset (For data recipes only): Apply the selected data recipe as a standalone recipe.
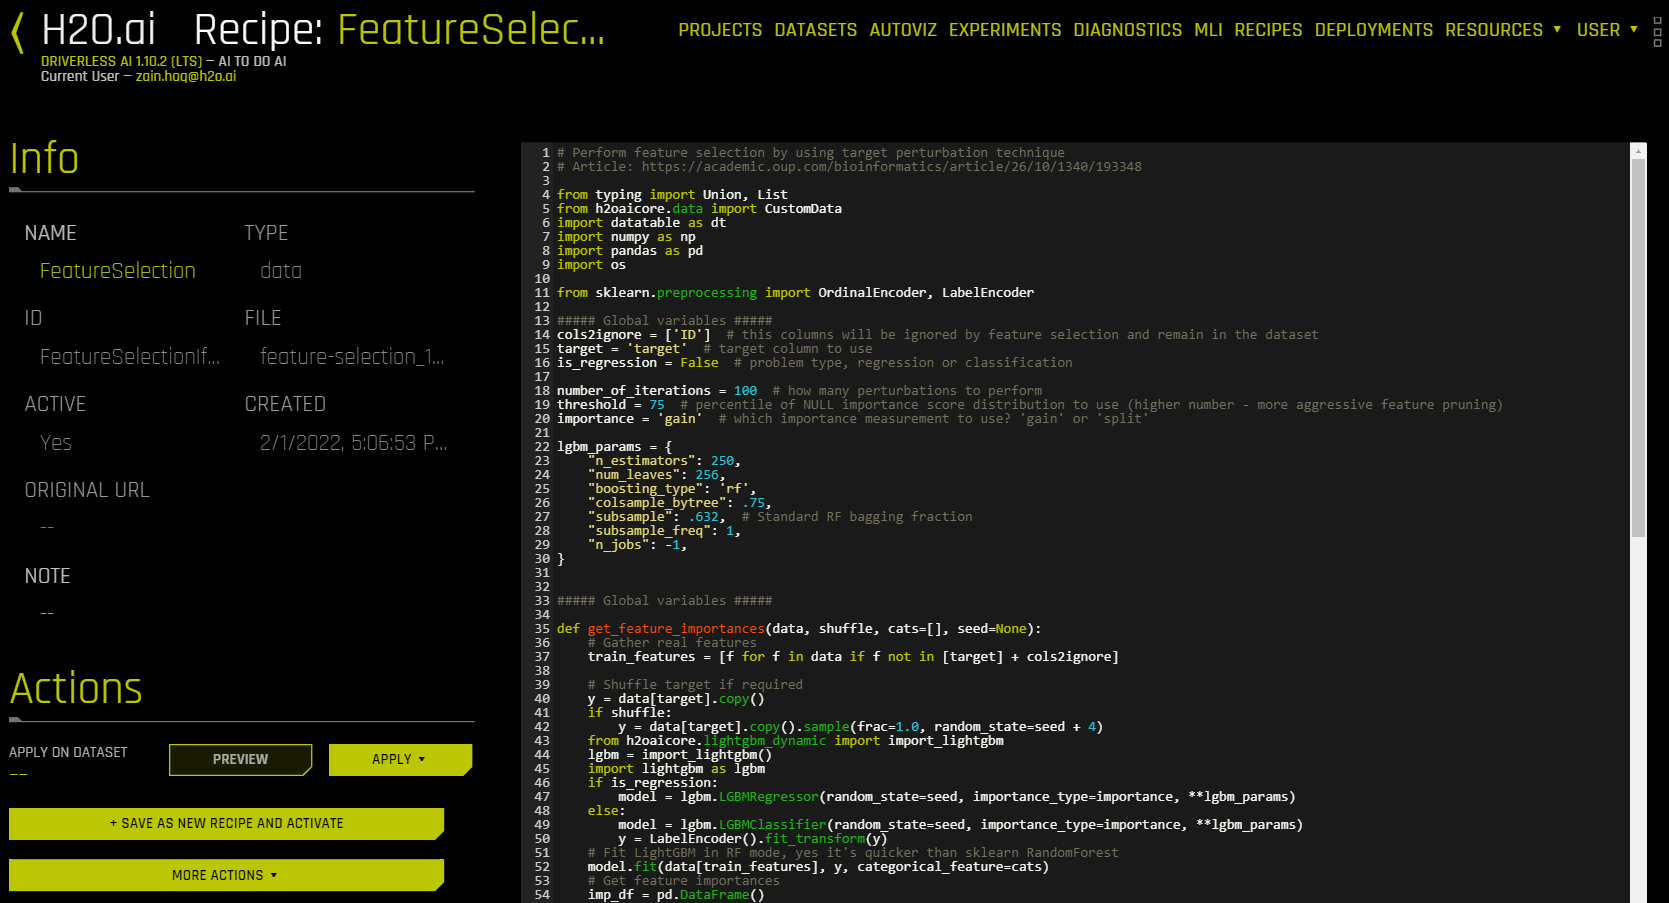
Detail View
The following is a list of actions that you can take from the recipe detail view:
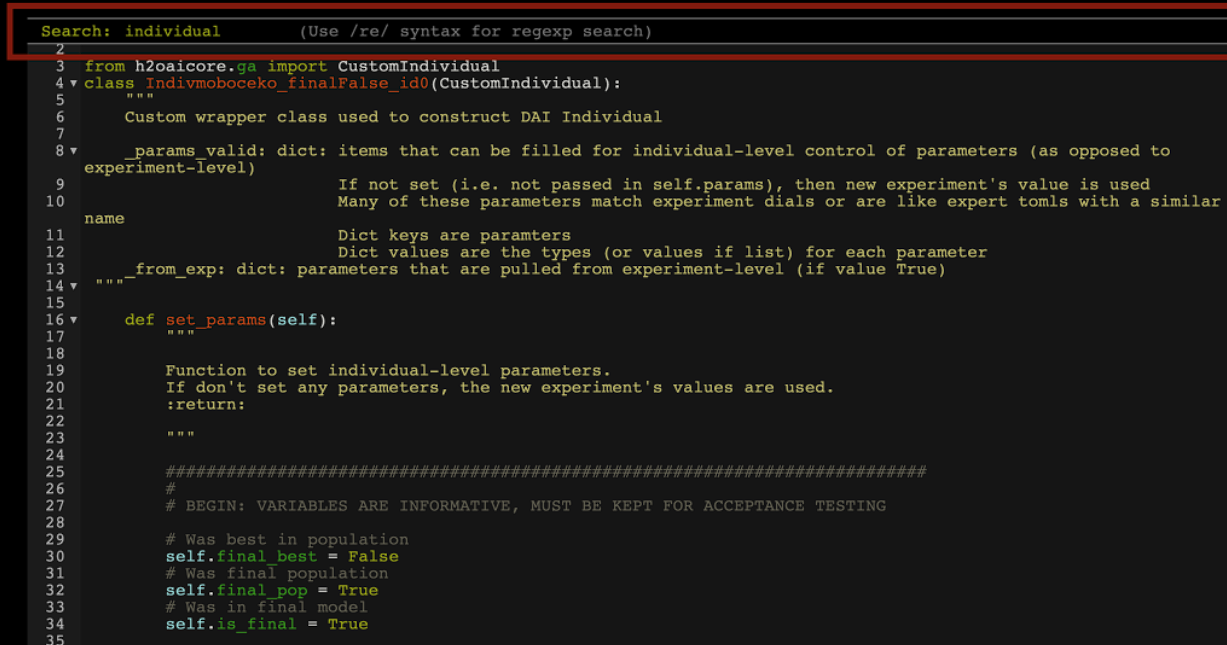
Edit custom recipe code:
You can toggle an in-code search feature by pressing Control+F (or Command+F on Mac).
To save the edited recipe, click the Save as New Recipe and Activate button.
If you change both the
ClassNameand_display_namedefined in the recipe, then the old version of the recipe remains active. If you don’t change both theClassNameand_display_namedefined in the recipe, the old version of the recipe is automatically deactivated when a new version is saved and activated. New versions of existing recipes keep references to the original recipes, letting you keep track of changes throughout multiple versions.You can download recipe code and deactivate recipes from this view.
View the recipe’s name, type, ID, filename, creation date, and whether the recipe is currently active.
(For data recipes only) Apply the data recipe on a dataset or as a standalone recipe.
If a recipe was downloaded from an external URL, the link is displayed under Original URL.
(For Individual recipes only) View a link to the experiment from which the Individual recipe was derived from.
More Actions drop-down:
(For Individual recipes only) To create a new experiment using the Individual recipe, click Use in New Experiment. The new experiment is set up based on the settings used in the parent experiment (equivalent to using the NEW WITH SAME SETTINGS option), and the individual recipe is also applied.
Download the recipe by clicking Download.
Deactivate the recipe by clicking Deactivate. Note that recipes can only be deactivated, not deleted.
Note
If _display_name is not defined in a recipe, then that recipe’s display name is derived from the ClassName defined in the recipe.
Examples
Additional Resources
Custom Recipes FAQ: For answers to common questions about custom recipes.
How to Write a Recipe: A guide for writing your own recipes.
Data Template: A template for creating your own Data recipe.
Model Template: A template for creating your own Model recipe.
Scorer Template: A template for creating your own Scorer recipe.
Transformer Template: A template for creating your own Transformer recipe.