安装 Google Cloud Platform 产品
本节介绍如何使用 GCP Marketplace 在 Google 计算环境中安装并启动 Driverless AI。此操作假设您已有 Google Cloud Platform 帐户。如果您还没有帐户,则可前往 https://console.cloud.google.com/getting-started 创建帐户。
开始前
如果您是首次尝试使用 GCP 并且刚刚创建了帐户,请检查您的 Google Compute Engine (GCE) 资源配额限制。默认情况下,GCP 最多分配 8 个 CPU,也可不分配 GPU。我们默认建议使用 32 个 CPU、120 GB RAM 和 2 个 P100 NVIDIA GPU 来启动 Driverless AI。您可以更改这些设置以匹配配额限制,或者您可以从 GCP 请求更多资源。请参阅 https://cloud.google.com/compute/quotas,以了解更多信息,包括关于如何检查配额及请求额外配额的信息。
安装步骤
在浏览器中,前往 https://console.cloud.google.com/ 登录至 Google Compute Engine 控制台。
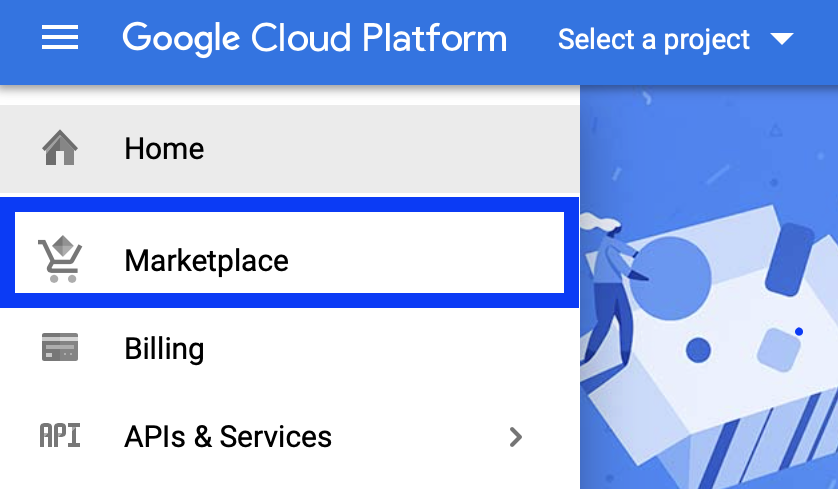
在左侧导航面板中,选择 Marketplace 。
在 Marketplace 页面上,搜索 Driverless 并选择 H2O.ai Driverless AI 产品。随后将显示以下页面。
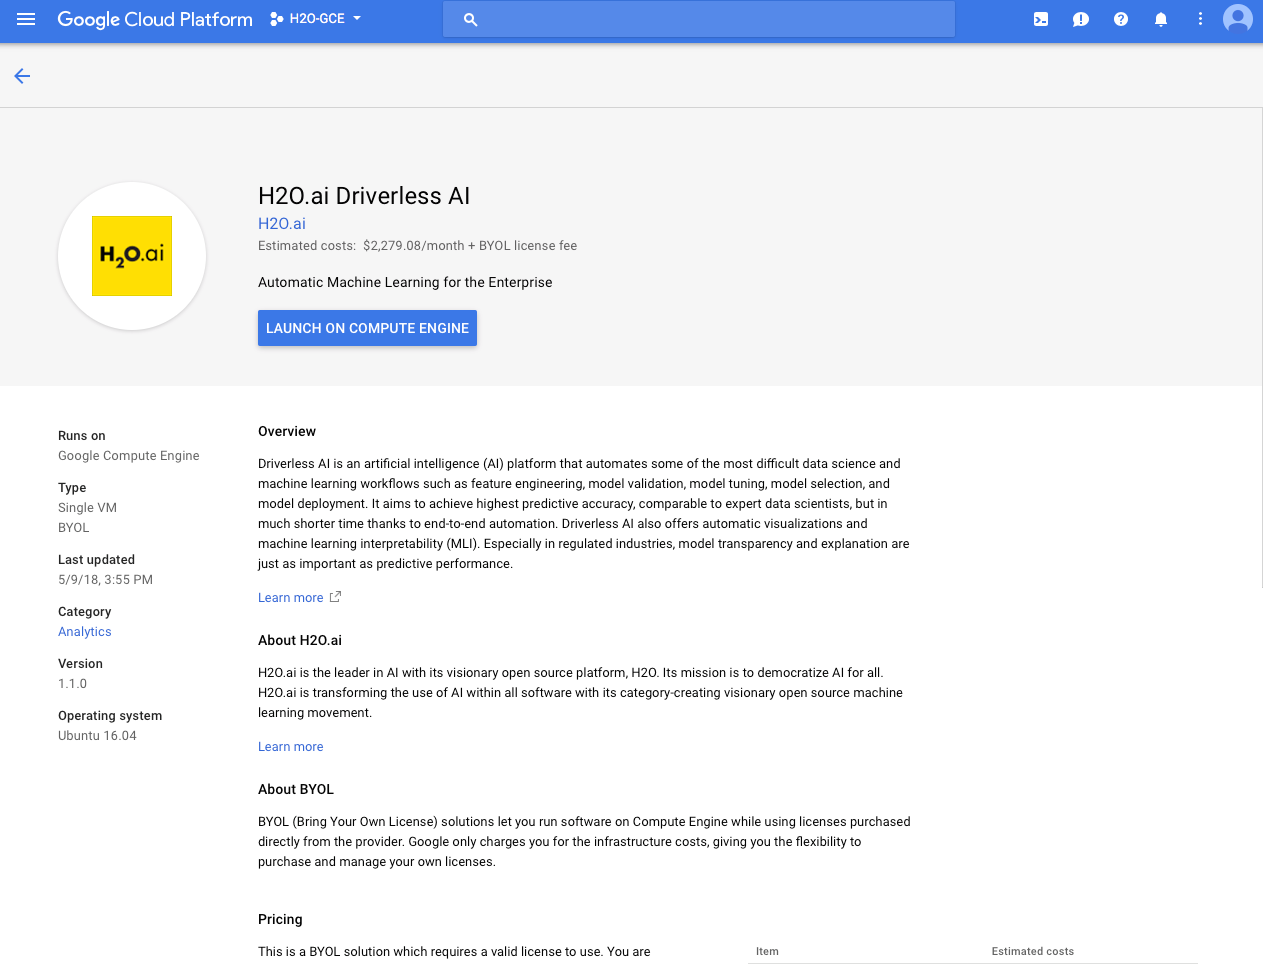
点击 在 Compute Engine 上启动 。(如有必要,请参阅 Google Compute 实例类型 ,了解关于计算机和 GPU 类型的信息。)
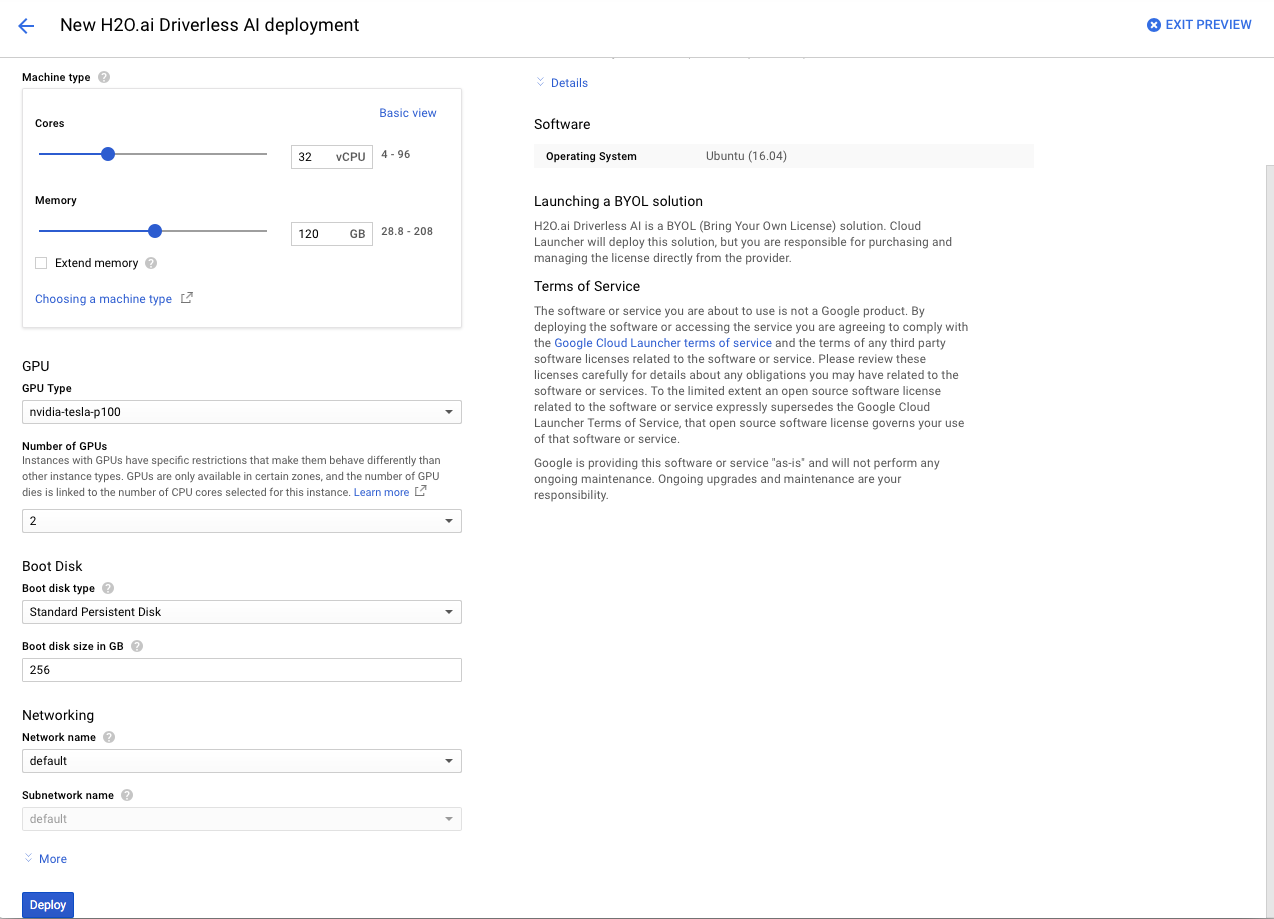
选择具有 p100s 或 k80s 的区域(例如 us-east1-)
可选择更改核心数和内存大小。(默认为 32 个 CPU 和 120 GB RAM。)
指定 GPU 类型。(默认为 p100 GPU。)
可选择更改 GPU 的数量。(默认为 2 个。)
指定启动磁盘的类型和大小。
可选择更改网络名称和子网名称。请确保您指定的任一网络均公开 12345 端口。
完成后点击、部署 。Driverless AI 将开始进行部署。请注意,这可能需要几分钟。
成功部署计算引擎后,将显示一个摘要页面。此页面包括启动 Driverless AI 时需要使用的实例 ID、用户名(始终为 h2oai)和密码。点击实例链接可获取启动 Driverless AI 的外部 IP 地址。
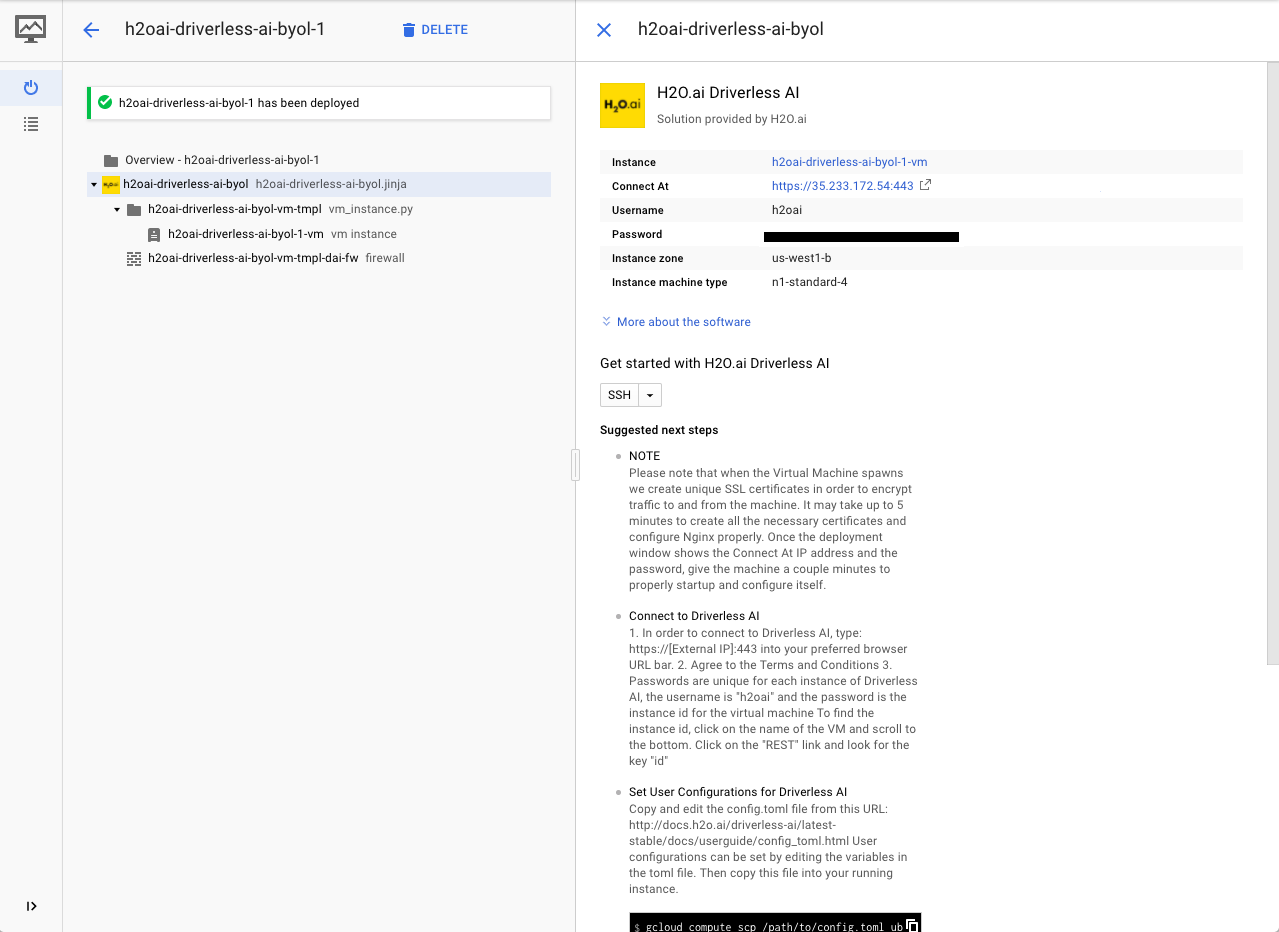
在浏览器中,前往 https://[External_IP]:12345 以启动 Driverless AI。
同意条款和条件。
使用您的用户名和密码登录至 Driverless AI。
可选择启用 GCS 和 Big Query 访问权限。
若需启用 GCS 和 Google Big Query 访问权限,您必须将配置有 GCS 和 GBQ 访问权限的服务帐户 json 文件传递给正在运行的实例。Driverless AI 映像则会带有一个名为 service_account.json 的空文件。从 GCP 中获取有效的服务帐户 json 文件,将其重命名为 “service_account.json”,然后复制到正在运行的实例的 Ubuntu 用户。
gcloud compute scp /path/to/service_account.json ubuntu@<running_instance_name>:service_account.json
使用 SSH 连接至运行 Driverless AI 的计算机,并验证 service_account.json 文件是否位于 /etc/dai/ 文件夹中。
重启计算机以使更改生效。
sudo systemctl stop dai

# Wait for the system to stop

# Verify that the system is no longer running
sudo systemctl status dai

# Restart the system
sudo systemctl start dai
升级 Google Cloud Platform 产品
执行以下步骤以升级 Driverless AI Google Platform 产品。将下方 dai_NEWVERSION.deb 替换为新的 Driverless AI 版本(例如,dai_1.6.1_amd64.deb)。请注意,此升级进程将从 /etc/dai/User.conf 和 /etc/dai/Group.conf 中继承服务用户和用户组。升级期间,您无需手动指定 DAI_USER 或 DAI_GROUP 环境变量。
# Stop Driverless AI.
sudo systemctl stop dai

# Make a backup of /opt/h2oai/dai/tmp directory at this time.

# Upgrade Driverless AI.
sudo dpkg -i dai_NEWVERSION.deb
sudo systemctl daemon-reload
sudo systemctl start dai