H2O-3 example
This example demonstrates how you can upload and deploy an H2O-3 model in MLOps using the MLOps Python client.
- You will need a MOJO zip file of an H2O-3 model in order to upload it to MLOps and deploy.
- You will need the values for the following constants in order to successfully carry out the task. Contact your administrator to obtain deployment specific values.
| Constant | Value | Description |
|---|---|---|
MLOPS_API_URL | Usually: https://api.mlops.my.domain | Defines the URL for the MLOps Gateway component. You can verify the correct URL by navigating to the API URL in your browser. It should provide a page with a list of available routes. |
TOKEN_ENDPOINT_URL | https://mlops.keycloak.domain/auth/realms/[fill-in-realm-name]/protocol/openid-connect/token | Defines the token endpoint URL of the Identity Provider. This uses Keycloak as the Identity Provider. Keycloak Realm should be provided. |
REFRESH_TOKEN | <your-refresh-token> | Defines the user's refresh token. |
CLIENT_ID | <your-client-id> | Sets the client id for authentication. This is the client you will be using to connect to MLOps. |
PROJECT_NAME | H2O3UploadAndDeployExample | Defines a project that script will create for the H2O-3 model. |
H2O3_MOJO_FILE_PATH | <path-to-your-mojo-zip-file> | Defines the local path to an H2O-3 MOJO zip file that will be uploaded and deployed. |
H2O3_MOJO_DISPLAY_NAME | H2O3UploadAndDeployExampleMojo | Defines an H2O-3 MOJO display name. |
DEPLOYMENT_ENVIRONMENT | DEV | Defines the target deployment environment. |
REFRESH_STATUS_INTERVAL | 1.0 | Defines a refresh interval for the deployment health check. |
MAX_WAIT_TIME | 300 | Defines maximum waiting time for the deployment to become healthy. |
This section describes how to upload and deploy a model in H2O-3 using the MLOps Python client.
Change the values of the following constants in your
H2O3UploadAndDeployExample.pyfile as given in the preceding data table.H2O3UploadAndDeployExample.py### Constants
MLOPS_API_URL = <MLOPS_API_URL>
TOKEN_ENDPOINT_URL = <TOKEN_ENDPOINT_URL>
REFRESH_TOKEN = <REFRESH_TOKEN>
CLIENT_ID = <CLIENT_ID>
PROJECT_NAME = <PROJECT_NAME>
H2O3_MOJO_FILE_PATH = <H2O3_MOJO_FILE_PATH>
H2O3_MOJO_DISPLAY_NAME = <H2O3_MOJO_DISPLAY_NAME>
DEPLOYMENT_ENVIRONMENT = <DEPLOYMENT_ENVIRONMENT>
REFRESH_STATUS_INTERVAL = <REFRESH_STATUS_INTERVAL>
MAX_WAIT_TIME = <MAX_WAIT_TIME>H2O3UploadAndDeployExample.py### Constants
MLOPS_API_URL = "https://api.mlops.my.domain"
TOKEN_ENDPOINT_URL="https://mlops.keycloak.domain/auth/realms/[fill-in-realm-name]/protocol/openid-connect/token"
REFRESH_TOKEN="<your-refresh-token>"
CLIENT_ID="<your-mlops-client>"
PROJECT_NAME = "H2O3UploadAndDeployExample"
H2O3_MOJO_FILE_PATH = "<path-to-your-local-mojo-zip>"
H2O3_MOJO_DISPLAY_NAME = "H2O3UploadAndDeployExampleMOJO"
DEPLOYMENT_ENVIRONMENT = "DEV"
REFRESH_STATUS_INTERVAL = 1.0
MAX_WAIT_TIME = 300Run the
H2O3UploadAndDeployExample.pyfile.python3 H2O3UploadAndDeployExample.pyDeployment has become healthyFinally, navigate to MLOps and click the project name
H2O3UploadAndDeployExampleunder Projects to view the deployed model.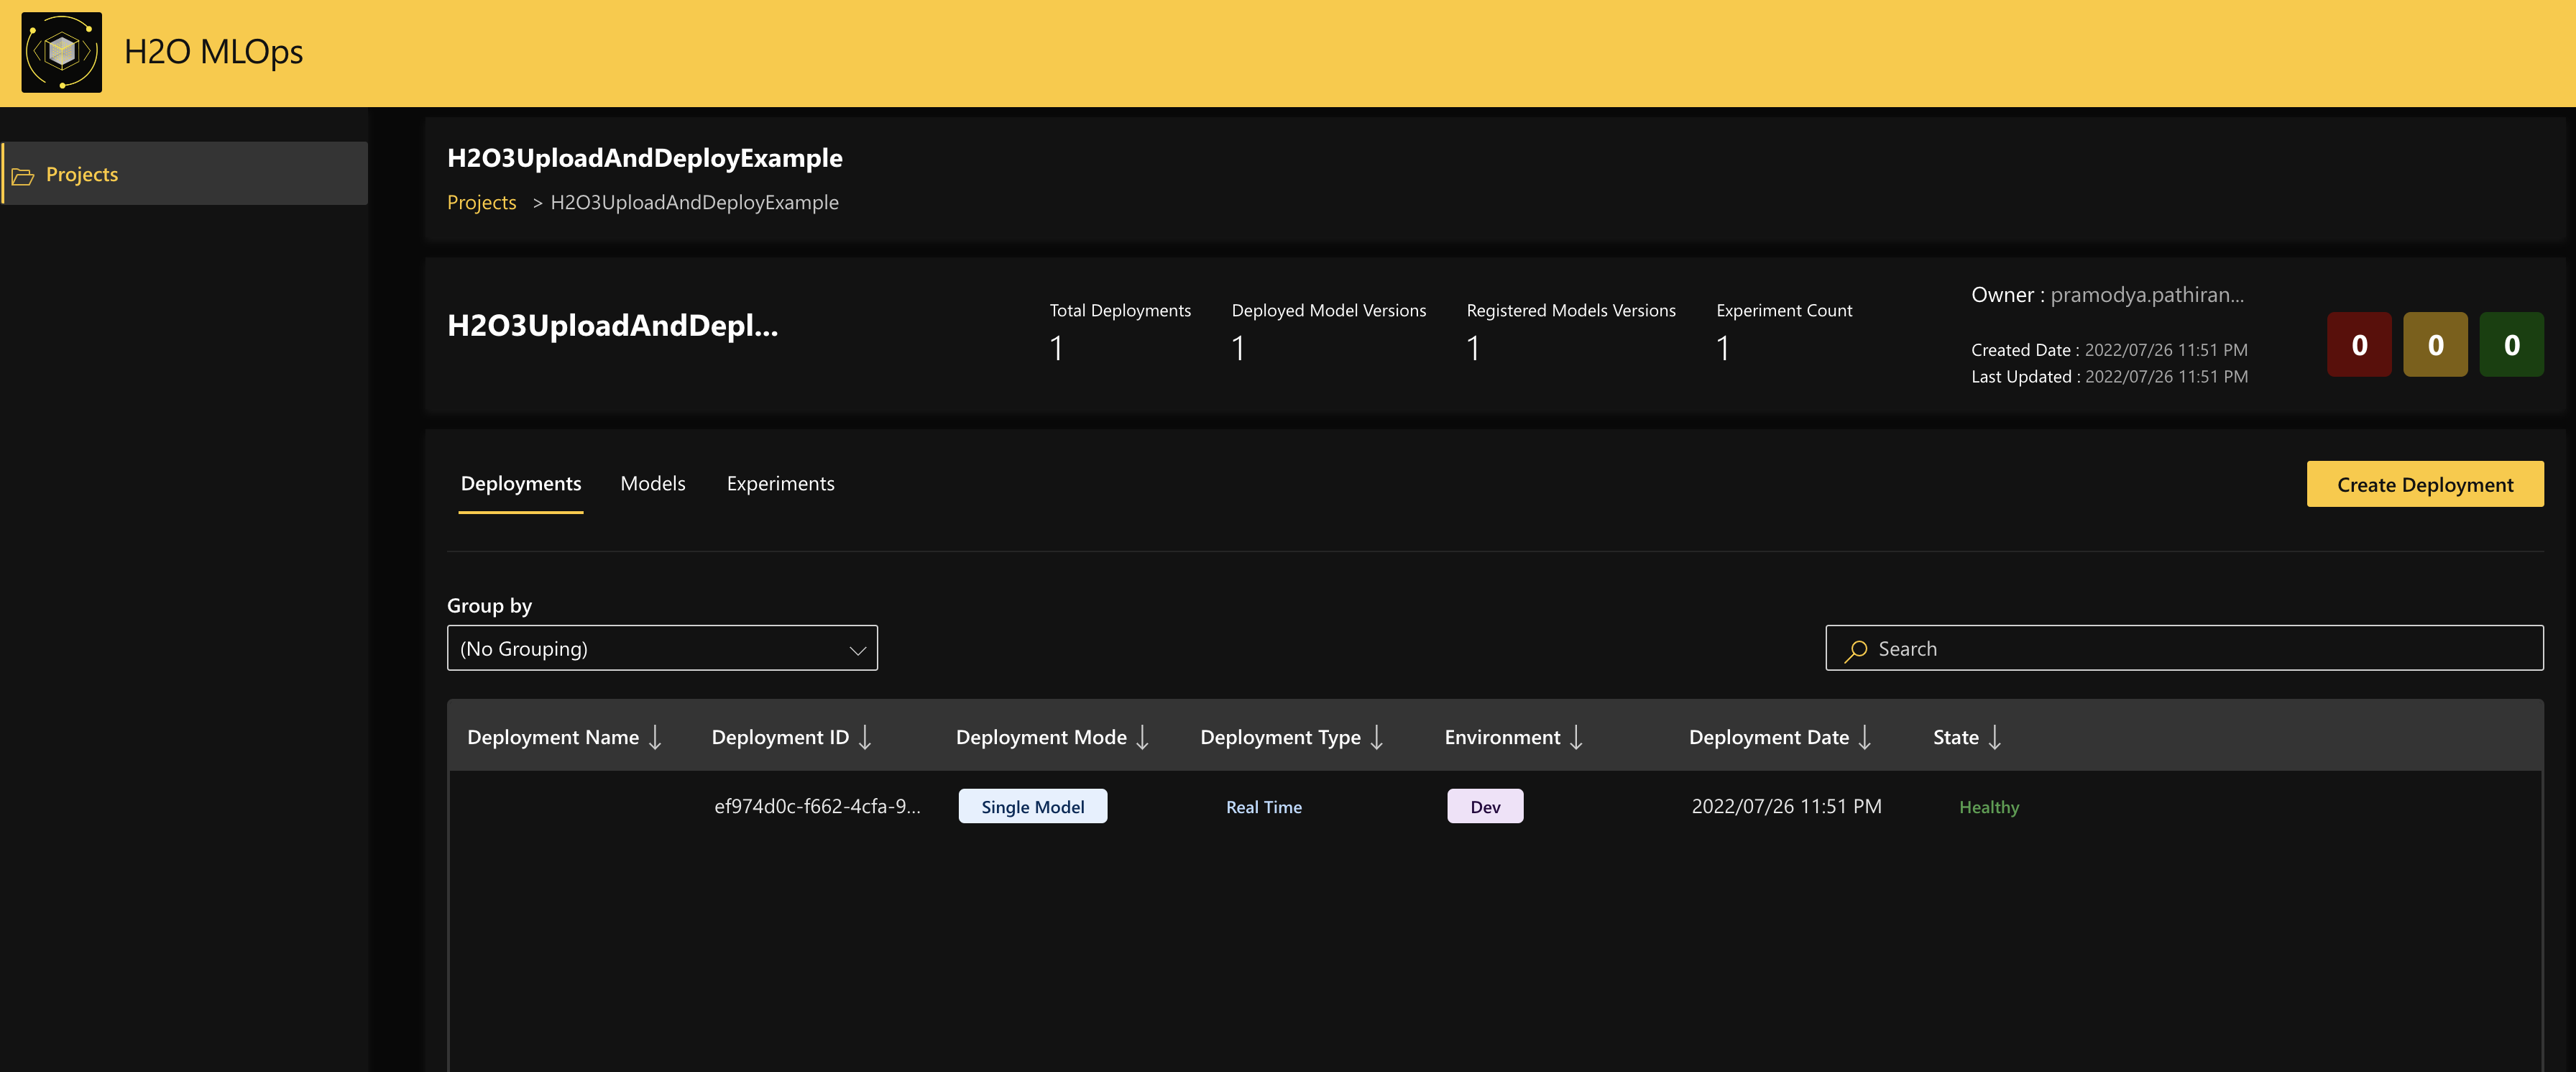 Note
NoteFor more information about model deployments in MLOps, see Understand deployments in MLOps.
Example walkthrough
This section provides a walkthrough of each of the sections in the H2O3UploadAndDeployExample.py file.
Include the Helper function, which waits for the deployment to be healthy.
Convert the extracted metadata into storage compatible value objects.
Create a project in MLOps and create an artifact in MLOps storage.
Upload an H2O-3 MOJO zip file and analyze it.
H2O3UploadAndDeployExample.py# Uploading and H2O3 MOJO zip file.
with open(H2O3_MOJO_FILE_PATH, "rb") as mojo_file:
mlops_client.storage.artifact.upload_artifact(
file=mojo_file, artifact_id=artifact.id
)
# Analyzing the H2O3 MOJO zip file.
ingestion: mlops.IngestMetadata = mlops_client.ingest.model.create_model_ingestion(
mlops.IngestModelIngestion(artifact_id=artifact.id)
).ingestion
model_metadata = convert_metadata(ingestion.model_metadata)
model_params = mlops.StorageExperimentParameters(
target_column=ingestion.model_parameters.target_column
)
Create an experiment from the H2O-3 MOJO zip file and link the artifact to the experiment.
H2O3UploadAndDeployExample.py# Creating an experiment from the H2O3 MOJO zip file.
experiment: mlops.StorageExperiment = (
mlops_client.storage.experiment.create_experiment(
mlops.StorageCreateExperimentRequest(
project_id=prj.id,
experiment=mlops.StorageExperiment(
display_name=H2O3_MOJO_DISPLAY_NAME,
metadata=model_metadata,
parameters=model_params,
),
)
).experiment
)
# Linking the artifact to the experiment.
artifact.entity_id = experiment.id
artifact.type = ingestion.artifact_type
mlops_client.storage.artifact.update_artifact(
mlops.StorageUpdateArtifactRequest(
artifact=artifact, update_mask="type,entityId"
)
)Customize the composition of the deployment and specify the deployment as a single deployment.
H2O3UploadAndDeployExample.py# Customize the composition of the deployment
composition = mlops.DeployDeploymentComposition(
experiment_id=experiment.id,
artifact_id=artifact.id,
deployable_artifact_type_name="h2o3_mojo",
artifact_processor_name="h2o3_mojo_extractor",
runtime_name="h2o3_mojo_runtime"
)
# Specify the deployment as a single deployment (not champion/challenger or A/B test)
to_deploy = mlops.DeployDeployment(
project_id=prj.id,
deployment_environment_id=deployment_env_id,
single_deployment=mlops.DeploySingleDeployment(
deployment_composition=composition
)
)Finally, create the deployment and wait for the deployment to become healthy. This analyzes and sets the metadata and parameters of the model, and deploys it to the
DEVenvironment.
- Submit and view feedback for this page
- Send feedback about H2O MLOps to cloud-feedback@h2o.ai