Applications with Sketch2App
Overview
This tutorial guides you through the process of using GenAI AppStudio's Sketch2App to transform a simple sketch into a fully functional web application. By the end of this tutorial, you will have a better understanding of Sketch2App's workflow, key functionalities, and how it combines computer vision, natural language processing, and large language models (LLMs) to create interactive web applications.
Prerequisites
- Ensure you have access to GenAI AppStudio.
- Familiarize yourself with basic concepts of sketching and application development.
Step 1: Import a sketch
To start the application creation process, import a sketch into GenAI AppStudio. Follow these steps:
- Launch GenAI AppStudio.
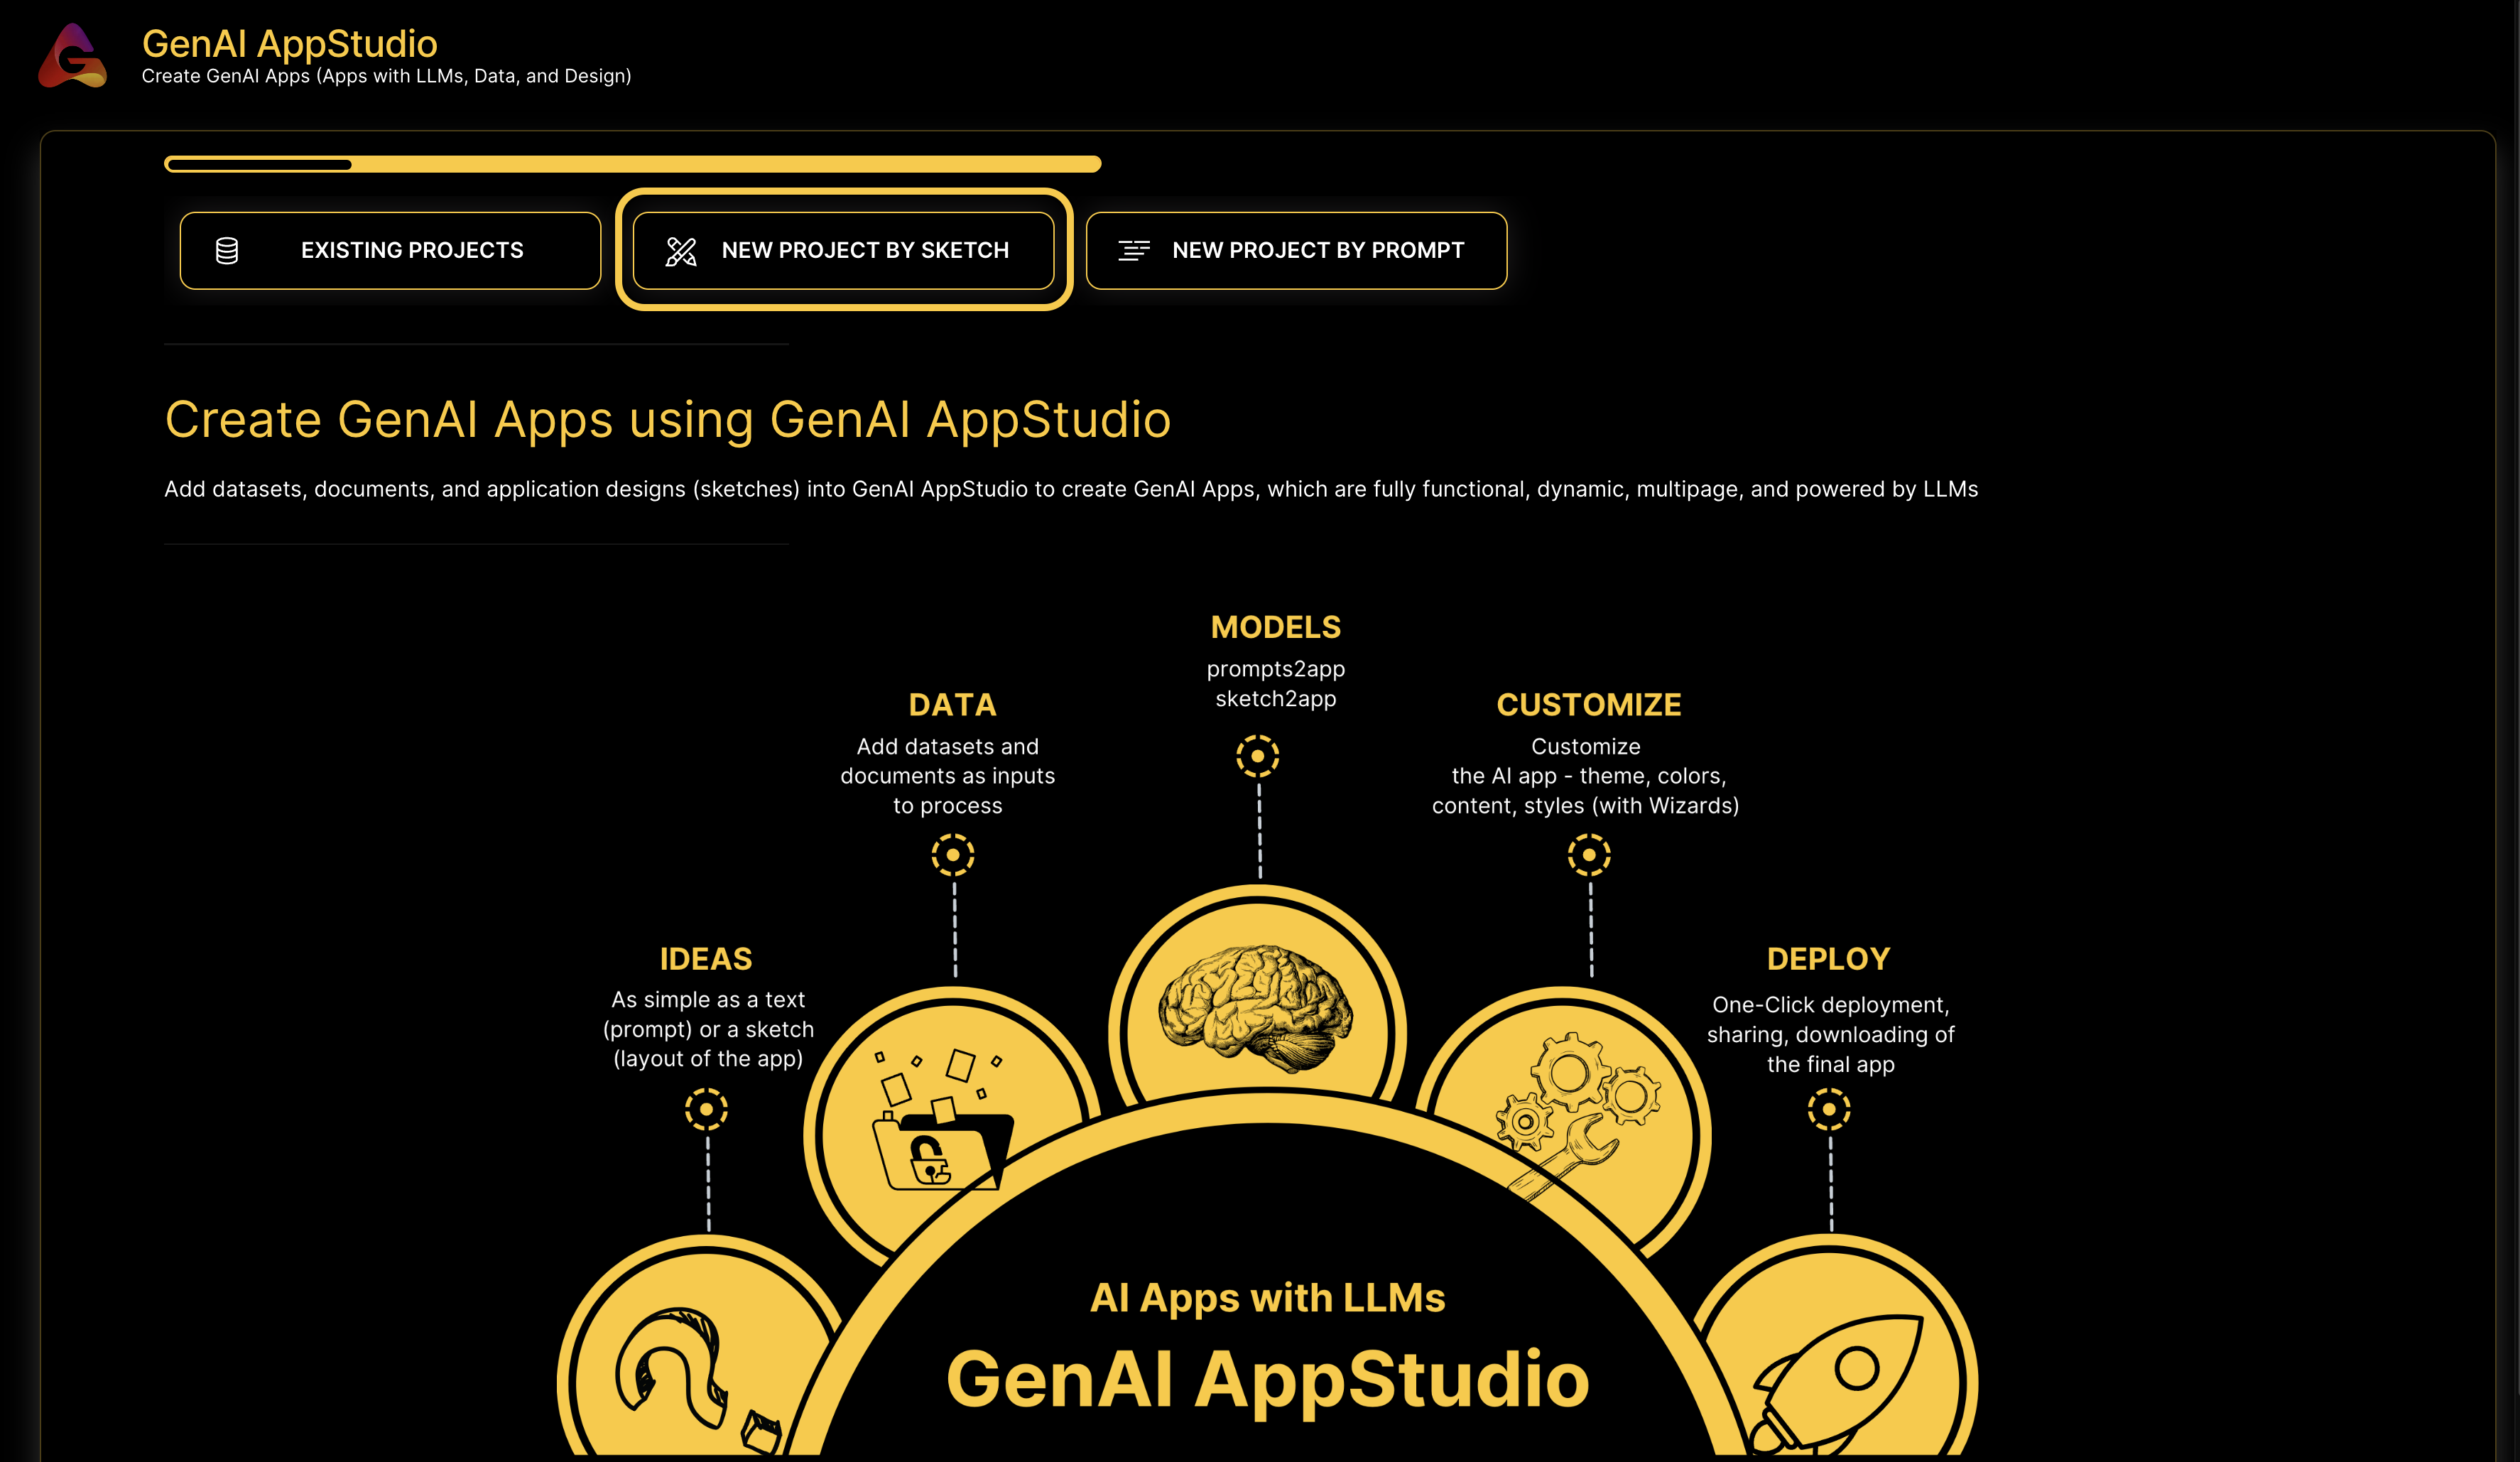
- Navigate to the Sketch2App section by clicking the NEW PROJECT BY SKETCH tab, as shown below:
- Describe your idea and pick an applicable option from the Choose Industry dropdown list, and click NEXT.
- Choose to upload your own sketch (the sketch can be designed using any software of choice) or use a sample sketch, and click NEXT.
- Opt to provide your own dataset; if not, synthetic data will be generated. Click NEXT when completed.
- Opt to add your own document; if not, pre-existing documents will be generated. Click NEXT when completed.
The optimal sketch is comprised of multiple boxes or cards arranged on a plane. These boxes should then be labeled to indicate the type of card to be created, and their dimensions (width and height) will determine the corresponding size of the cards in the application. It is crucial to carefully position and size the cards in your sketch, as these elements are mapped precisely within the generated application, ensuring accurate representation. See use case for example sketches.
Step 2: Edit application using Wizard and Code Editor
- Once the neccesary data is imported, the Sketch2App pipeline is triggered and starts processing the input image. Sketch2App utilizes computer vision models, natural language processing, and LLMs to process the sketch and generate application code.
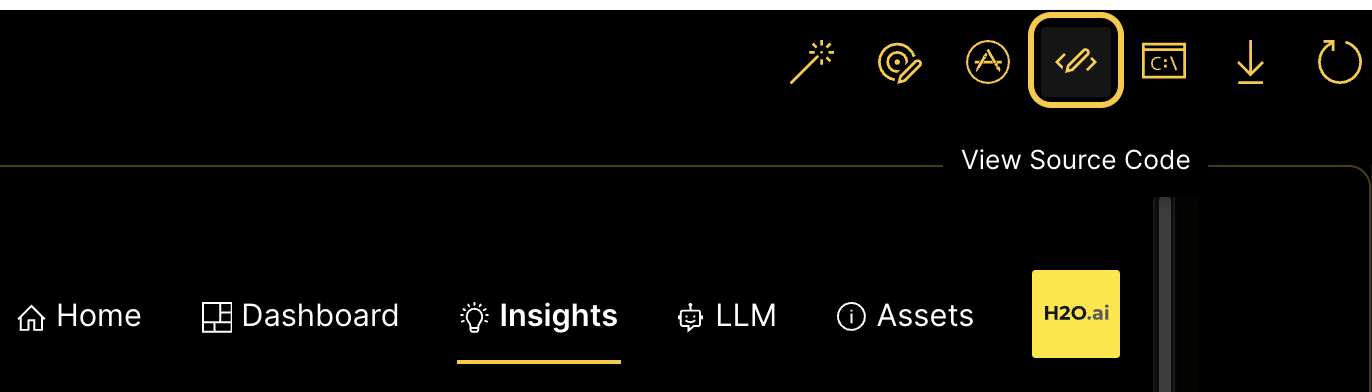
- You can choose to further refine and personalize the generated application code by using the built-in editing options within the app. Click the View Source Code button on the tab bar, as shown below:
Step 3: Deployment and download
- After the job is finished and the source code has been generated, you can choose to either view the app by clicking the VIEW APP icon or the PREVIEW button.
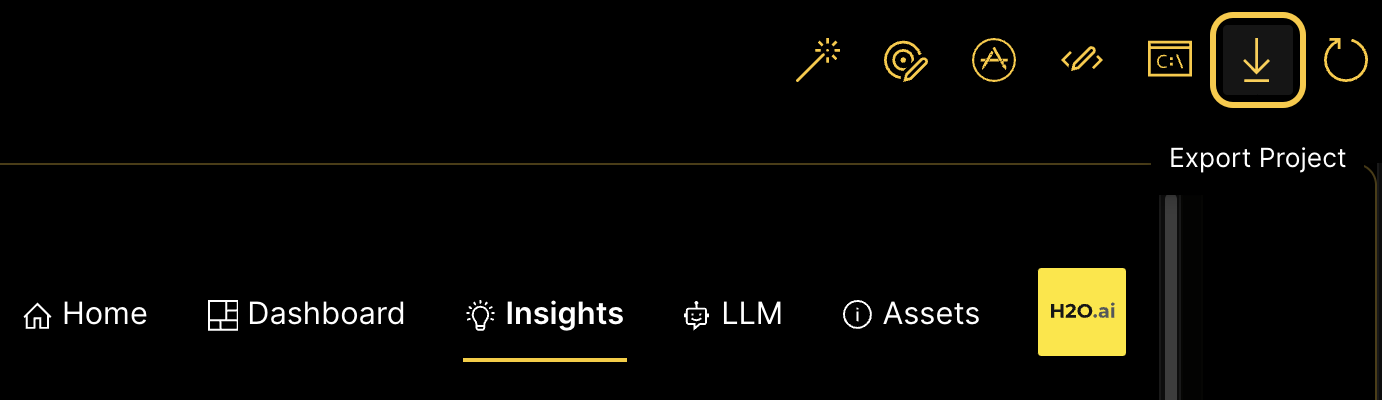
- The code and the application can be downloaded, which provides the flexbility to run them on alternative platforms. You can directly download it onto your machine by clicking the Export Project icon on the tab bar, as shown below:
Step 4: Dynamic content generation with LLMs
Explore how GenAI AppStudio integrates with LLMs like h2oGPT or any other LLM or GPT models for content generation.
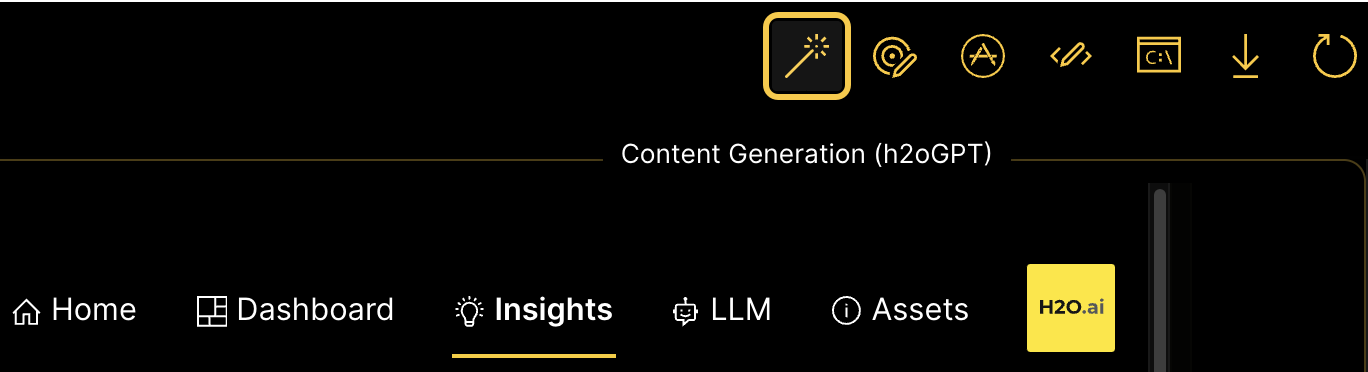
- Navigate to the Content Generation (h2oGPT) icon on the tab bar, as shown below:
- After clicking on GENERATE TEXT, you can either input one of the pre-existing prompts or choose your own by clicking Enter your own Text and entering your prompt.
- h2oGPT then generates text for you and you can choose to decide which application card to update by choosing from the dropdown list.
The integration of h2oGPT allows users to generate content for their web applications. This capability includes various elements, including title/header text, descriptions to be added in markdown cards, report generation, synthetic data for application use, and summarization of information.
Change web application theme
Sketch2App allows you to change the theme of your web application. Click on the Theme icon on the tab above to navigate to the App Editing Wizard as shown below:

You can now successfully create web applications with Sketch2App.
- Submit and view feedback for this page
- Send feedback about GenAI AppStudio | Docs to cloud-feedback@h2o.ai