View workflow
Overview
This page explains how to view a workflow you created and what appears in the workflow dashboard. For instructions on creating a workflow, see Create a new workflow.
Instructions
To view a workflow:
- Click Workflows in the left navigation bar.
- In the Workflows table, select the workflow you want to view.
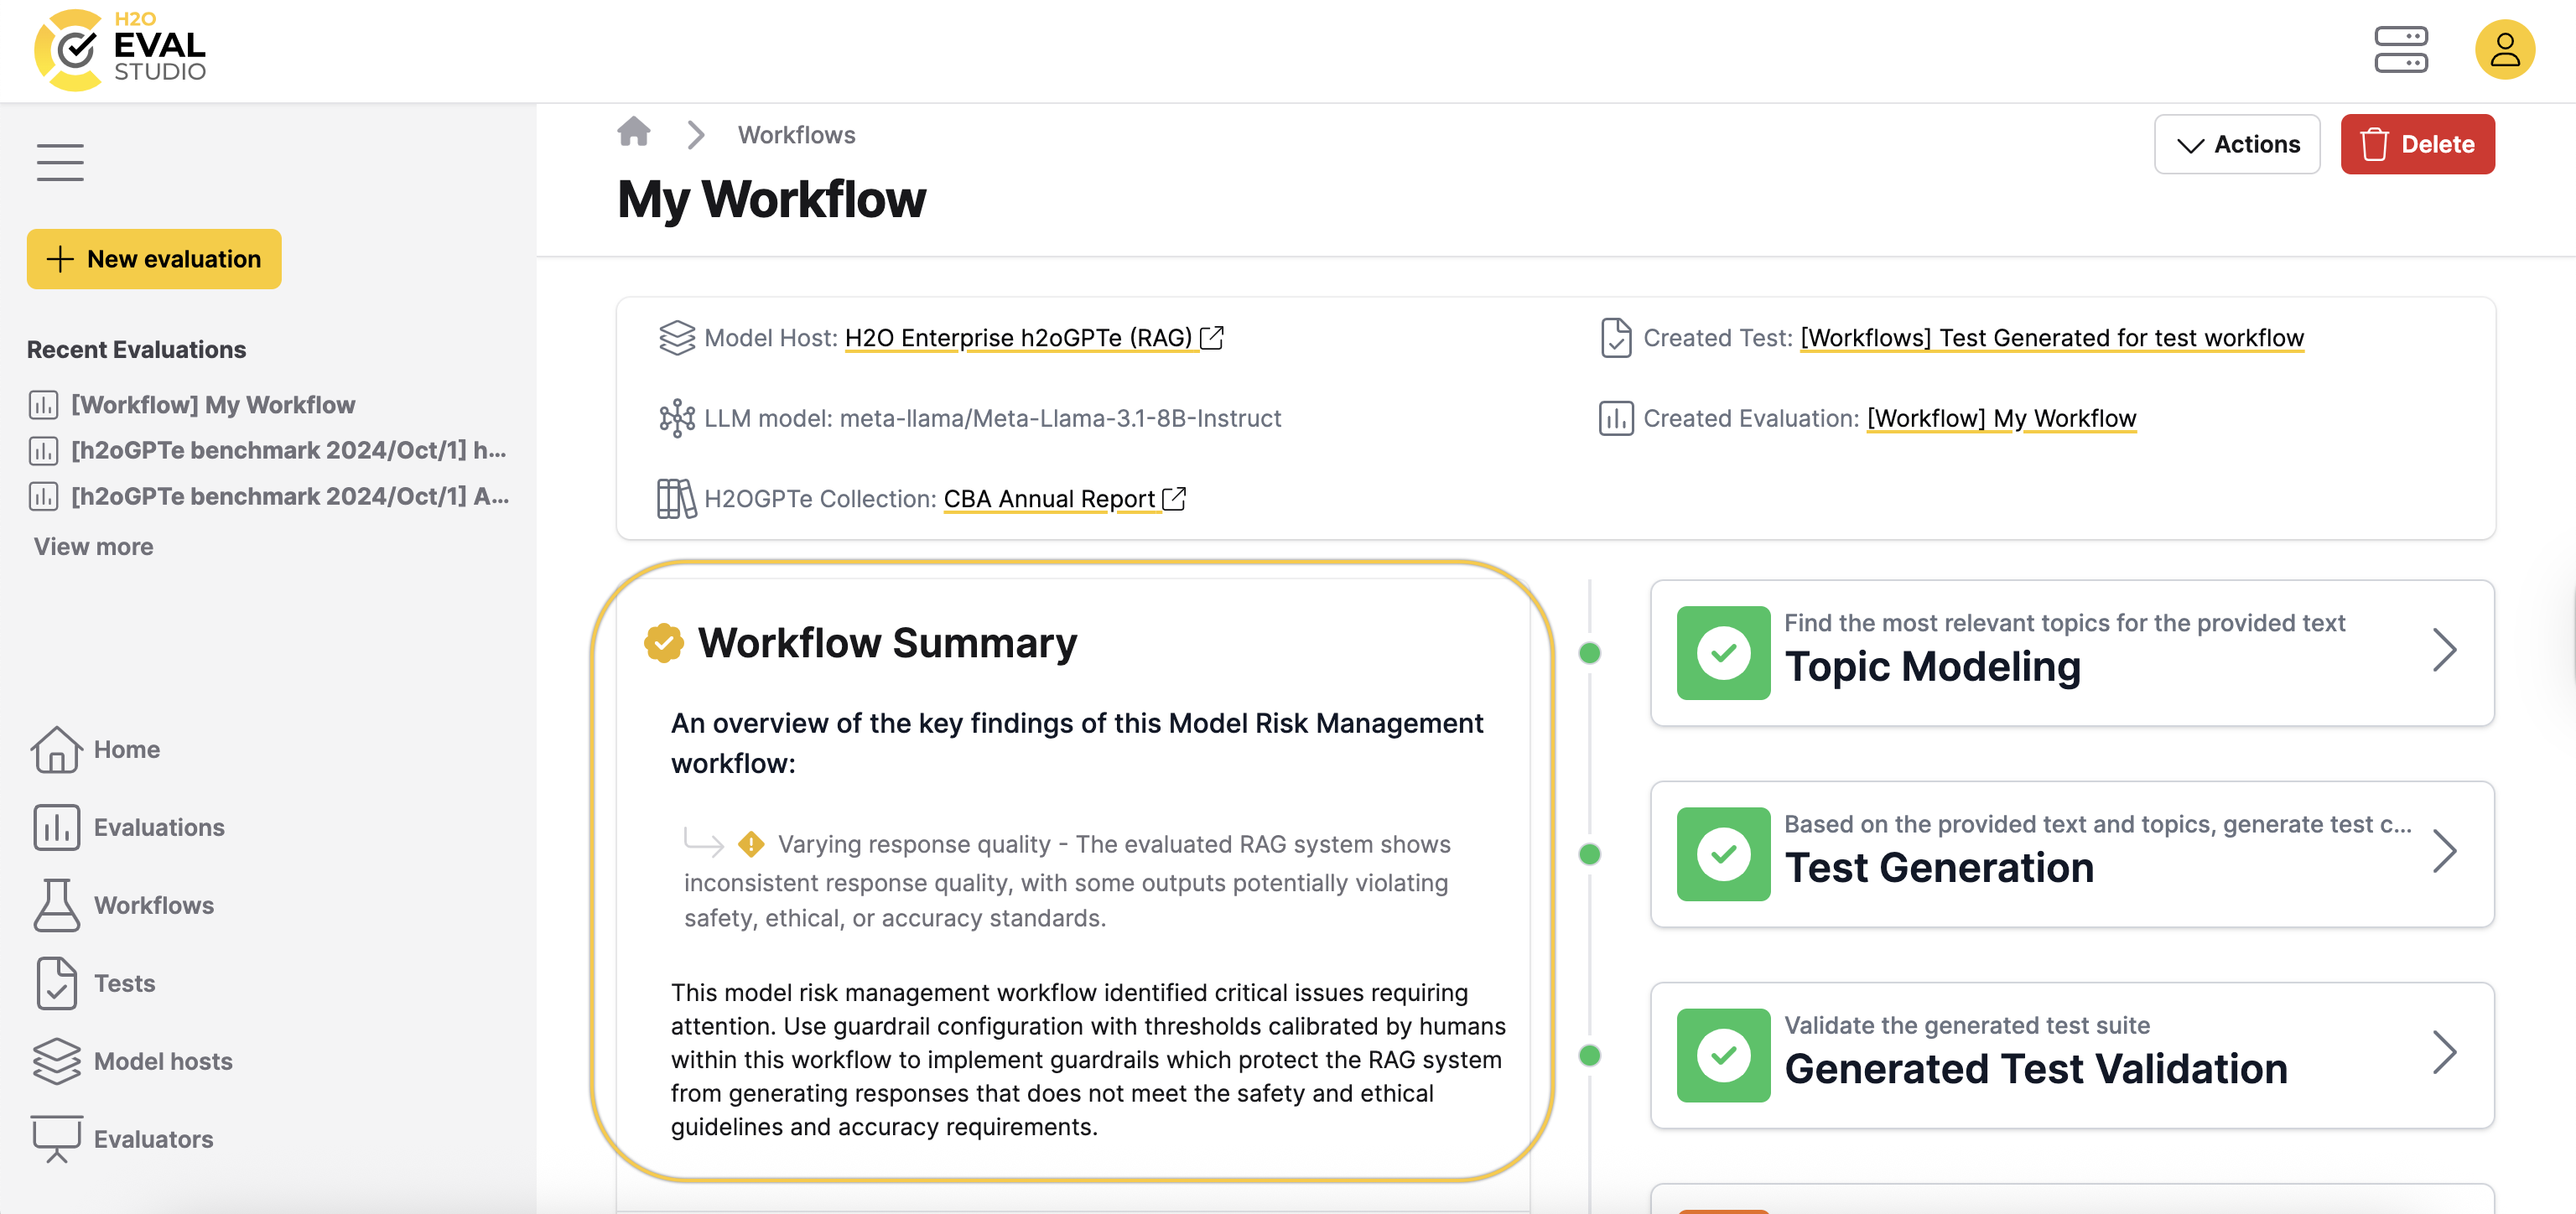
The workflow dashboard displays the following details:
- Model host: The model host selected during workflow creation.
- LLM model: The LLM model selected during workflow creation.
- Document / Collection: The document or collection selected during workflow creation.
- Created test: Displays once tests are created.
- Created evaluation: Displays once evaluations are created.

A workflow consists of the following eight steps. Each step becomes available once the previous step is complete:
- Topic modeling: Identifies the most relevant topics in the provided text.
- Text generation: Generates test cases based on the text and identified topics.
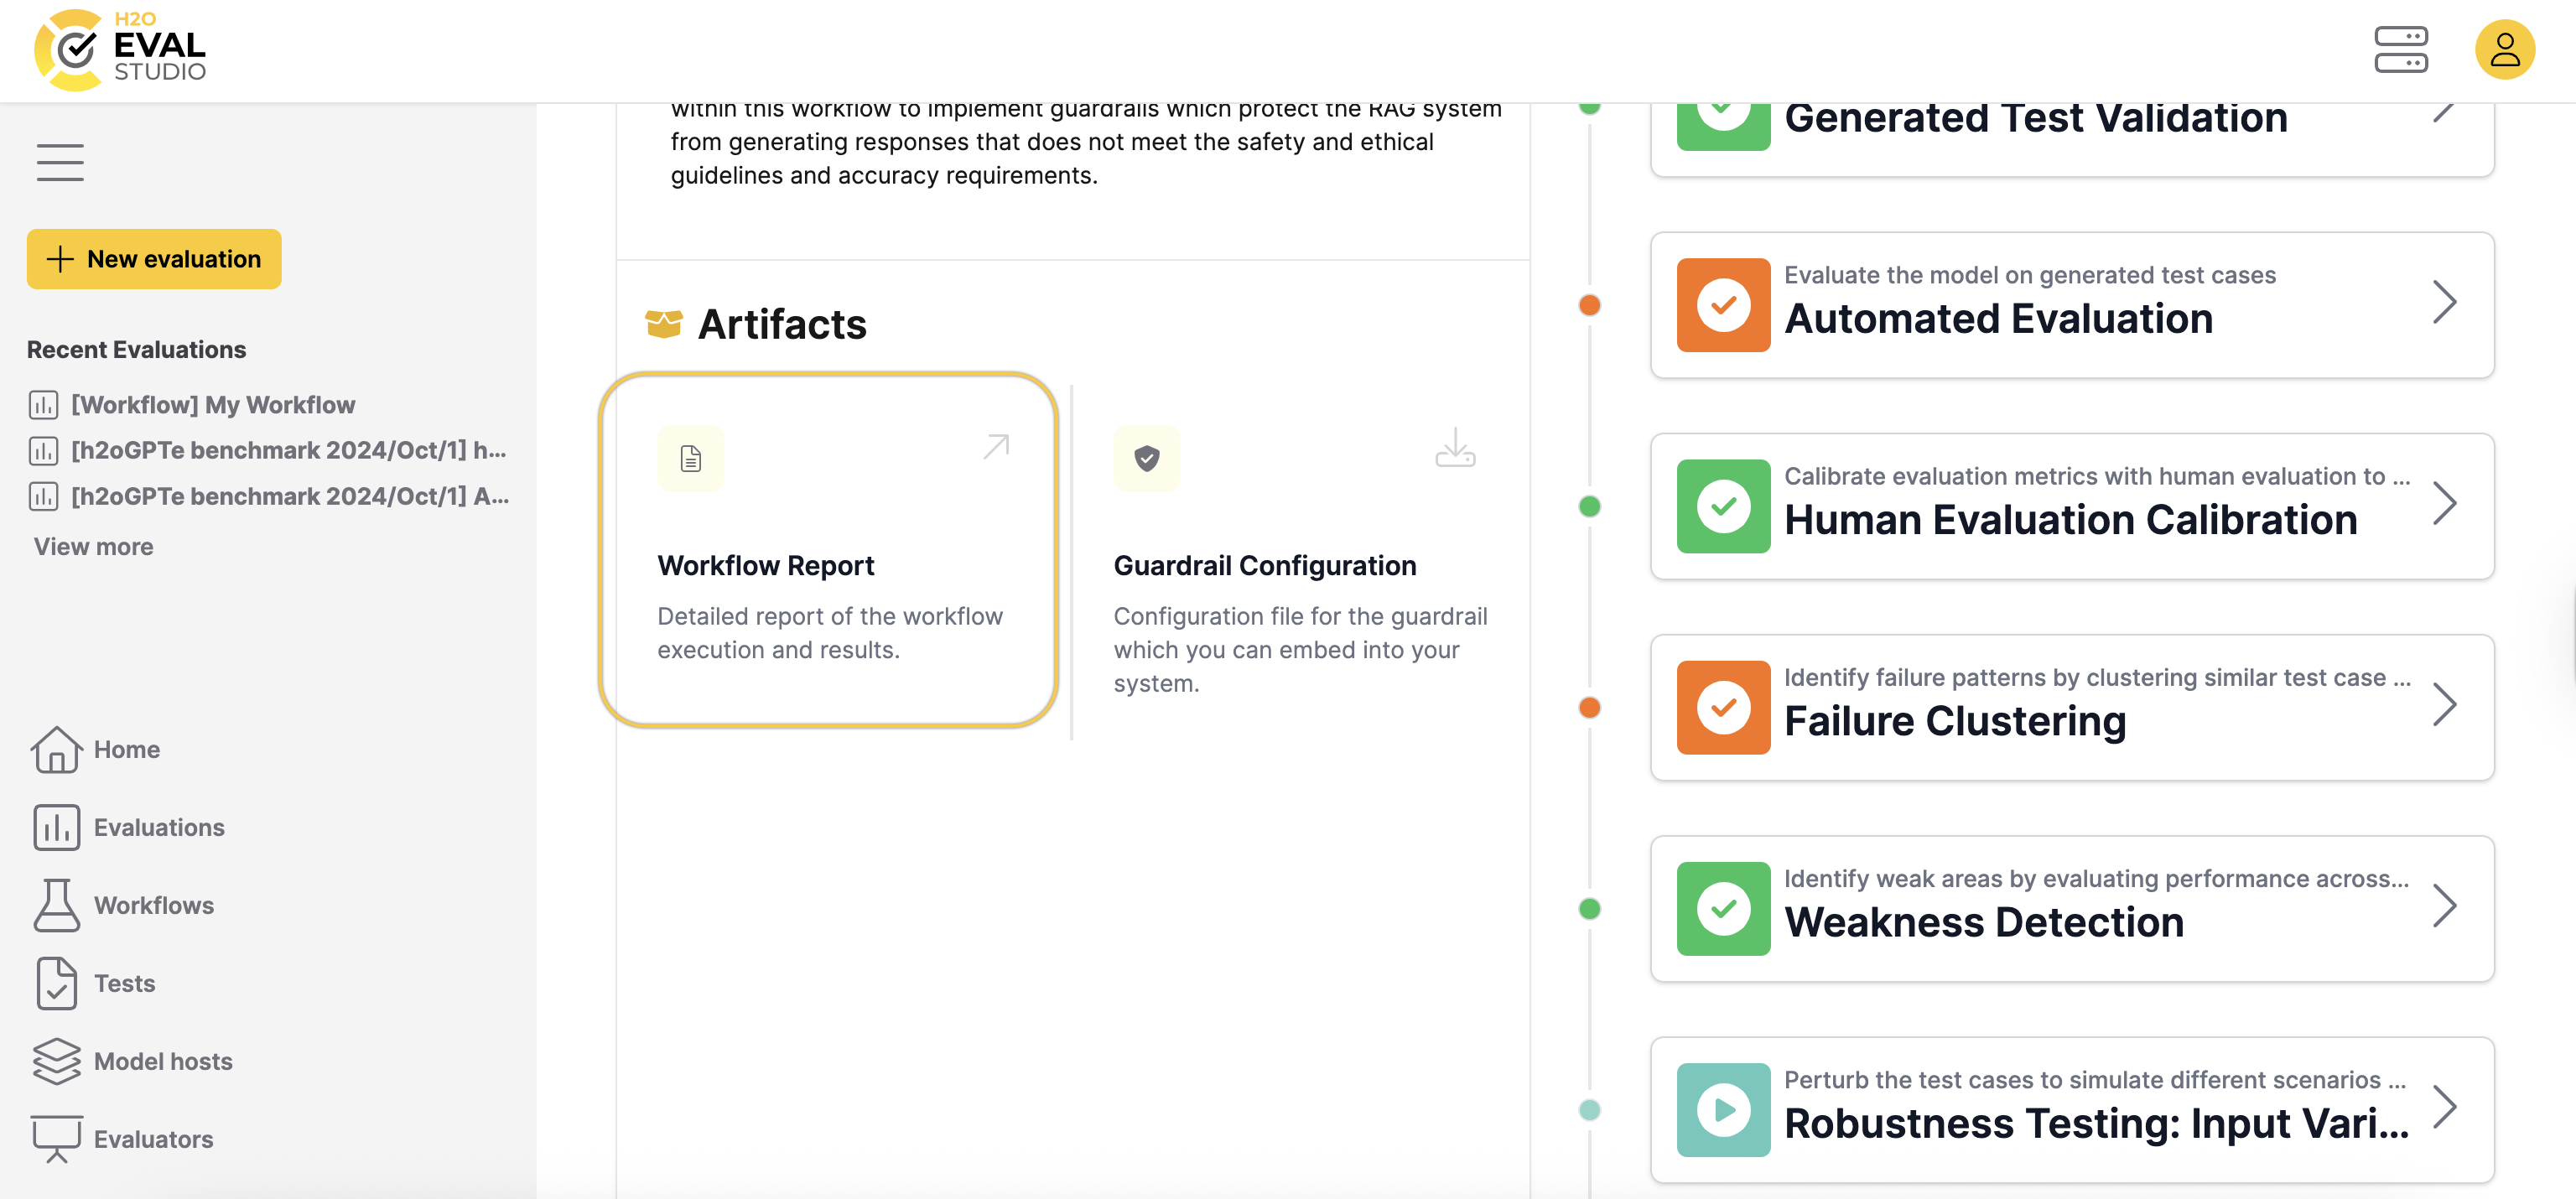
- Generated test validation: Validates the generated test suite.
- Automated evaluation: Evaluates the model using the generated test cases.
- Human evaluation calibration: Calibrates evaluation metrics through human input to improve accuracy and reliability.
- Failure clustering: Automatically detects common failure patterns of the model host.
- Weakness detection: Detects weak areas by evaluating performance across topics and query types.
- Robustness testing (input variations): Perturbs test cases to simulate different scenarios and evaluate model robustness.
- Robustness testing (adversarial inputs): Tests model robustness using adversarial inputs.
Workflow summary
The workflow summary provides an overview of the results from a Model Risk Management (MRM) workflow. It highlights the overall performance of the evaluated system and summarizes key findings.
The workflow summary may include:
- Overall quality of responses
- Issues or risks detected during evaluation
- Safety, ethical, and accuracy considerations
- Recommended actions for mitigation
Use the workflow summary to quickly understand how the workflow performed and to identify areas that require further review or corrective measures.
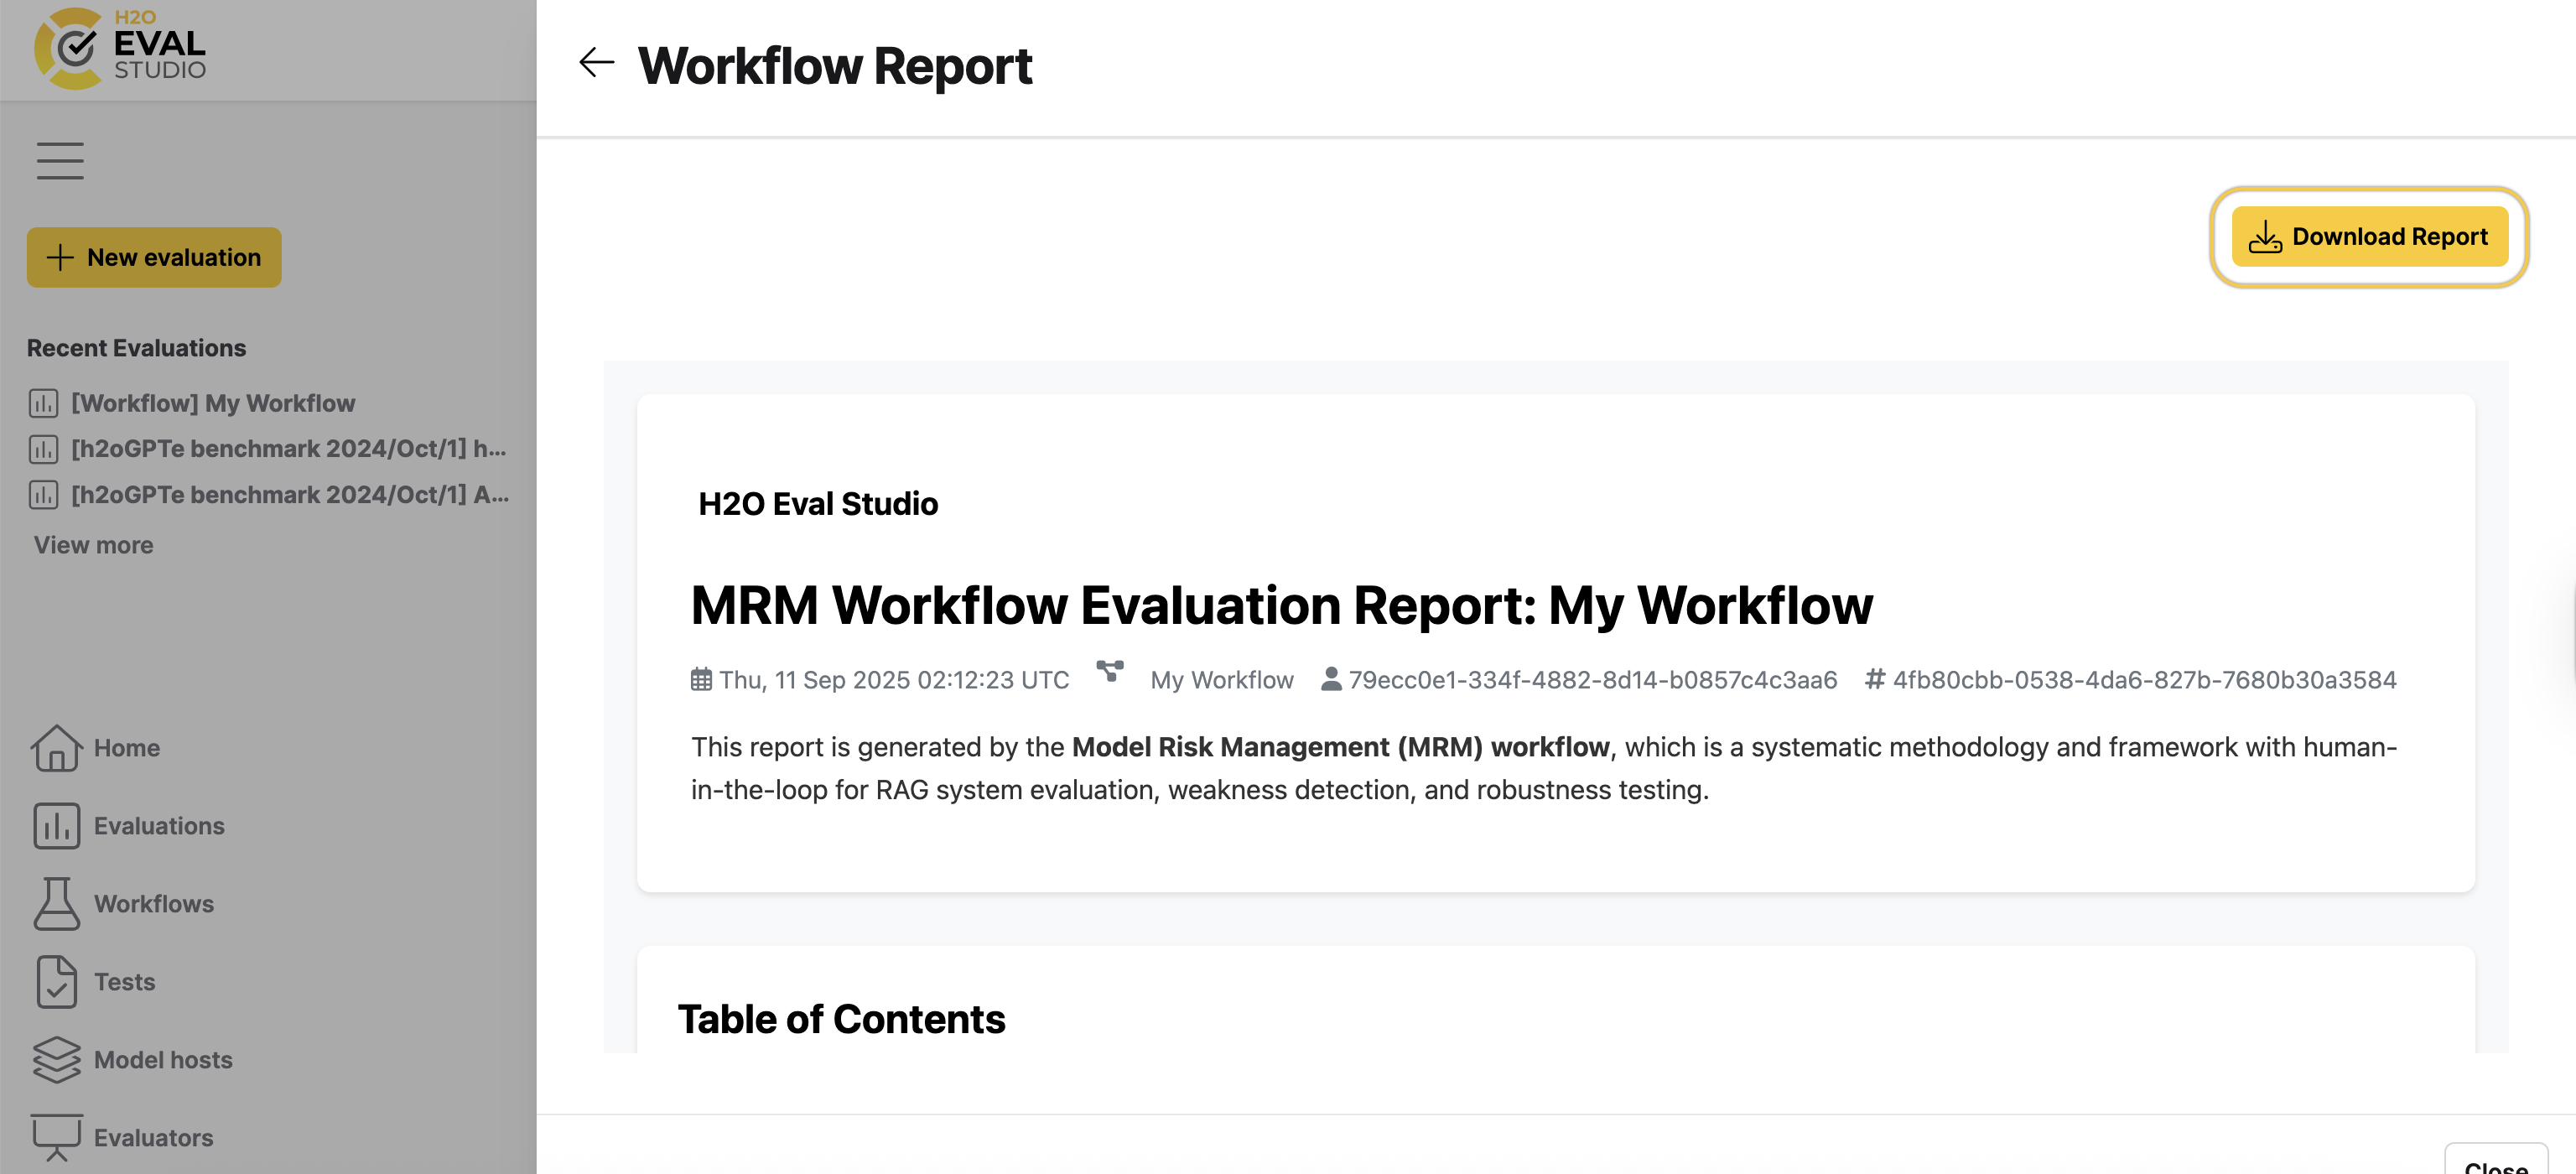
Workflow report
The workflow report is one of the outputs produced after a workflow run. It contains comprehensive information about the workflow execution, including:
- The steps that were evaluated
- The results of the MRM workflow
- Any detected defects or issues
To view the workflow report, click Workflow report.
 You can then download it for review and post-processing.
Guardrail configuration
The guardrail configuration is provided as a JSON file that defines the rules for a custom guardrail.
To use the guardrail configuration:
- Download the configuration file by clicking Guardrail configuration.
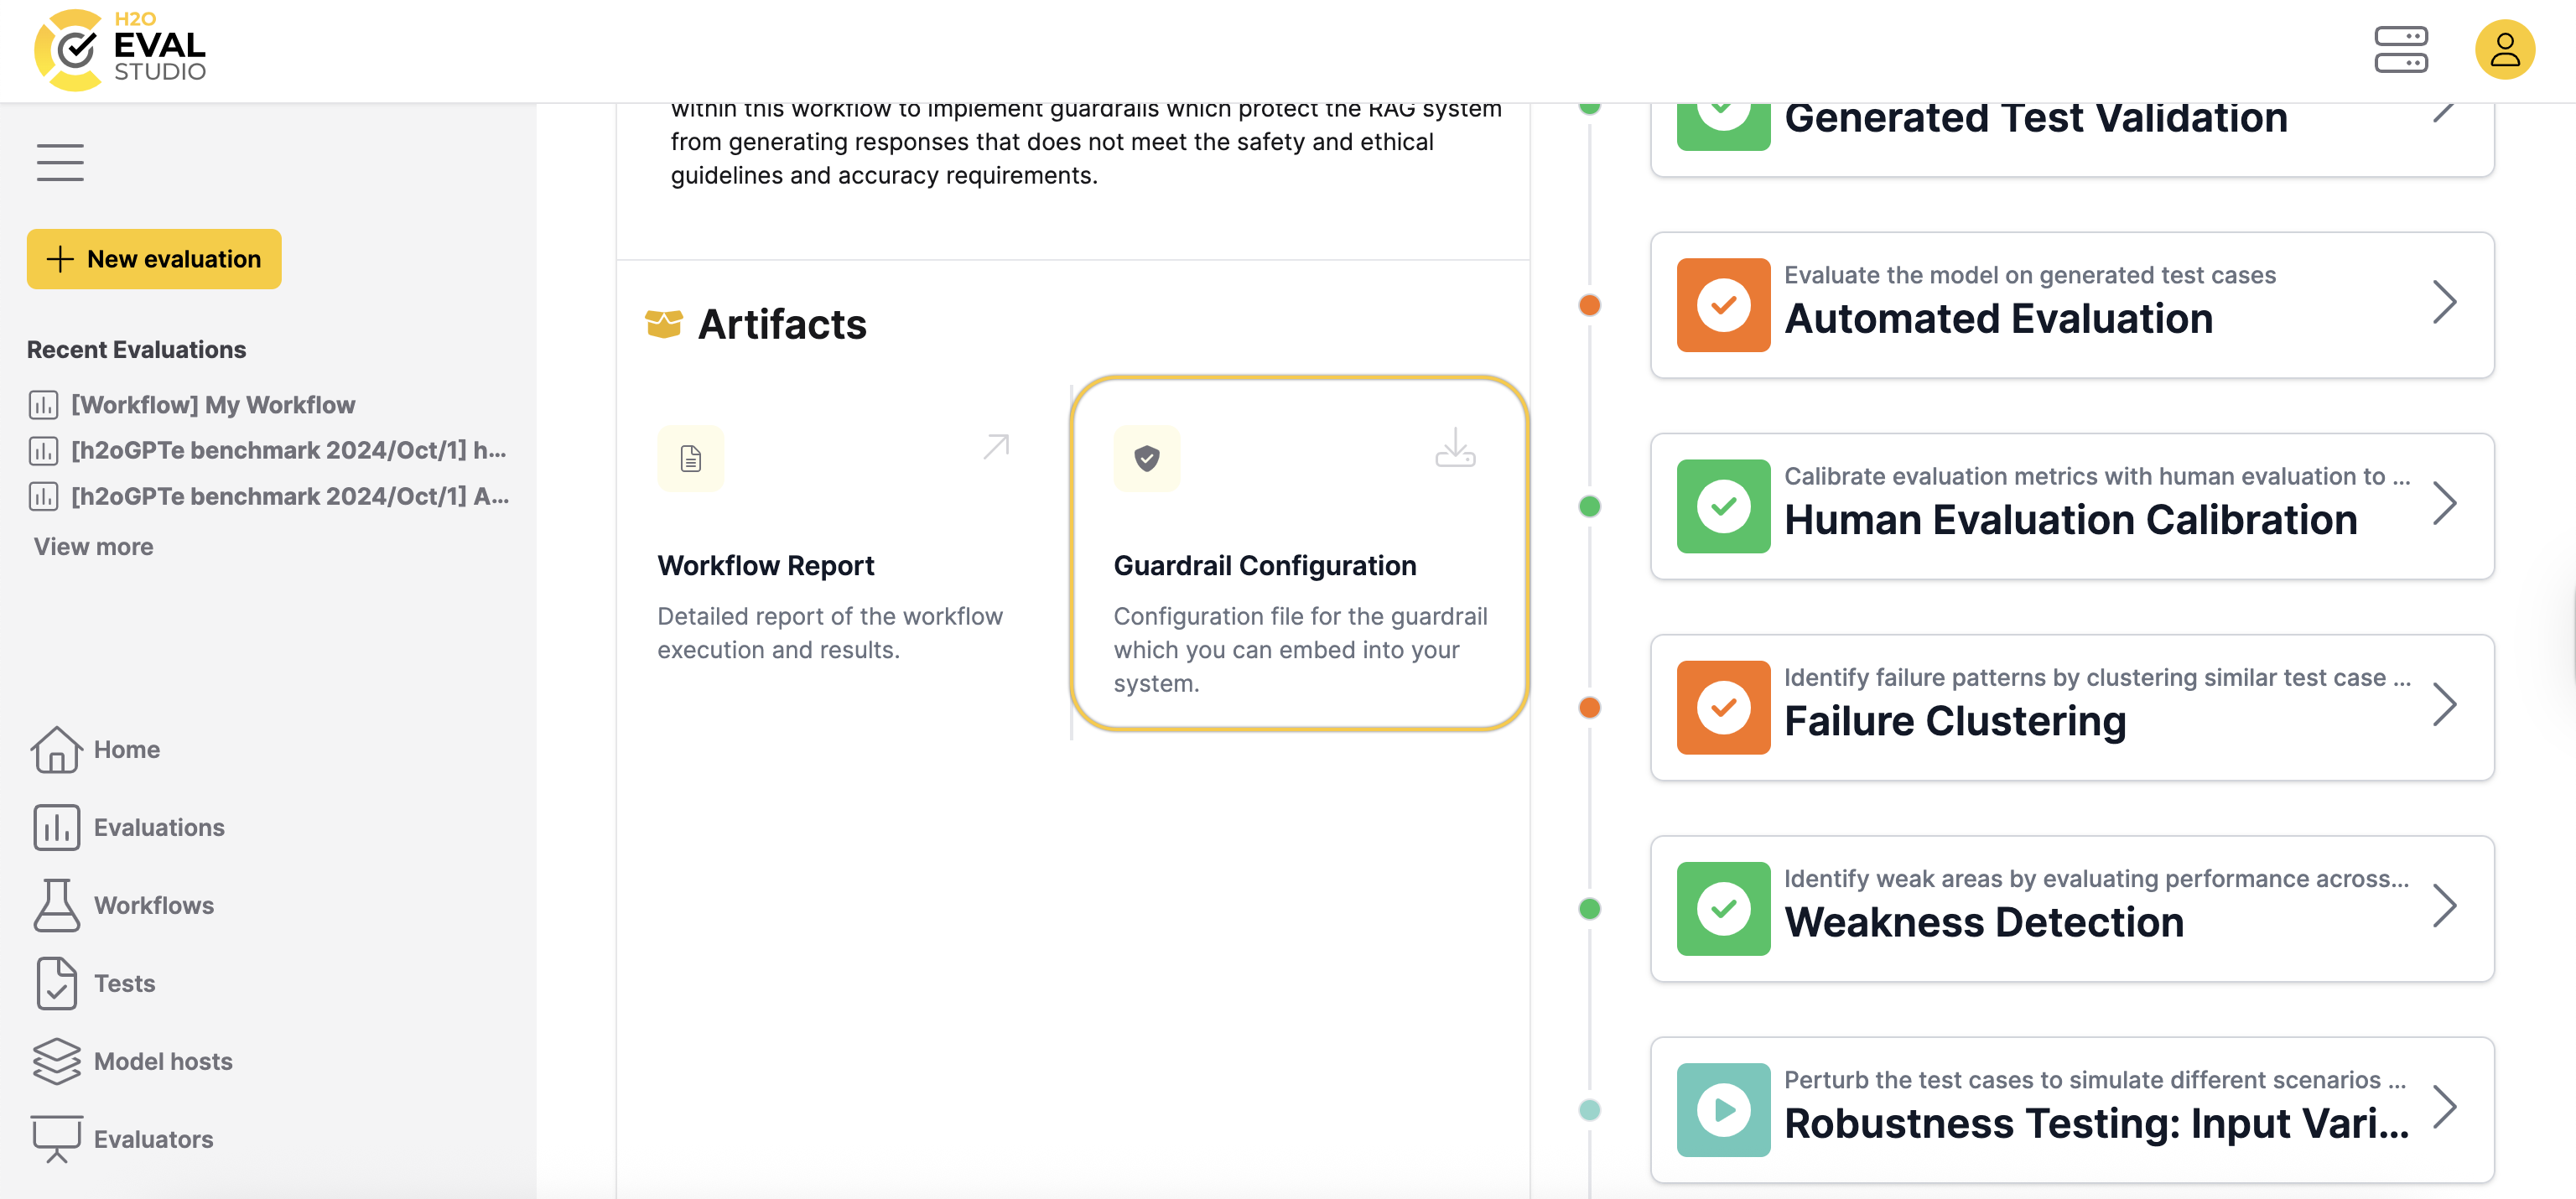
- Embed the guardrail client into your RAG application.
- The client connects to the guardrail service using the configuration.
- The service verifies whether answers meet the configured expectations.
You can configure the guardrail to check for:
- Hallucinations
- Groundedness
- Toxicity levels
If an answer exceeds the configured threshold, the service flags it as insecure. Your application can then take the appropriate action.
Edit workflow
To edit the name and the description of the workflow:
- Click the Actions drop-down menu.
- Select Edit.
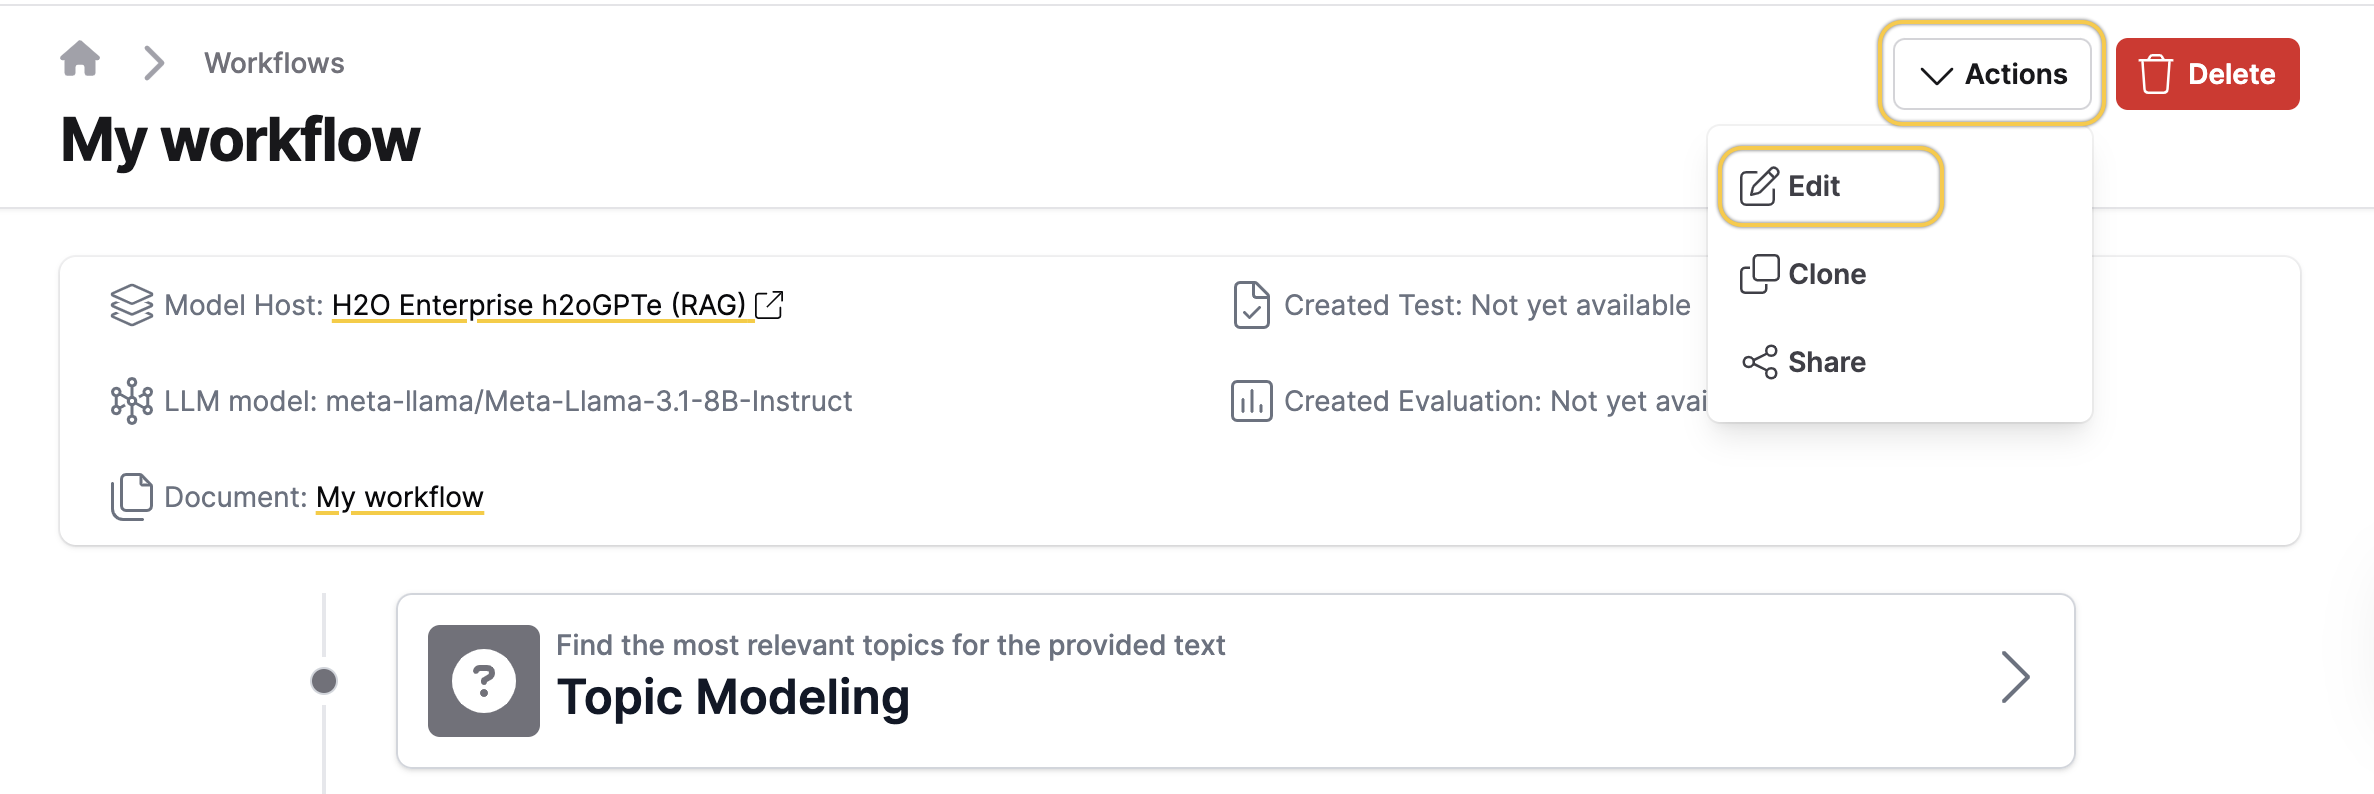
- Update the Test name.
- Update the Description.
- Click Save.
Clone workflow
To create a new workflow by cloning an existing one:
- Click the Actions drop-down menu.
- Select Clone.
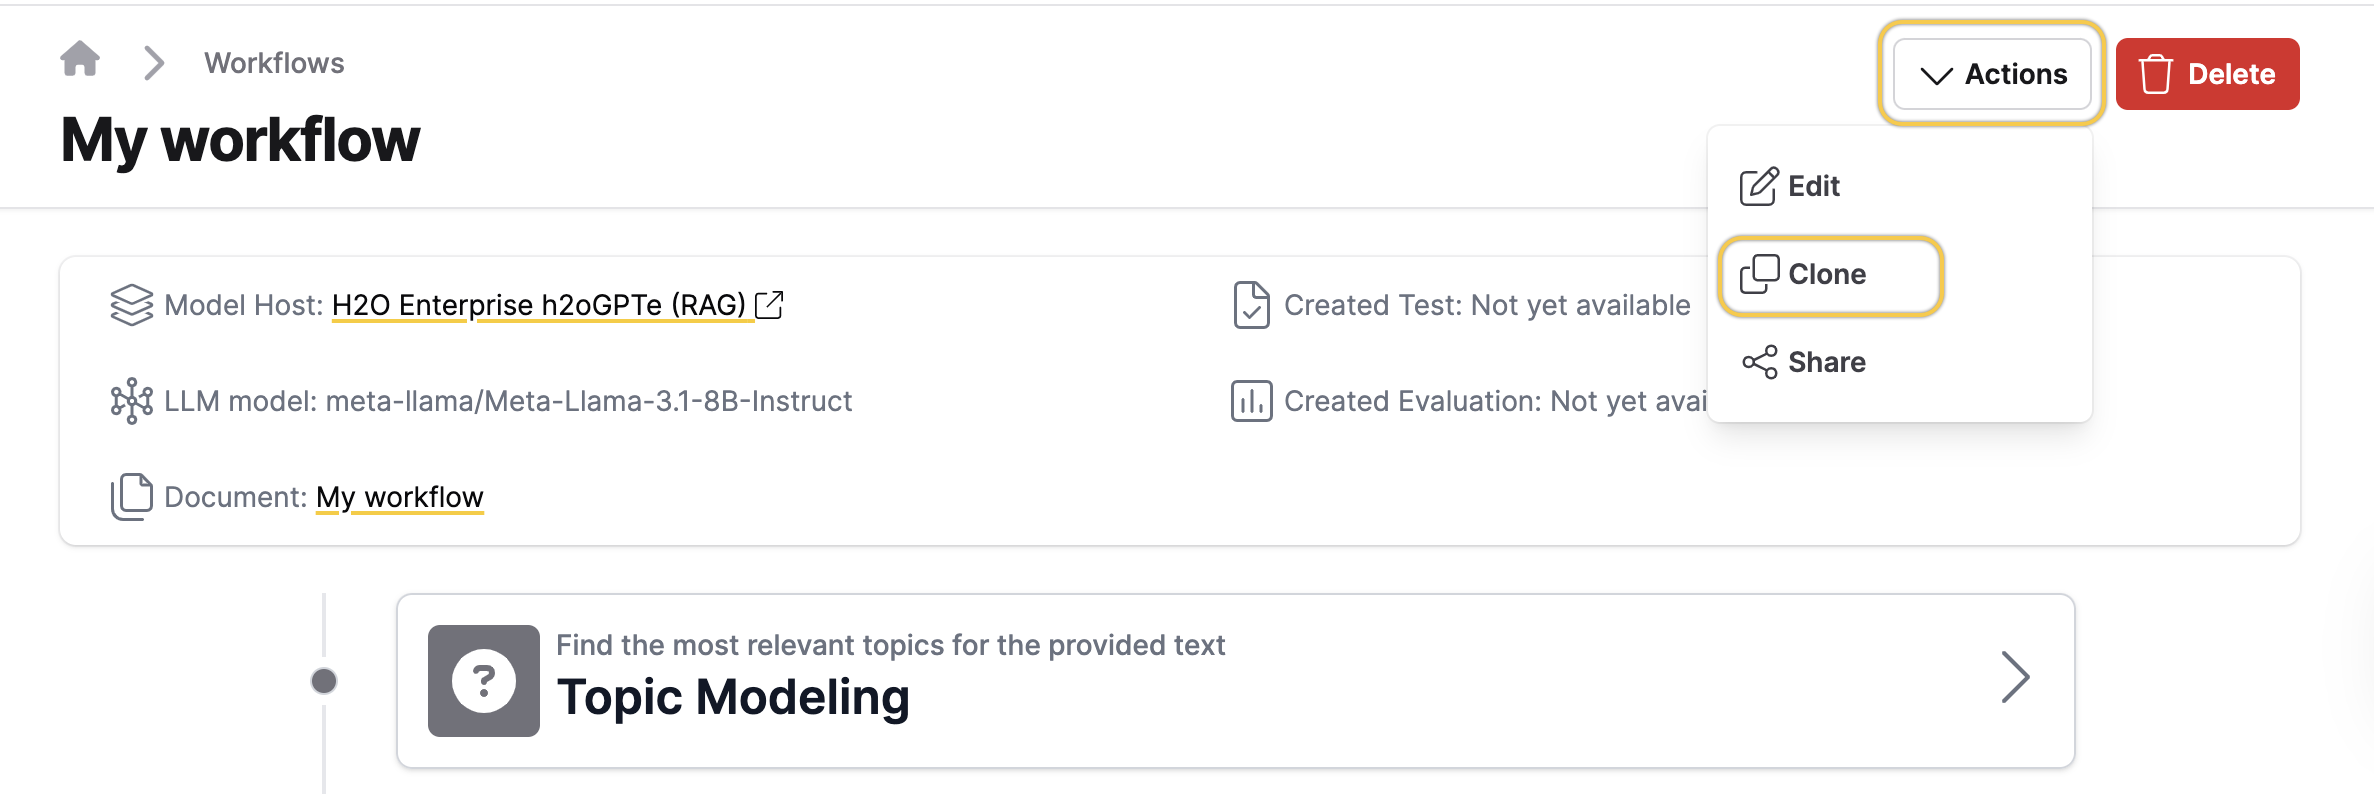
- Update the Workflow name, Description, Model host, LLM model, or Parameters fields as needed.
- Click Create.
Delete workflow
This action permanently deletes the workflow from the server. It cannot be undone.
To delete a workflow:
- Click Delete.

- Click Delete again to confirm.
- Submit and view feedback for this page
- Send feedback about H2O Eval Studio to cloud-feedback@h2o.ai