Snowflake
Connect to Snowflake
To connect to your Snowflake account to make use of your data and models, consider the following instructions:
- In the Gene Mutation AI menu, click Snowflake.
- In the Snowflake account box, enter your account identifier.
- In the Username box, enter your username.
- In the Password box, enter your password.
- Click Connect. Note
- Right after connecting to your Snowflake account, you will be required to define a default Snowflake warehouse, DB, schema, and stage.
- When selecting a Snowflake warehouse, DB, schema, and stage in the following steps, the items in the lists will be based on the user's Snowflake account access privileges.
- In the Snowflake warehouse list, search or select a warehouse.
- In the Snowflake database list, search or select a database.
- In the Snowflake schema list, search or select a shema.
- In the Snowflake stage list, search or select a stage.
- Click Submit.
Disconnect from Snowflake
To disconet from your Snowflake account:
- In the Gene Mutation AI menu, click Snowflake.
- Click Disconnect.
Change default Snowflake warehouse, DB, schema, and stage
After connecting to Snowflake and defining a default Snowflake warehouse, DB, schema, and stage, you can change the default values as follows:
- In the Gene Mutation AI menu, click Snowflake.
- Click Click here to select warehouse.
- In the Snowflake warehouse list, search or select a warehouse.
- In the Snowflake database list, search or select a database.
- In the Snowflake schema list, search or select a shema.
- In the Snowflake stage list, search or select a stage.
- Click Submit.
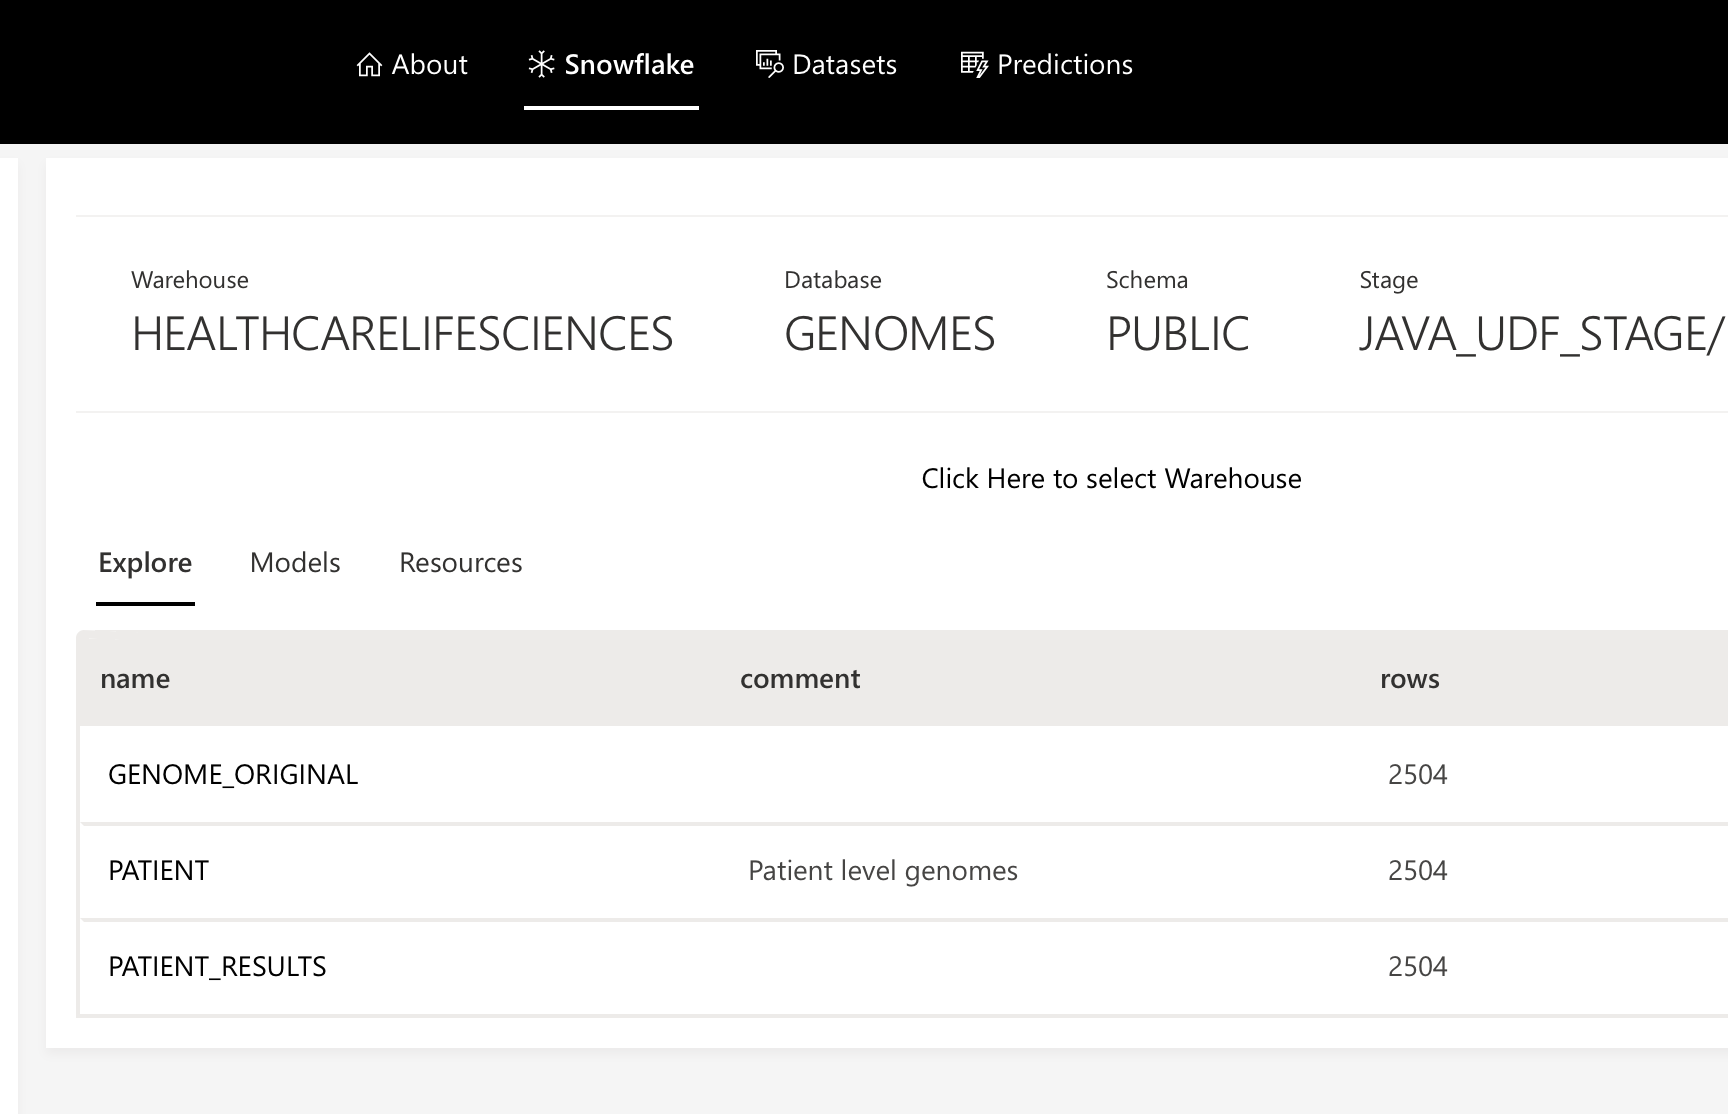
Tabs
After successfully connecting to Snowflake and defining a default Snowflake warehouse, DB, schema, and stage, the following tabs are available on the Snowflake page:
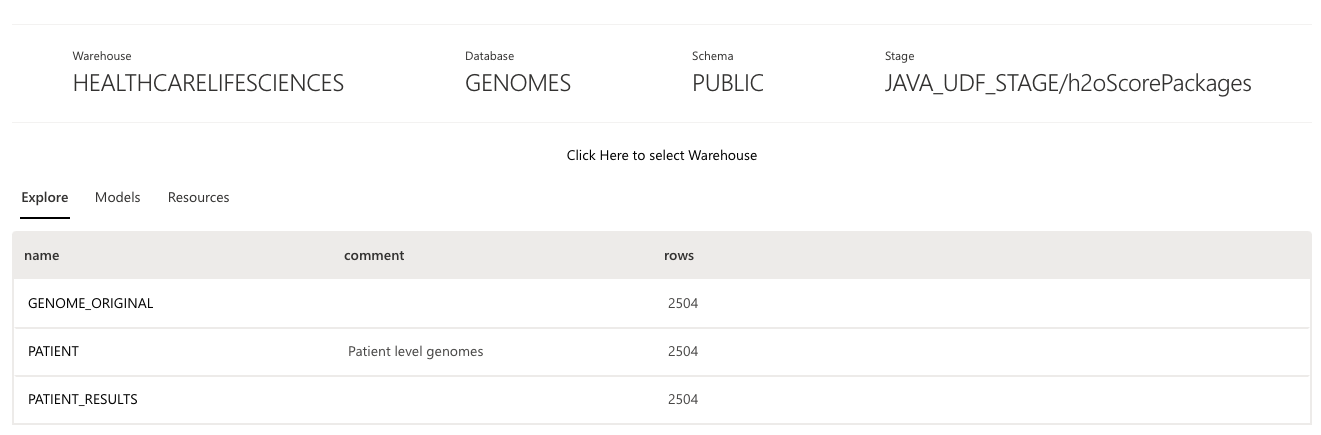
Explore
The Explore tab will display all the tables available in the default database.
View Snowflake table
To view a Snowflake table consider the following instructions:
- Connect to Snowflake. Note
- To learn how to connect to Snowflake, see Connect to Snowflake.
- While connecting to Snowflake, remember to select the correct warehouse containing the table you want to view.
- On the Snowflake page, click the name of the Snowflake table you want to view.
Import Snowflake table
To make a Snowflake table (dataset) available for predictions, you need to import the table. To import a Snowflake table:
- Connect to Snowflake. Note
- To learn how to connect to Snowflake, see Connect to Snowflake.
- While connecting to Snowflake, remember to select the correct warehouse containing the table you want to import.
- On the Snowflake page, click the name of the Snowflake table you want to import.
- Click Select complete table.
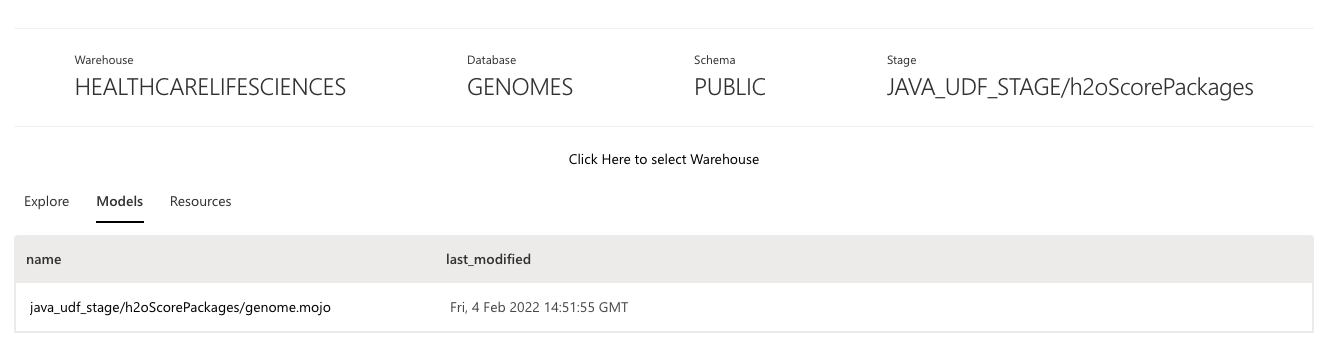
Models
The Models tab will display all the models available in the default warehouse.
The execution of these models to generate predictions (prognoses) occur within the Snowflake environment. The execution of these models in Snowflake contains scoring data while enabling the use of the scalability of the warehouse to reduce the time to score patients as the solution scales with the warehouse.
These models refer to models built in H2O Driverless AI.
If you don't want to use one of the available models in the default Snowflake stage, you can upload a new model. To learn more, see Upload model.
Resources
The Resources tab enables you to access dynamically created artifacts (e.g., a Jupyter Notebook) from particular Snowflake models.
Artifacts
Available artifacts for a particular Snowflake model are as follows:
- Snowflake_Data_MarketPlace.scala
- Snowflake.ipynb
- Snowflake.sql
- Snowflake.udf
- Snowpark.DriverlessAI.ipynb
- Snowpark_Python_native.py
- Snowpark_Score.scala
- Snowpark.scala
- Snowsql
- GeneMutation_table_preperation.py
Download artifacts
You can download all generated artifacts for a particular Snowflake model one by one. To download an artifact from a particular Snowflake model:
- Connect to Snowflake. Note
- To learn how to connect to Snowflake, see Connect to Snowflake.
- While connecting to Snowflake, remember to select the correct warehouse containing the model you want to download its artifacts.
- On the Snowflake page, click the Resources tab.
- In the Snowflake models list, select the model you want to download its artifacts.
- Click List resources.
- In the Resource type list, select an artifact.
 Note
NoteTo learn about available model artifacts, see Artifcts.
- Click Get data.
- Submit and view feedback for this page
- Send feedback about H2O Health to cloud-feedback@h2o.ai