Users
View users
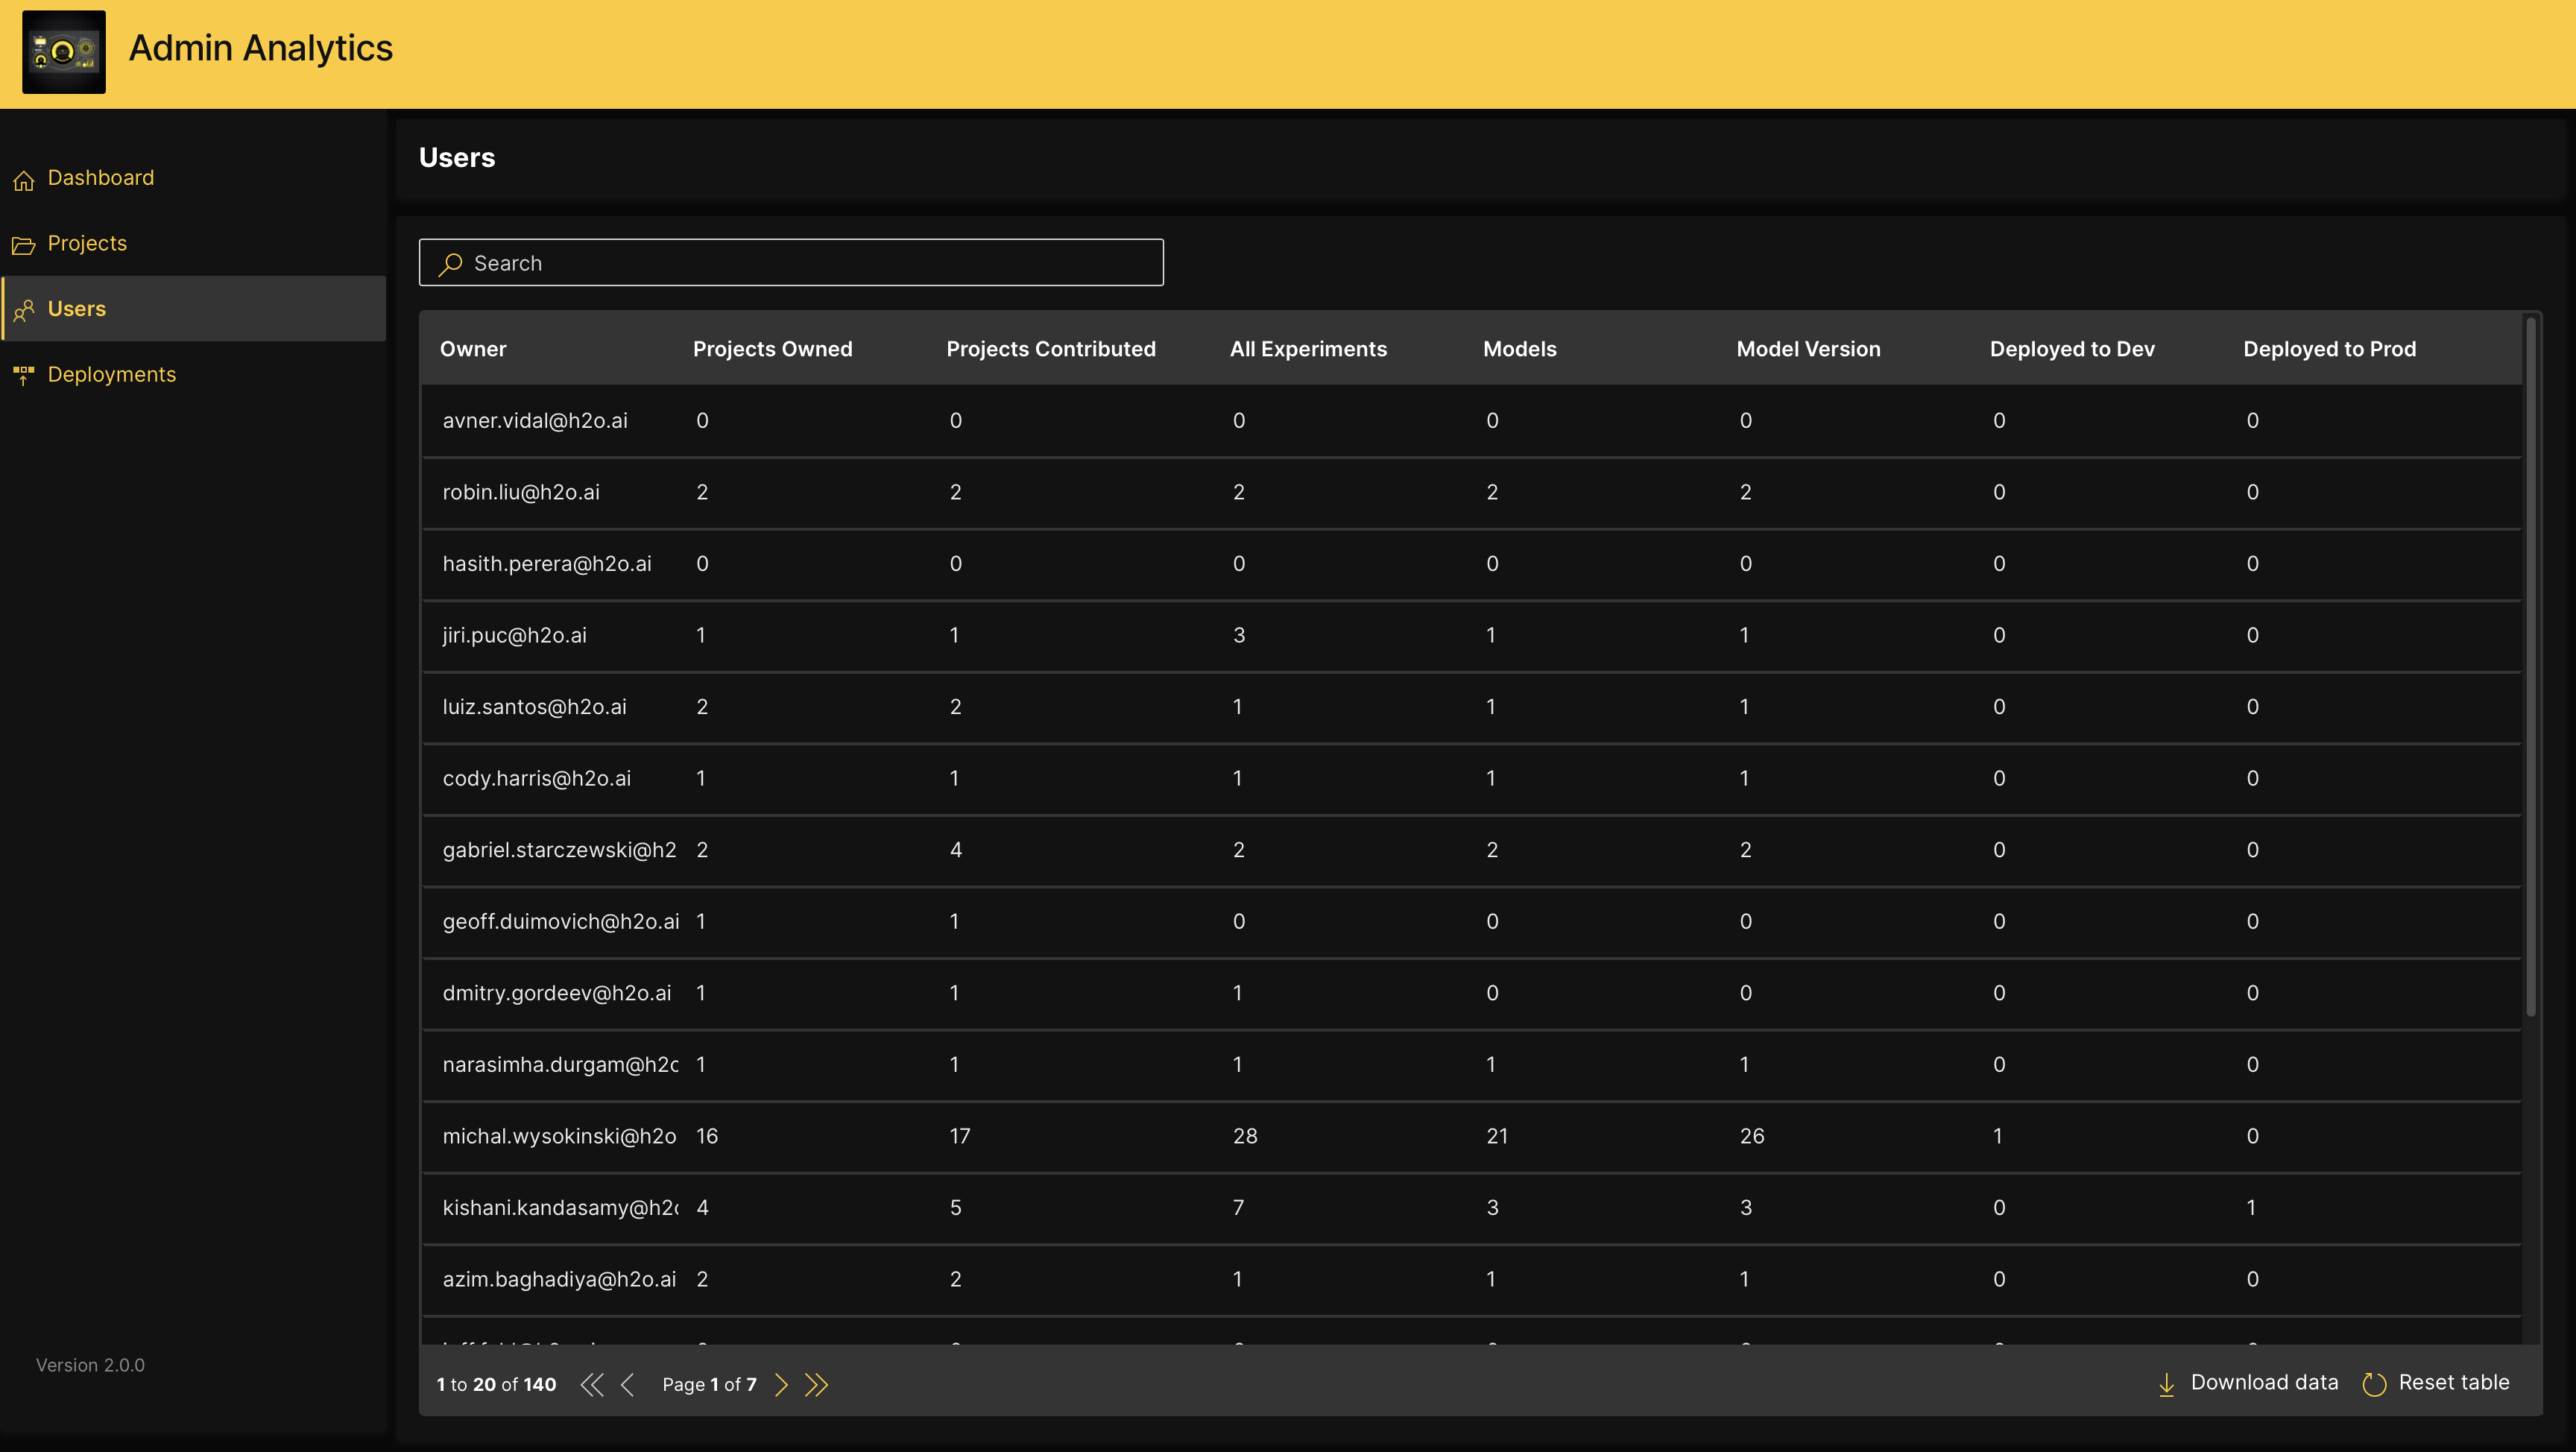
The Users page contains a list of H2O MLOps users within your organization. You can search for a specific user by entering their name in the search bar. For each user listed on this page, the following information is available:
- Owner: The name of the user
- Projects Owned: The number of projects owned by the user
- Projects Contributed: The number of projects that the user has contributed to
- All Experiments: The number of experiments added to H2O MLOps by the user
- Models: The number of models registered by the user
- Model Version: The number of model versions created by the user
- Deployed to Dev: The number of models the user has deployed to Dev
- Deployed to Prod The number of models the user has deployed to production
Download user data
To download the data in the table as a ZIP file, click Download data at the bottom of the table.
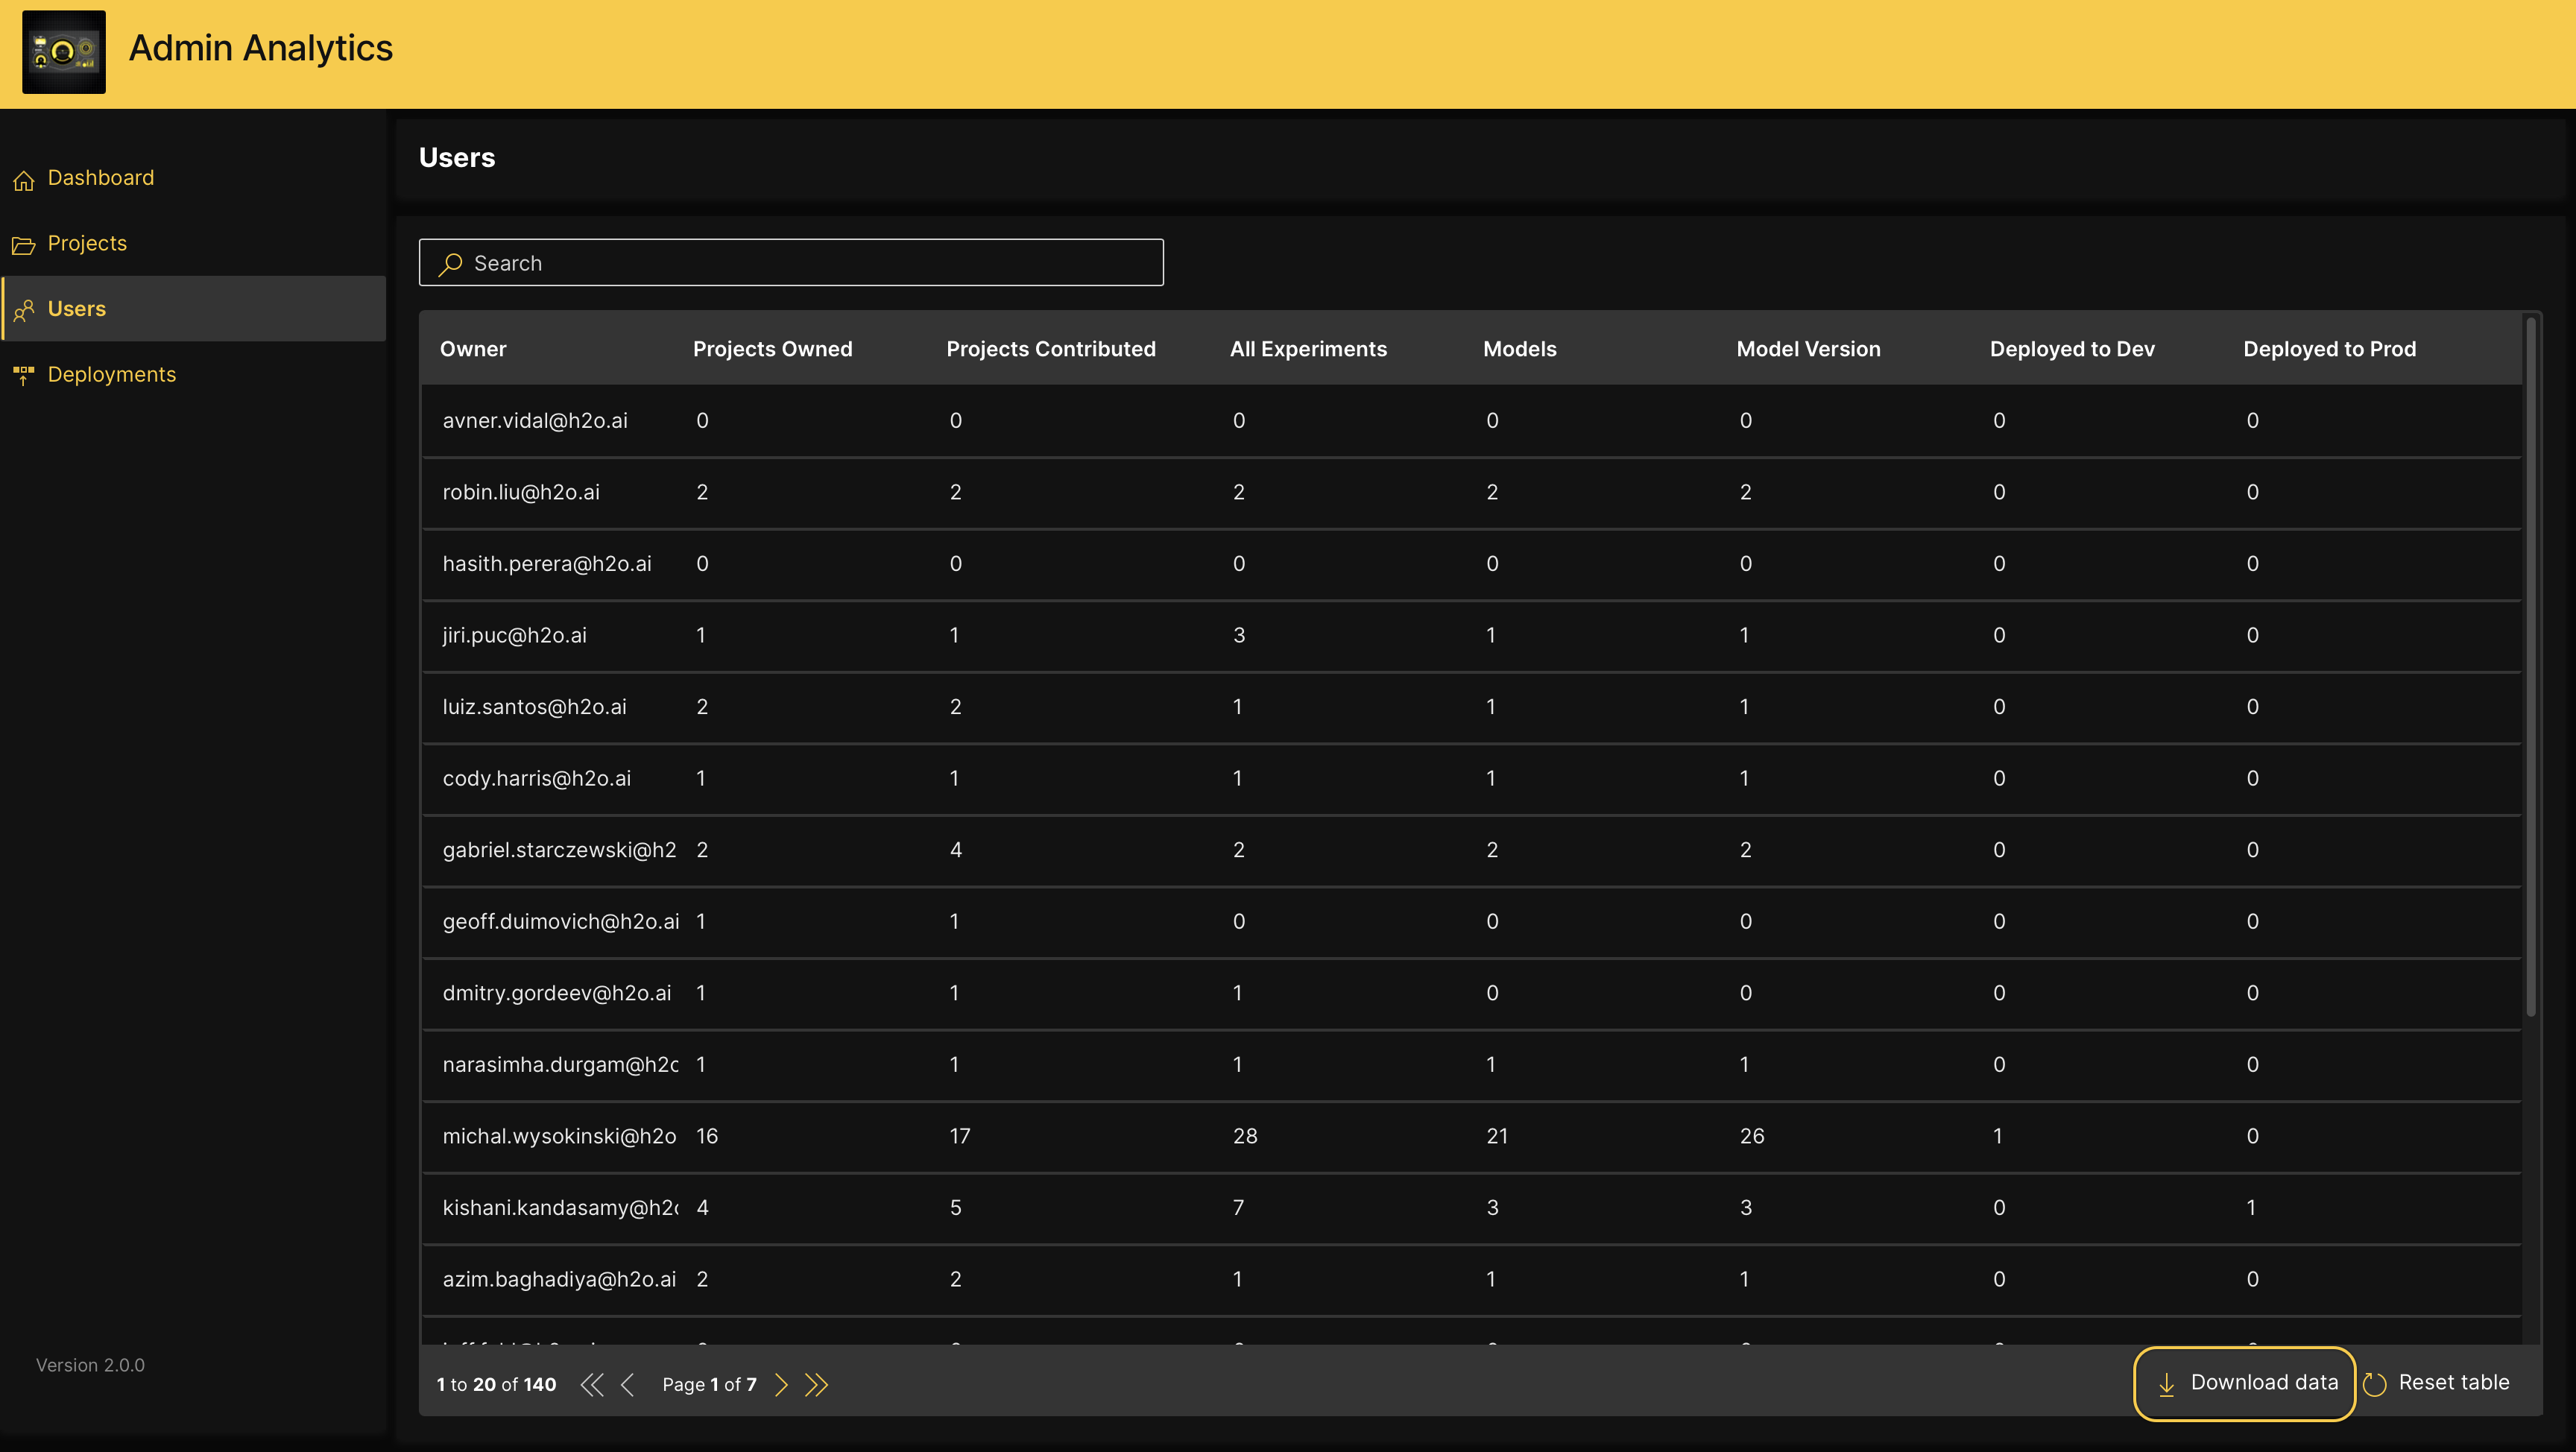
All tables in H2O Admin Analytics support search, sort, and pagination. To navigate between pages of a table, click on the arrow keys at the bottom of that table. You can use the search box to filter the contents of the table based on the text you enter. To sort the contents based on a given column, click on that column name, and use the arrow keys that appear to sort the content in ascending or descending order. Additionally, these tables support nested operations, where you can combine a search and a sort. You can reset the table to its original state by clicking Reset table at the bottom.
Control user access
Ideally, only admins should have access to H2O Admin Analytics because it provides access to critical functionalities related to the main entities of H2O MLOps, including the ability to view/delete potentially sensitive data within projects or deployments.
To enforce these access restrictions, H2O Admin Analytics expects to retrieve the allowed user groups from the Wave access token (JWT) as a claim. Follow the steps below to configure your Identity Provider (IDP) to include user group information within the access token.
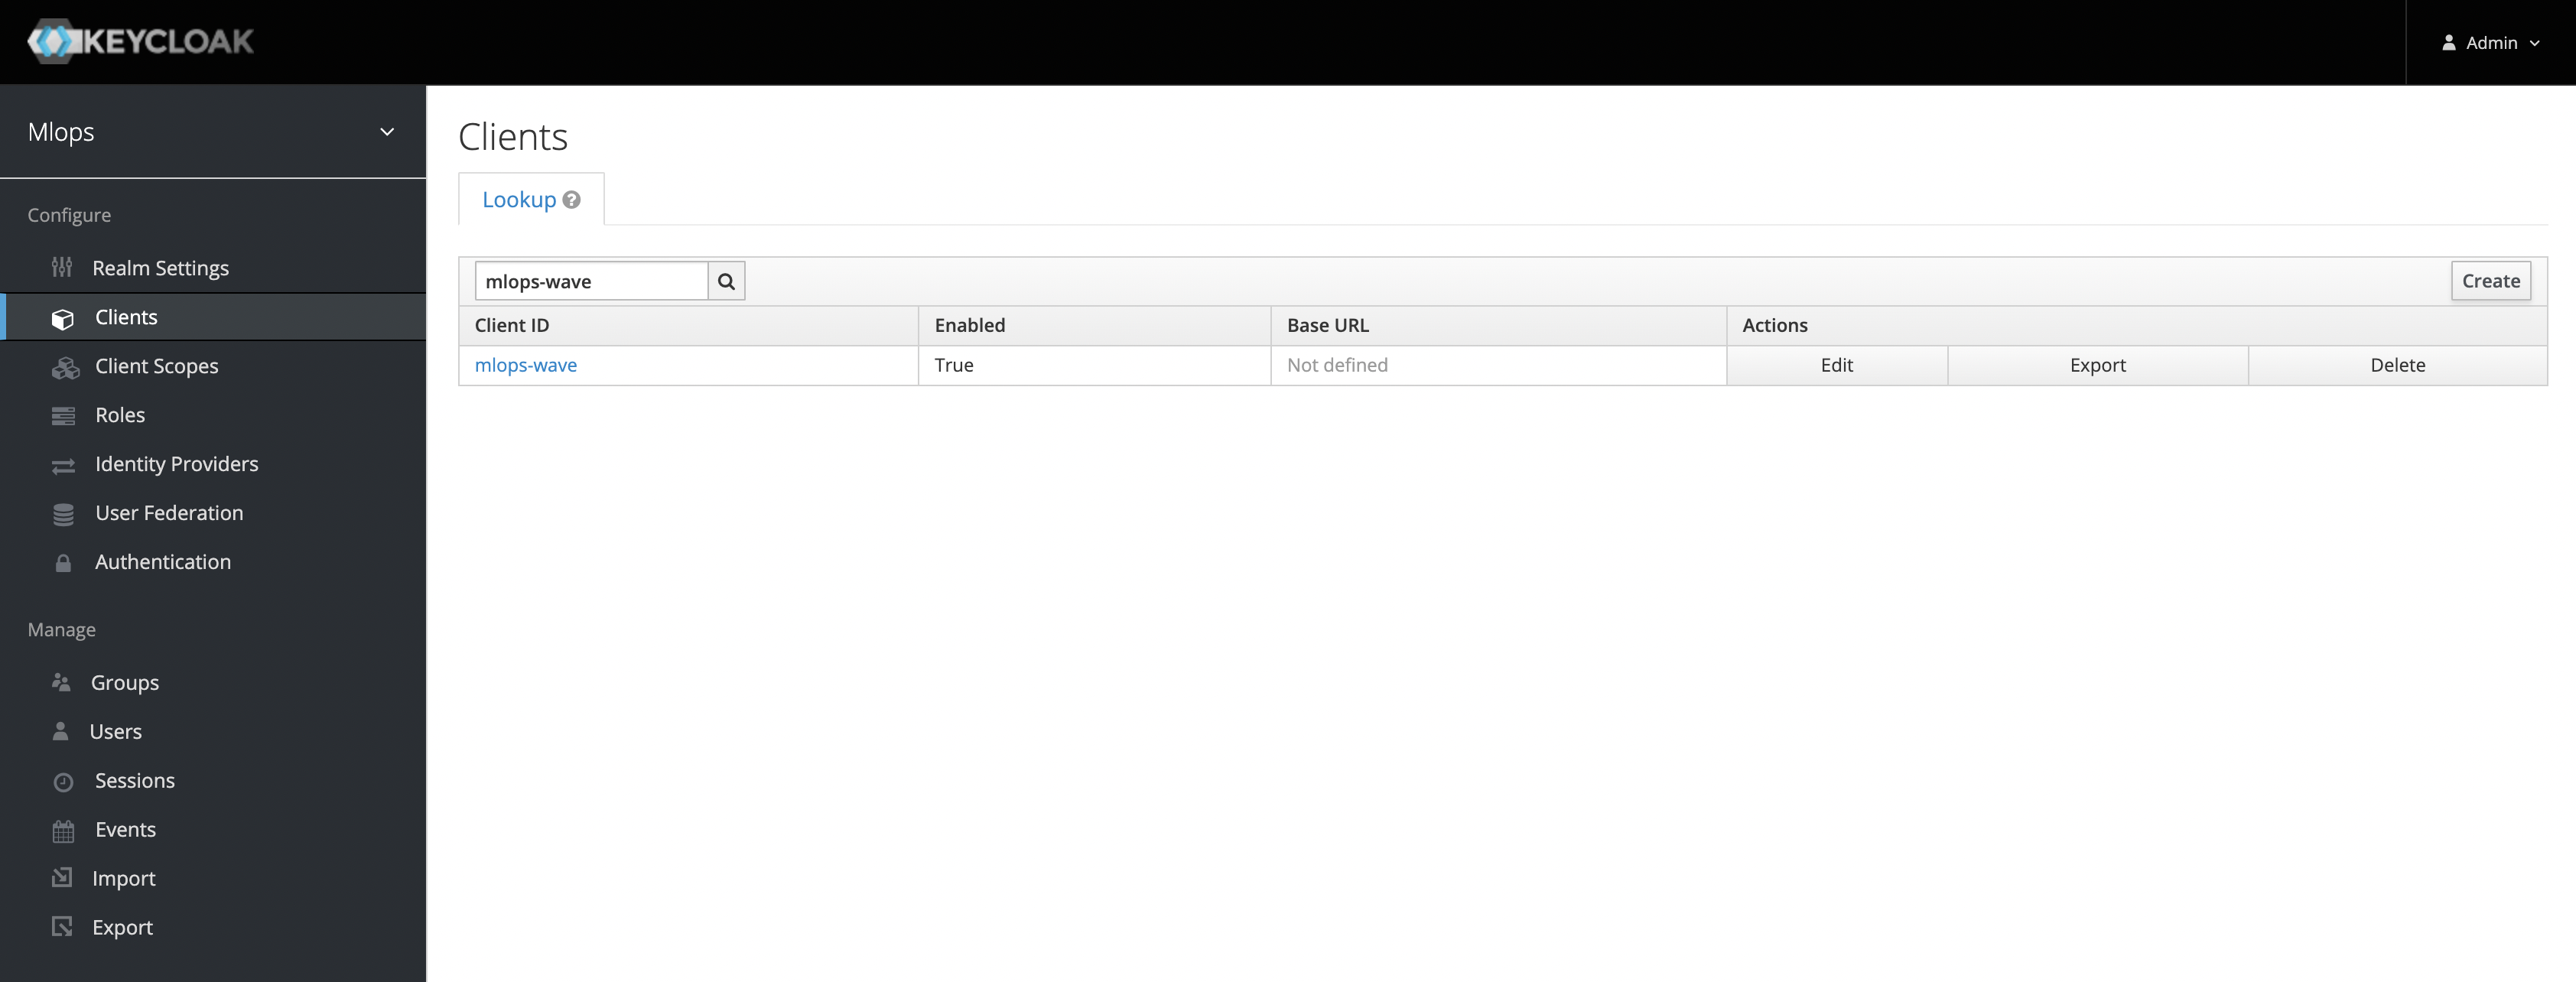
The following example demonstrates the access control configurations with Keycloak as your IDP. Note that the configuration steps may be different for other IDPs.
- Log in to the Keycloak Server as an admin user, and click on the Clients tab on the left-navigation panel. You will see a list of all the OpenID Connect (OIDC) clients.
-
Select the OIDC client that you plan to use for H2O Admin Analytics.
-
Click on the Mappers tab and add a claim mapping.
-
Ensure that the Add to ID token and Add to access token toggles are set to "ON", and the Mapper Type is "Group Membership".
At this point, also take note of the Token Claim Name value as you will need to use it along with the relevant user group when you are deploying H2O Admin Analytics.
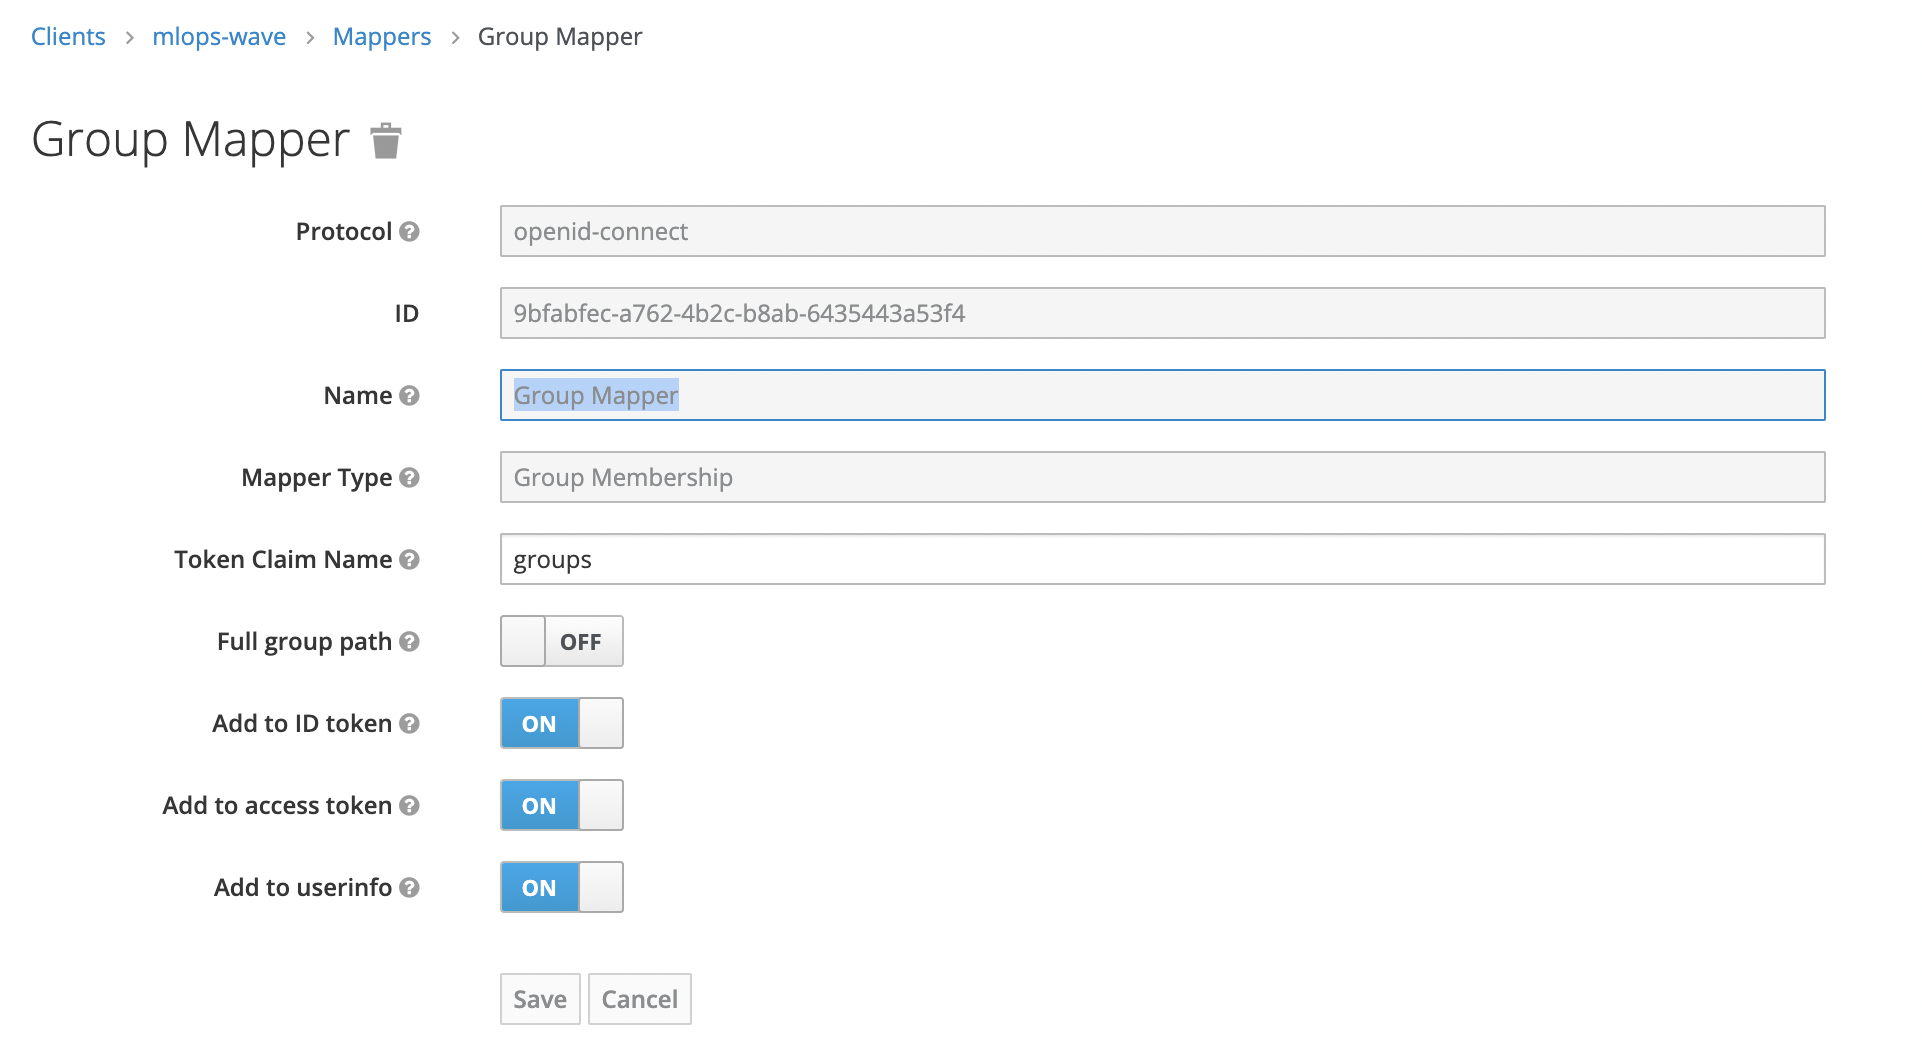
- Click Save to save your changes.
- Submit and view feedback for this page
- Send feedback about Admin Analytics to cloud-feedback@h2o.ai