Tutorial 1C: Scikit-Learn
Overview
This tutorial walks through the process of how you can generate an AutoDoc for a model built in Scikit-Learn. To generate an AutoDoc for a built model in Scikit-Learn:
Prerequisites
- Knowledge of Scikit-Learn
Step 1: Scikit-Learn model
To build an AutoDoc for a supervised learning model, built-in Scikit-Learn, you need to download its model first. As a requirement, H2O AutoDoc requires the Scikit-Learn model to be in a .pkl file format (preferably in a Joblib format). To learn more, see Model persistence: Python specific serialization.
Step 2: AutoDoc Settings
-
In H2O AutoDoc, click Create new AutoDoc.

-
In the New report list, select From Scikit model.
-
In the Report name box, enter a name for the AutoDoc (e.g.,
Scikit-Learn AutoDoc).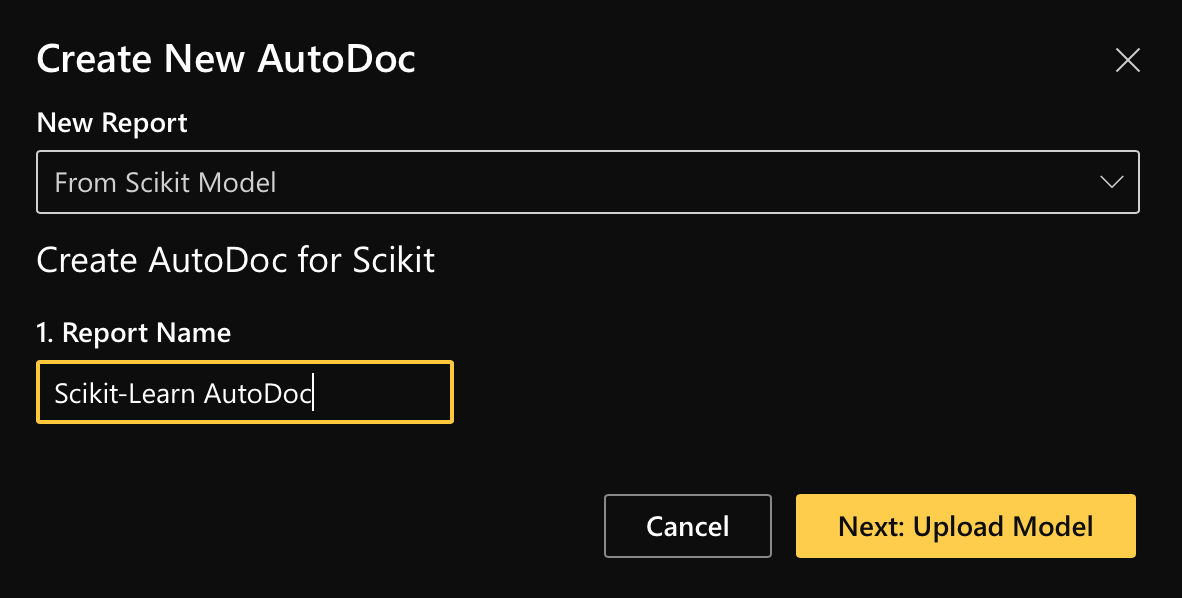
-
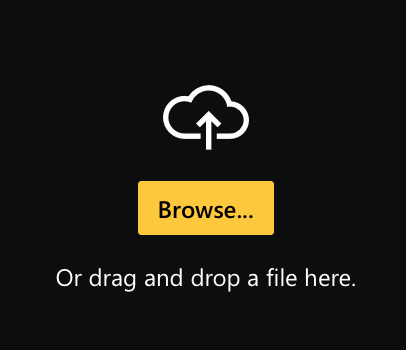
To upload your Scikit-Learn model, click Browse....
-
After uploading you model, click Upload Scikit model.
-
Click Next: Upload training & validation data.
-
Click Upload training data.
NoteAnytime you are preparing the settings for an AutoDoc for a built model in Scikit-Learn, you need to upload the training dataset used to build the model.
-
Click Browse....
-
After uploading the train dataset, click Upload training data.
-
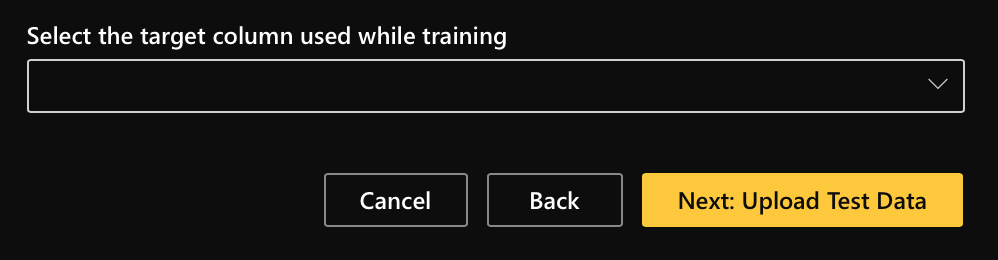
In the Select the target column used while training list, select the model's target column.
-
Click Next: Upload test data.
-
Click Skip test data.
Note- For purposes of this tutorial, we will not upload the test dataset of the built model in Scikit-Learn.
- Anytime you want to generate an AutoDoc for a built model in Scikit-Learn, you don't need to provide a test or used test dataset.
- Not providing a test dataset will lead to the AutoDoc (report) not containing an overview of the validation dataset.
-
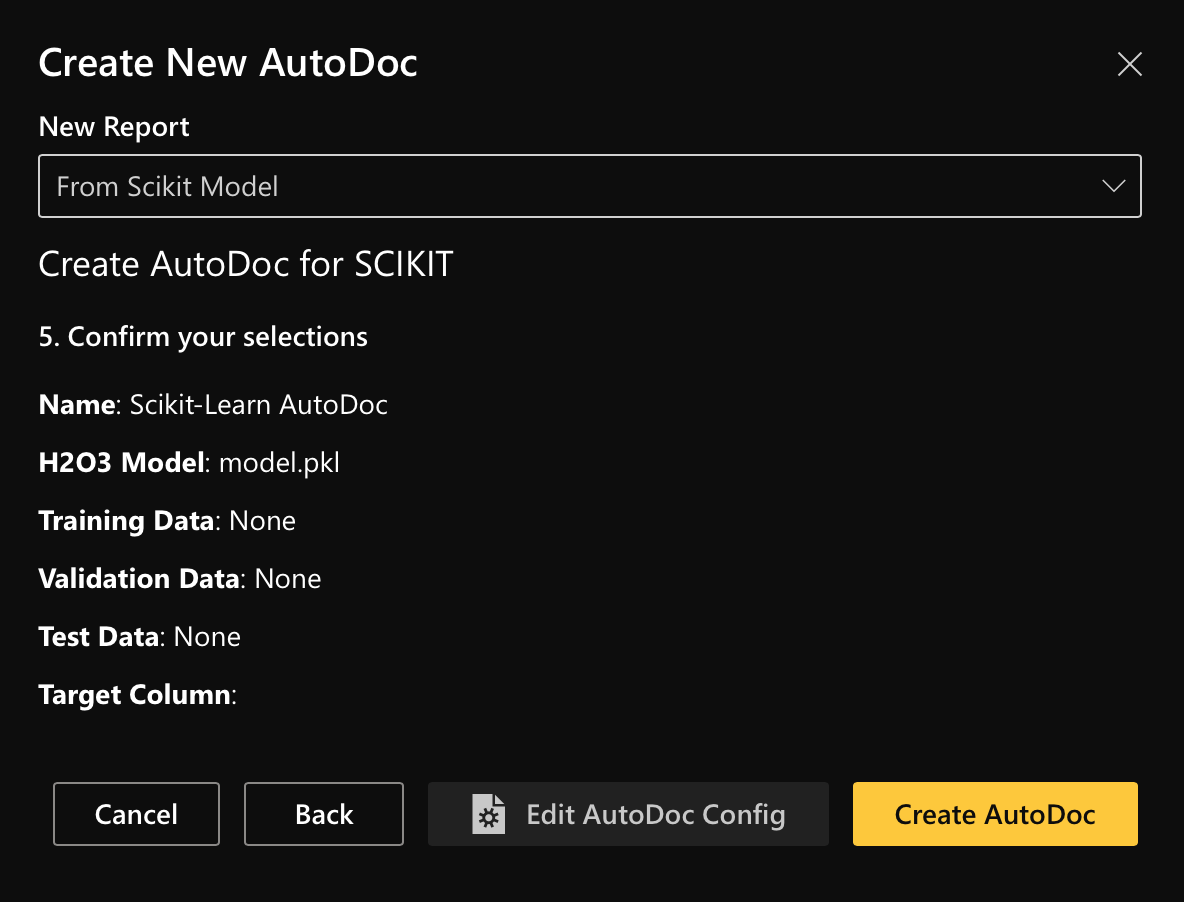
Click Create AutoDoc.
- Submit and view feedback for this page
- Send feedback about H2O AutoDoc to cloud-feedback@h2o.ai