Tutorial 2A: Evaluate semantic similarity with existing h2oGPTe collection
Overview
This tutorial demonstrates how to create an agent-only collection in Enterprise h2oGPTe for employment contract analysis and integrate it into an evaluation using H2O Eval Studio. It guides you through assessing the performance of a large language model (LLM) for this specific task, focusing on instruction adherence, factual accuracy, and consistency across multiple runs.
The evaluation uses semantic similarity metrics, mean answer similarity and minimum answer similarity, to provide both average and worst-case performance insights. Results are visualized using color coding (e.g., yellow for threshold met, gray for below threshold) and can help you:
- Compare multiple models or benchmark against a baseline
- Identify areas for model improvement or fine-tuning
- Evaluate the model’s reliability for analyzing employment contracts
- Explore how well the model understands legal content, identifies key information, and responds concisely
A detailed JSON report is also available, including prompts, outputs, similarity scores, runtime, and cost—useful for debugging and resource optimization.
Objectives
- Create an agent-only collection in Enterprise h2oGPTe for employment contract analysis
- Configure a system prompt that instructs the agent to extract key contractual information and respond with precision
- Add a model host in H2O Eval Studio to evaluate the LLM using Retrieval-Augmented Generation (RAG) with the h2oGPTe collection
- Import a test suite designed to assess the model's ability to analyze employment contracts
- Run an evaluation and interpret results using semantic similarity metrics (mean and minimum answer similarity) and text matching.
- Use visualization tools and detailed reports to identify consistency, accuracy, and potential areas for model improvement
Prerequisites
- Access to Enterprise h2oGPTe
- Access to H2O Eval Studio
- Enterprise h2oGPTe API Key
- Basic understanding of LLMs and evaluation metrics
- The test document, Employment_Contract.pdf
Step 1: Create a collection in h2oGPTe
First, we create an agent-only collection that includes the employment contract document.
- In the Enterprise h2oGPTe navigation menu, click Collections.
- Click + New collection.
- In the Collection name field, enter:
Tutorial 2A Collection - In the Description field, enter:
The collection for tutorial 2A with a sample employment contract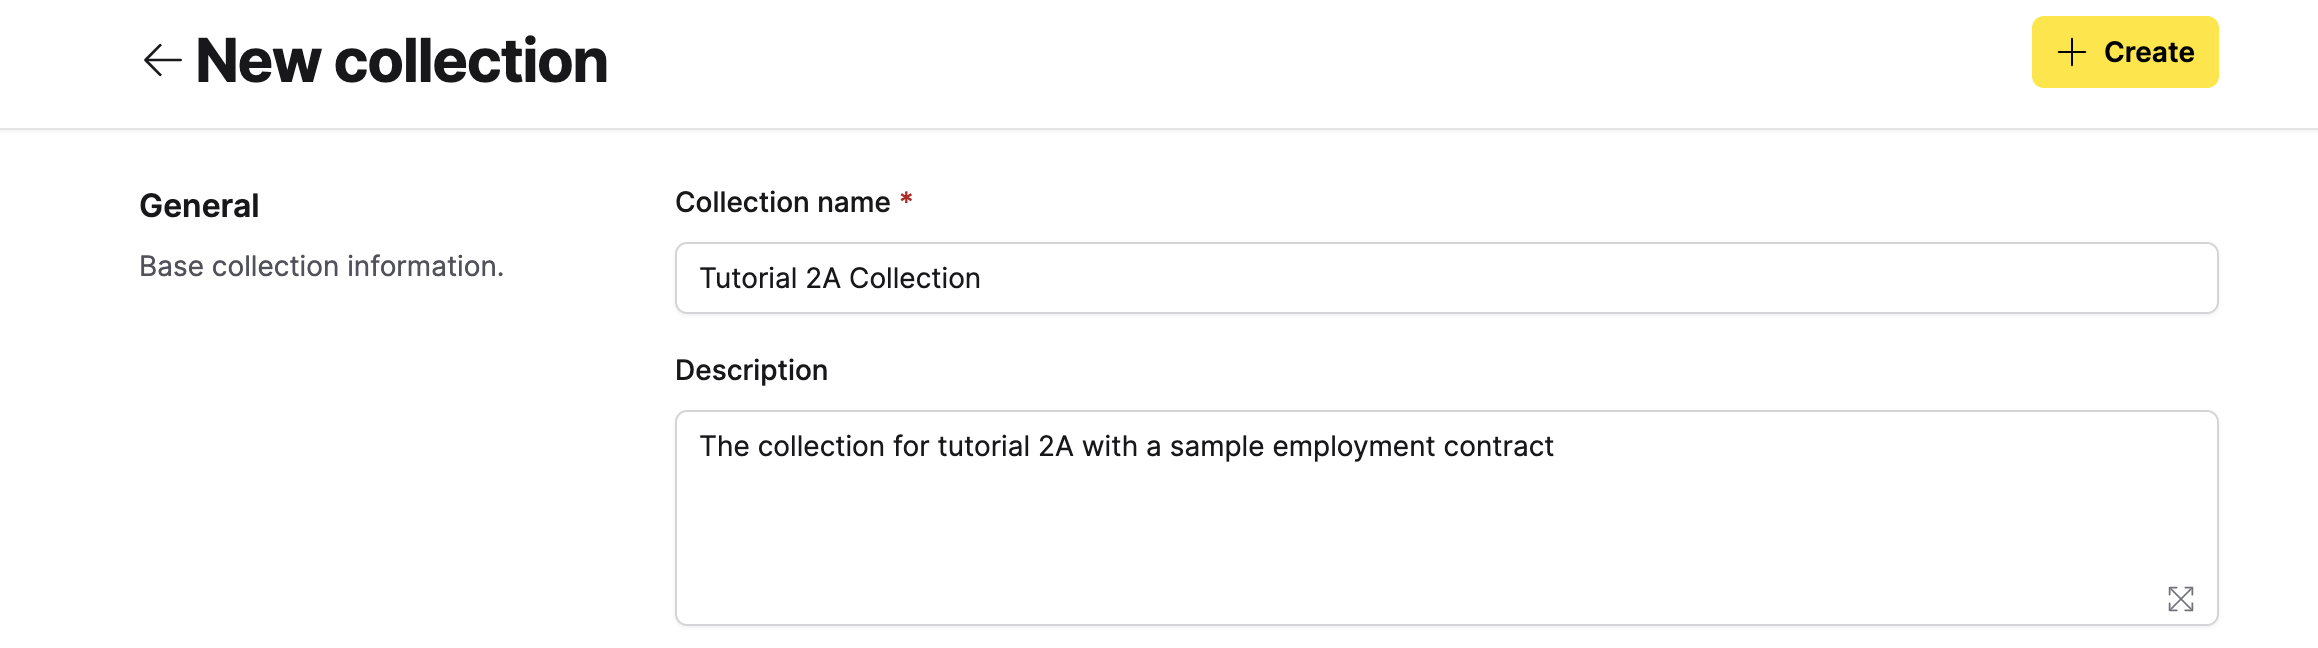
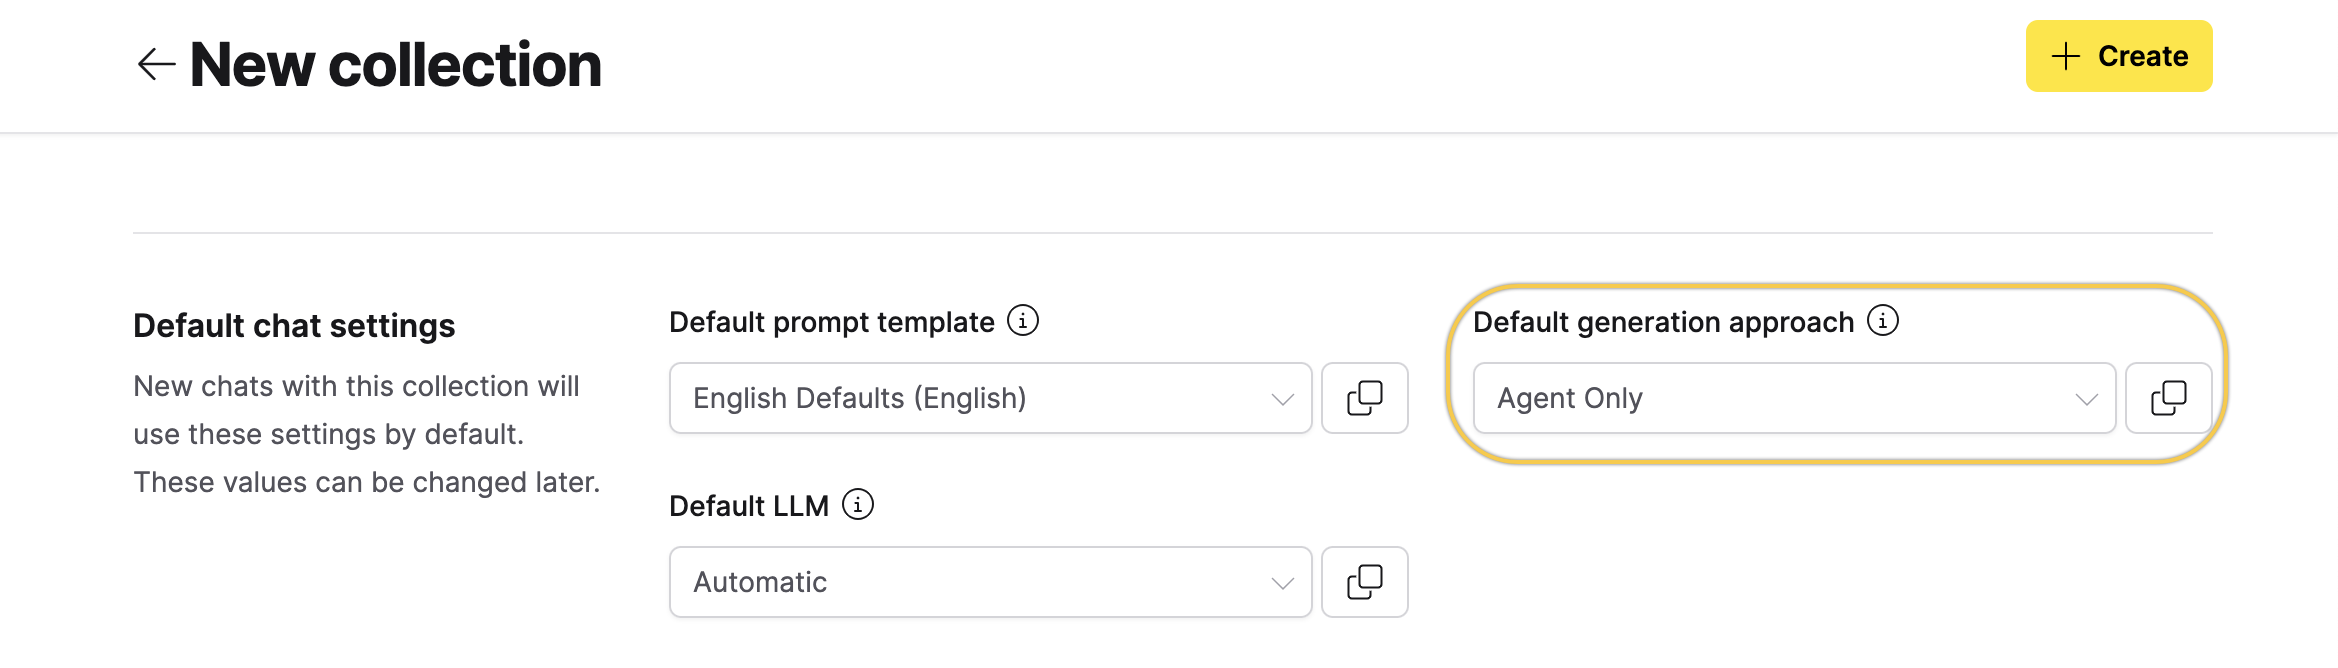
- In the Default chat settings section, set Default generation approach to Agent Only.
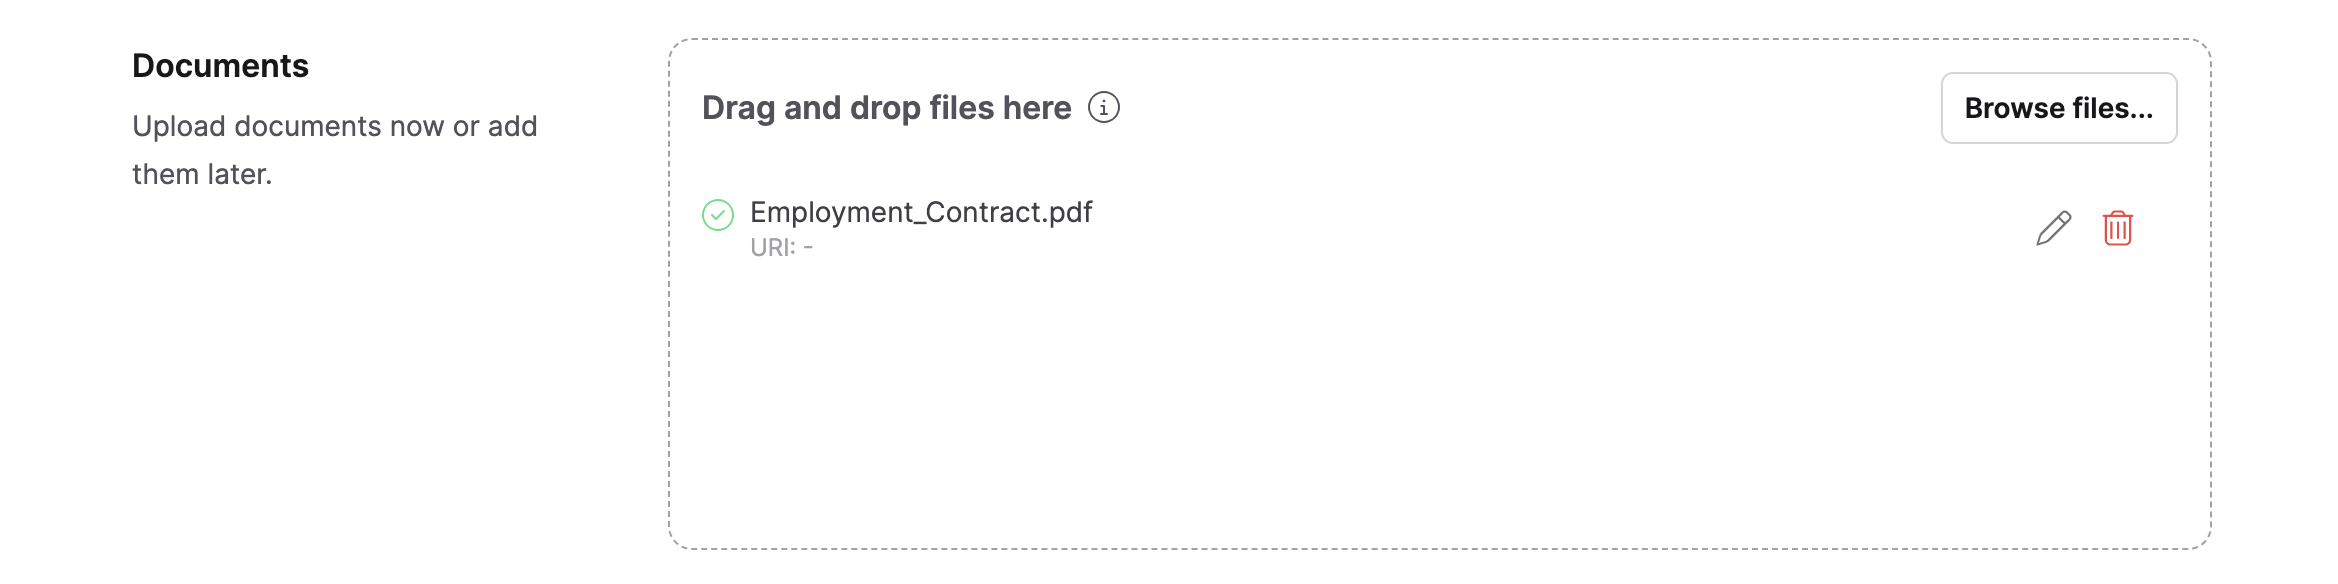
- In the Documents section, upload the Employment_Contract.pdf file.
- Click + Create.
Step 2: Configure the analysis prompt
Then, we configure the system prompt to ensure precise extraction of the details.
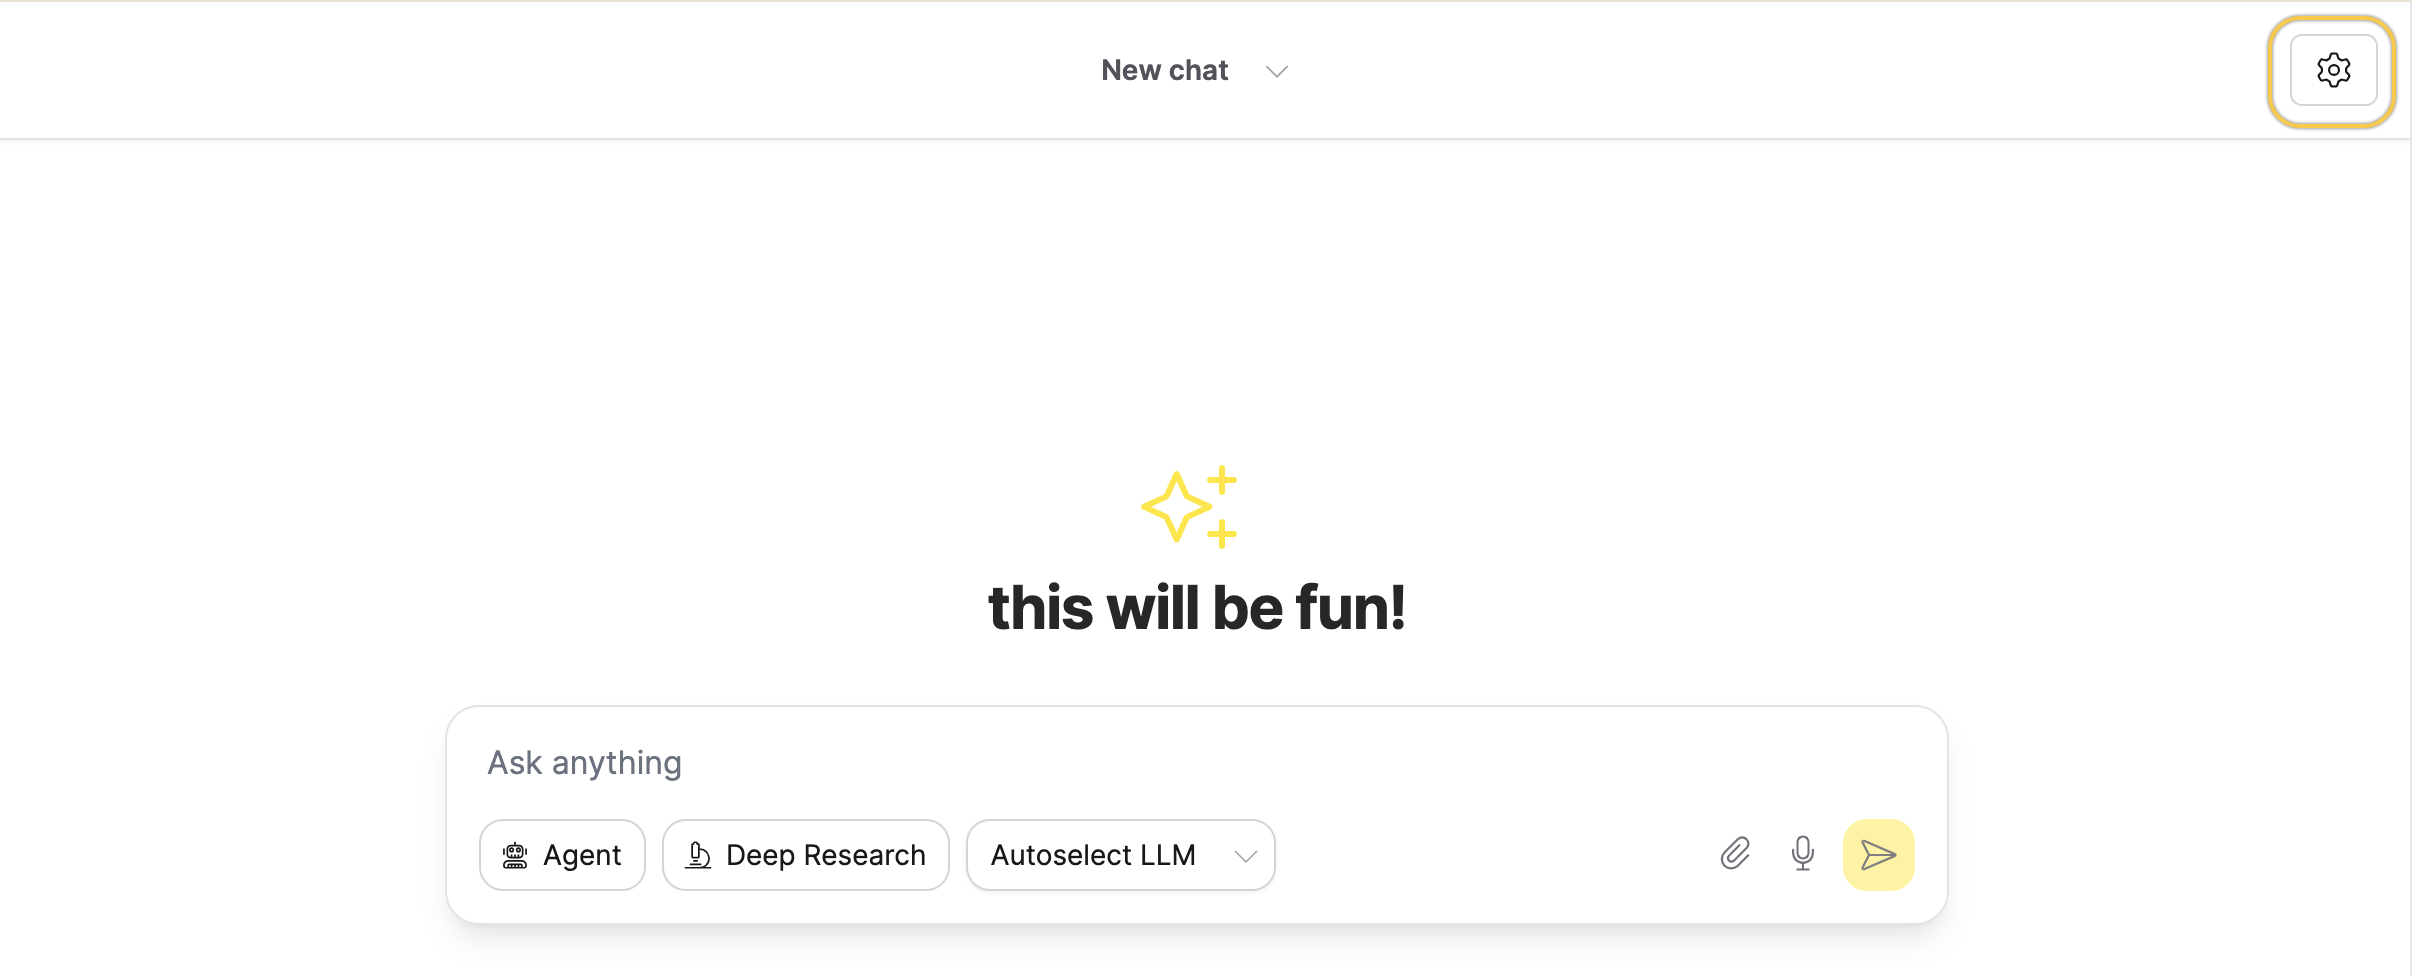
- Click + Start your first chat to start a new chat session in the collection.
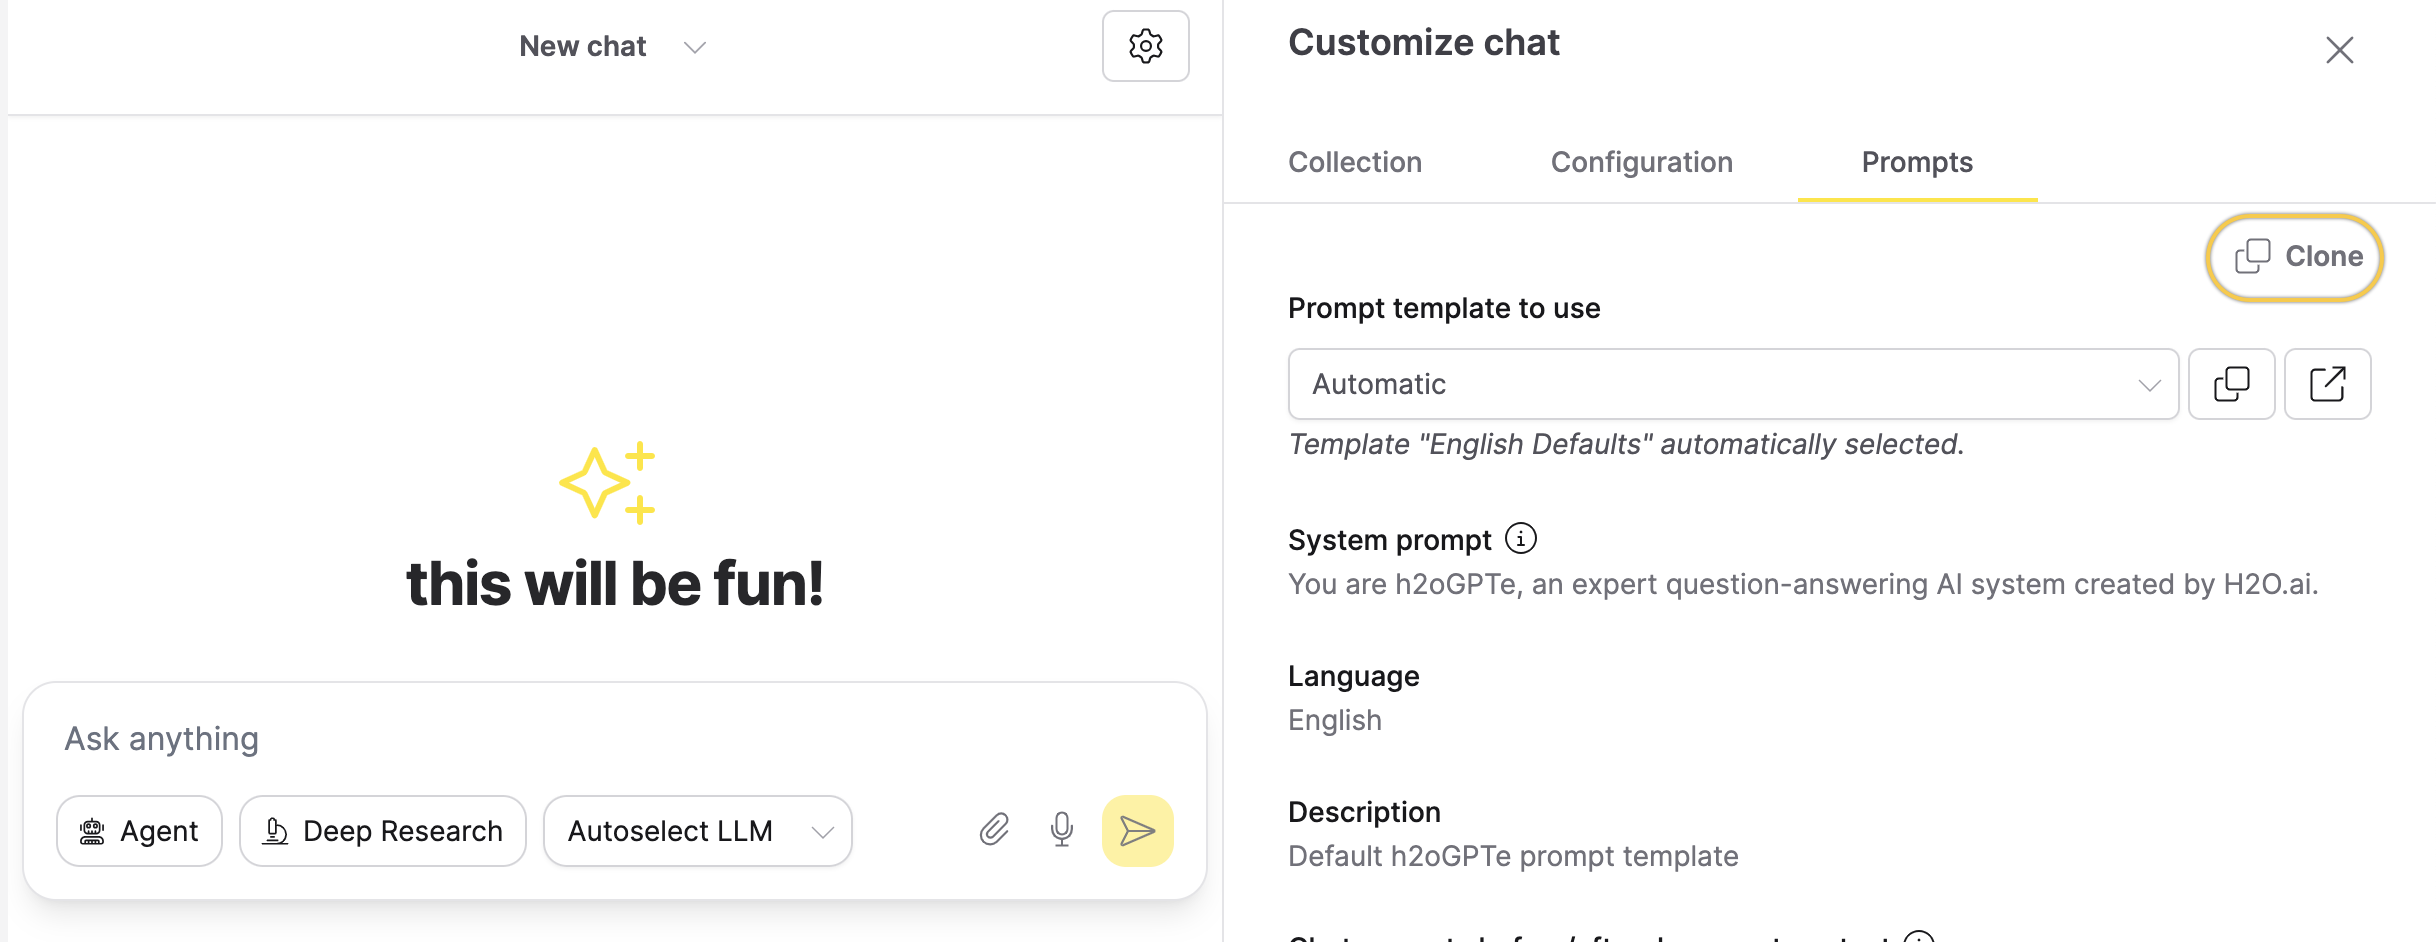
- Click the Settings (gear) icon.
- Go to the Prompts tab, then click Clone to create a new prompt template.
- Click Rename, and enter the name
Employment Contract Analysis.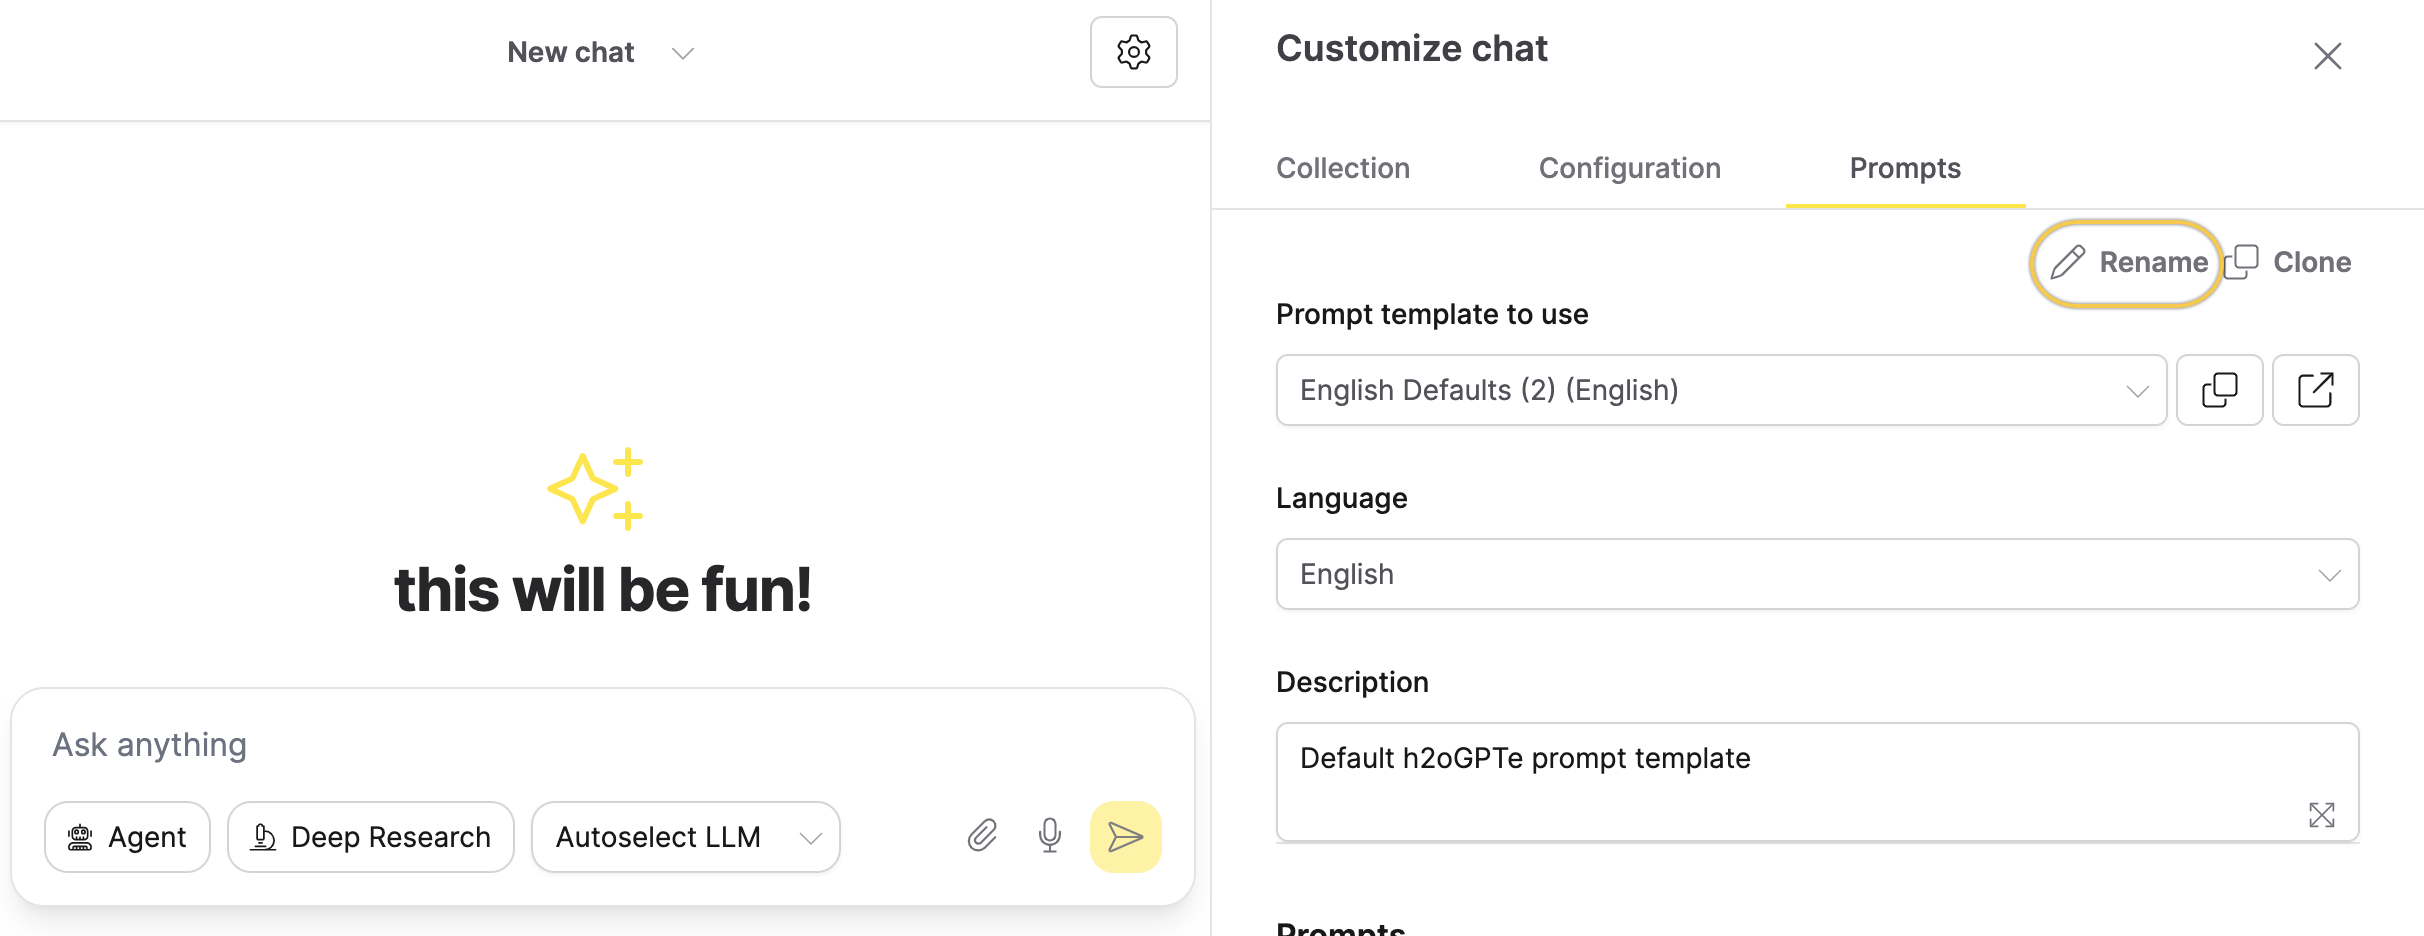
- In the System prompt field, replace the content with the following prompt:
# Employment Contract Analysis System

You are h2oGPTe, an AI developed by H2O.ai to analyze employment contracts. Use only the provided document to answer questions. Do not rely on external knowledge or make assumptions.

## Instructions
- Cite relevant sections, clauses, or paragraphs in your responses.
- If information is missing, reply:
"The contract does not contain sufficient information to answer this question."
- Keep answers factual, concise, and neutral.
- Do not offer legal advice or summarize the full contract unless asked.

## Key Areas to Analyze
1. **Contract and Role**
   - Parties, type, dates, job title, responsibilities, location, and hours
2. **Compensation**
   - Salary, payment frequency, benefits, and leave entitlements
3. **Restrictions**
   - Confidentiality, IP, non-compete, and compliance clauses
4. **Termination**
   - Notice periods, grounds for termination, dispute procedures

## Response Guidelines
- Focus only on the question asked.
- Use quotes when relevant.
- Acknowledge ambiguity if the language is unclear. - Go to the Collections tab and click Apply current settings as collection defaults.
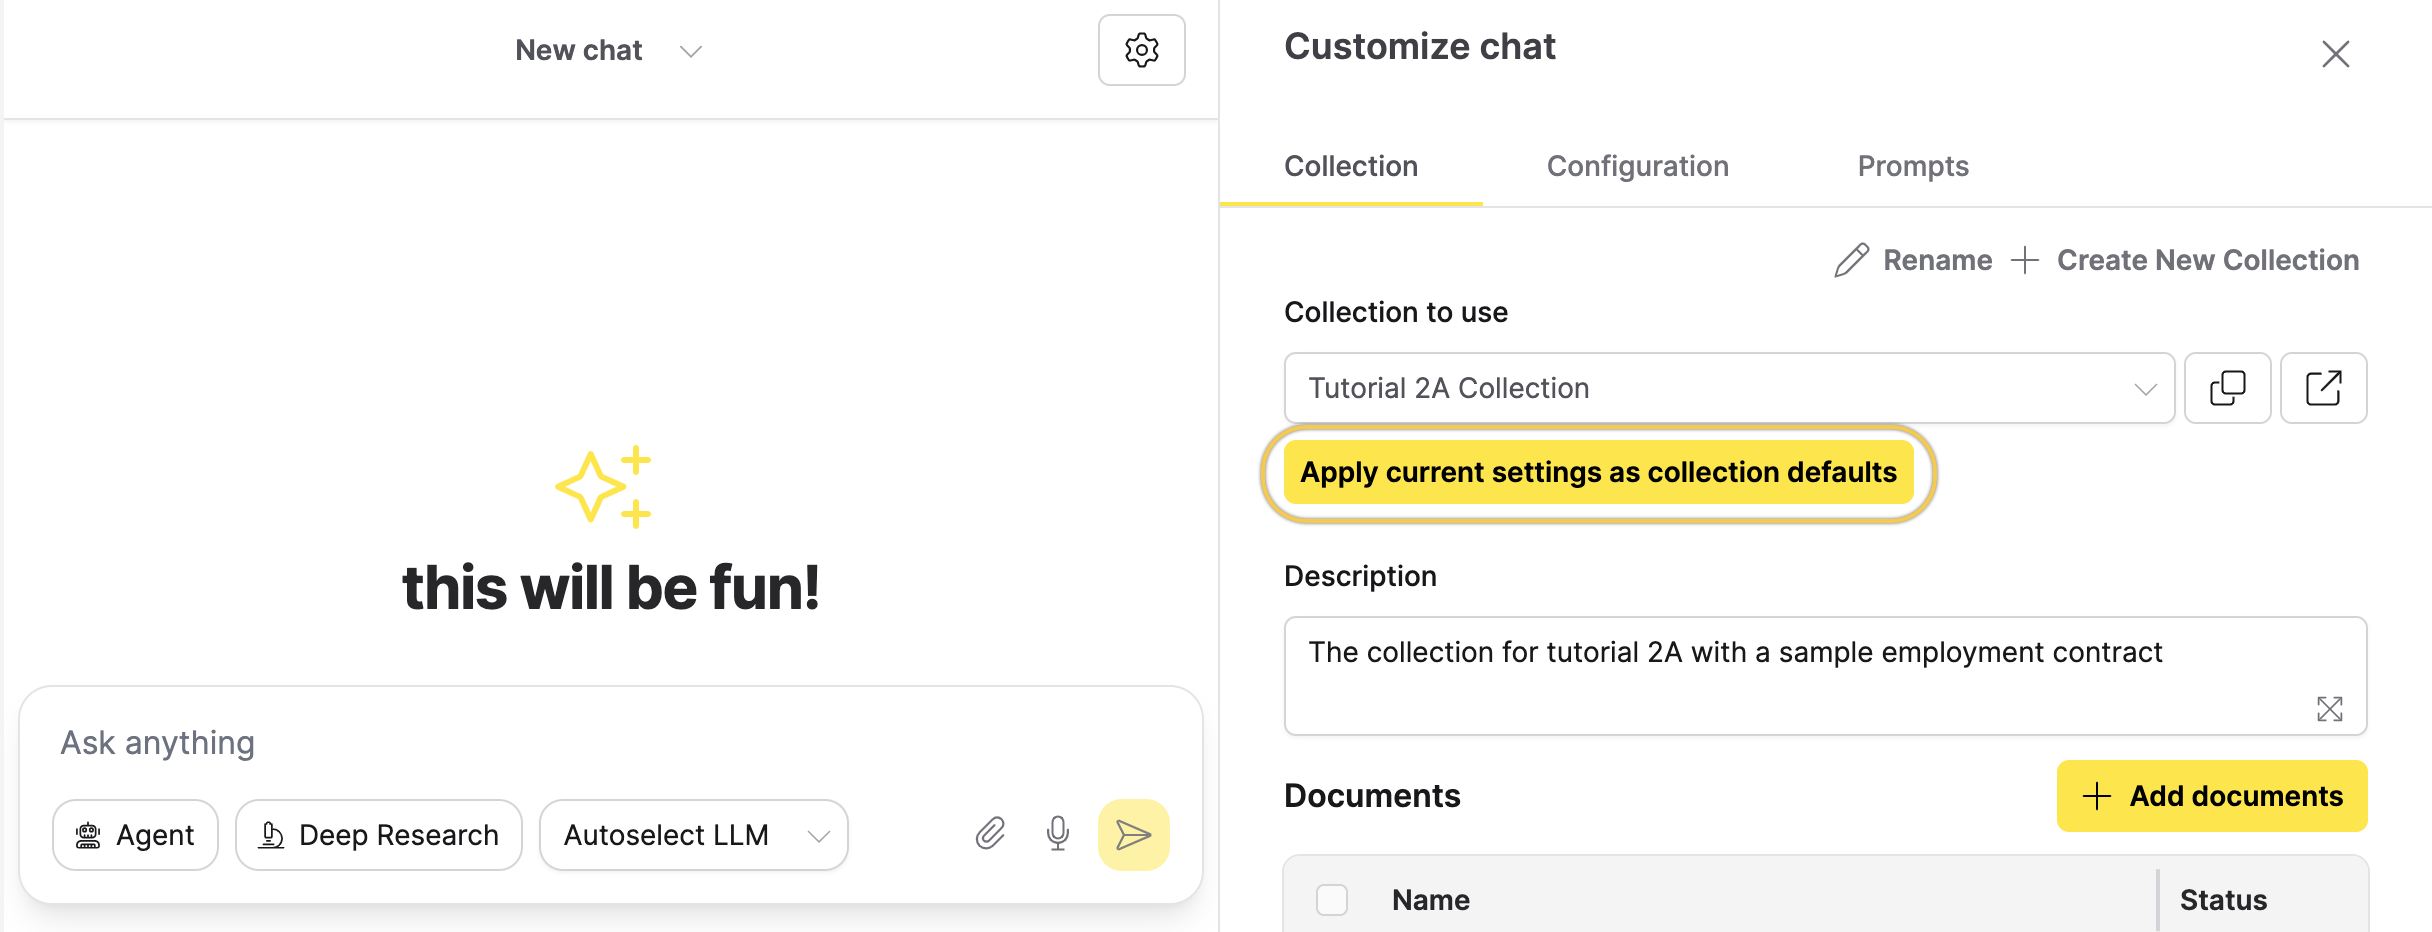
- Click Apply again to confirm.
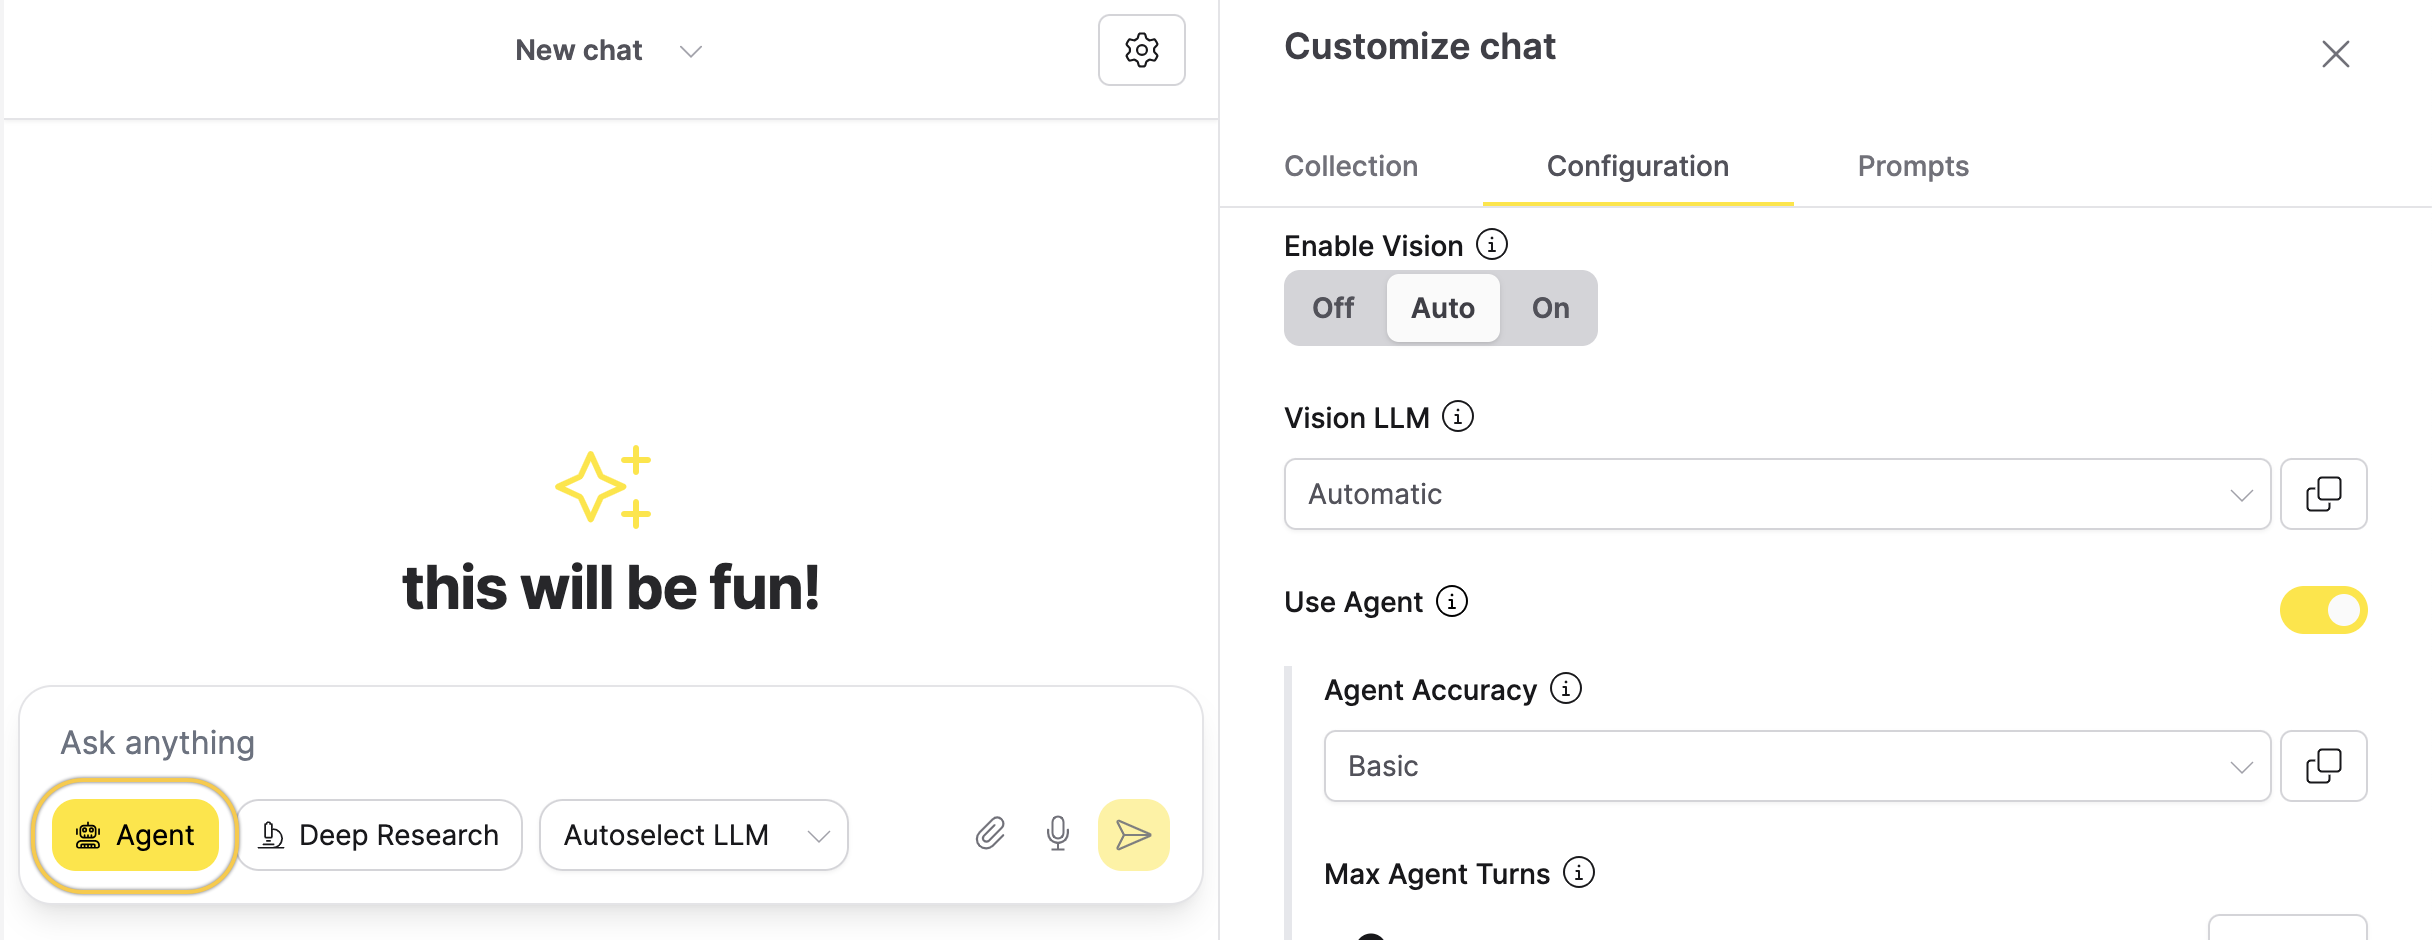
- Enable the agent by clicking the Agent icon near the message input.
Step 3: Add a model host
Next, we switch to H2O Eval Studio to configure h2oGPTe as the model backend for evaluation.
- On the H2O Eval Studio navigation menu, click Model hosts.
- In the Model hosts page, click New model host.
- In the New model host panel, enter the following name in the Model host name field:
Tutorial 2A model host - In the Description field, enter:
Test model host for the tutorial 2A - From the Type dropdown, select h2oGPTe RAG.
- In the Host URL field, enter:
https://h2ogpte.genai.h2o.ai - In the API key box, enter the API key for Enterprise h2oGPTe.
- To learn how to create an API key, see Create an API key.
- Click Create.
Step 4: Import a test suite
In this step, we’ll import ready-to-use test cases for analysis.
- In the H2O Eval Studio navigation menu, click Tests.
- Click Import test suite.
- In the Test name prefix field, enter:
Tutorial 2A test suite - In the Description field, enter:
Tutorial 2A test suite for the summarization evaluation - In the Import Test Suite section, enter the following URL in the JSON or URL field:
https://eval-studio-artifacts.s3.us-east-1.amazonaws.com/h2o-eval-studio-suite-library/token_presence_Employment_Contract_output.json - Click Import.
For more details on importing a test suite in JSON format, see Import Test Suite.
Step 5: Create an evaluation
Let's create an evaluation using the model host, test suite, and the Enterprise h2oGPTe collection created in Step 1.
- On the H2O Eval Studio navigation menu, click Evaluations.
- Click New evaluation.
- In the Create evaluation panel, enter the following name in the Evaluation name box:
Tutorial 2A evaluation - In the Description box, enter the following description:
Tutorial 2A evaluation - From the Model host drop-down menu, select Tutorial 2A model host.
- From the Tests drop-down menu, select Tutorial 2A test suite.
- From the LLM models drop-down menu, select
h2oai/h2o-danube3-4b-chat. - From the Existing collection drop-down menu, select Tutorial 2A Collection.
- In the Evaluators section, add the Answer semantic sentence similarity evaluator and the Text matching evaluator.
- Click Evaluate.
The new evaluation will be displayed under the Evaluations tab.
Step 6: Analyze the evaluation results
Now, let’s analyze the evaluation results.
- Once the evaluation is complete, click on the evaluation name to view the results.
- In the results dashboard, you'll see a circular visualization representing your evaluation metrics.
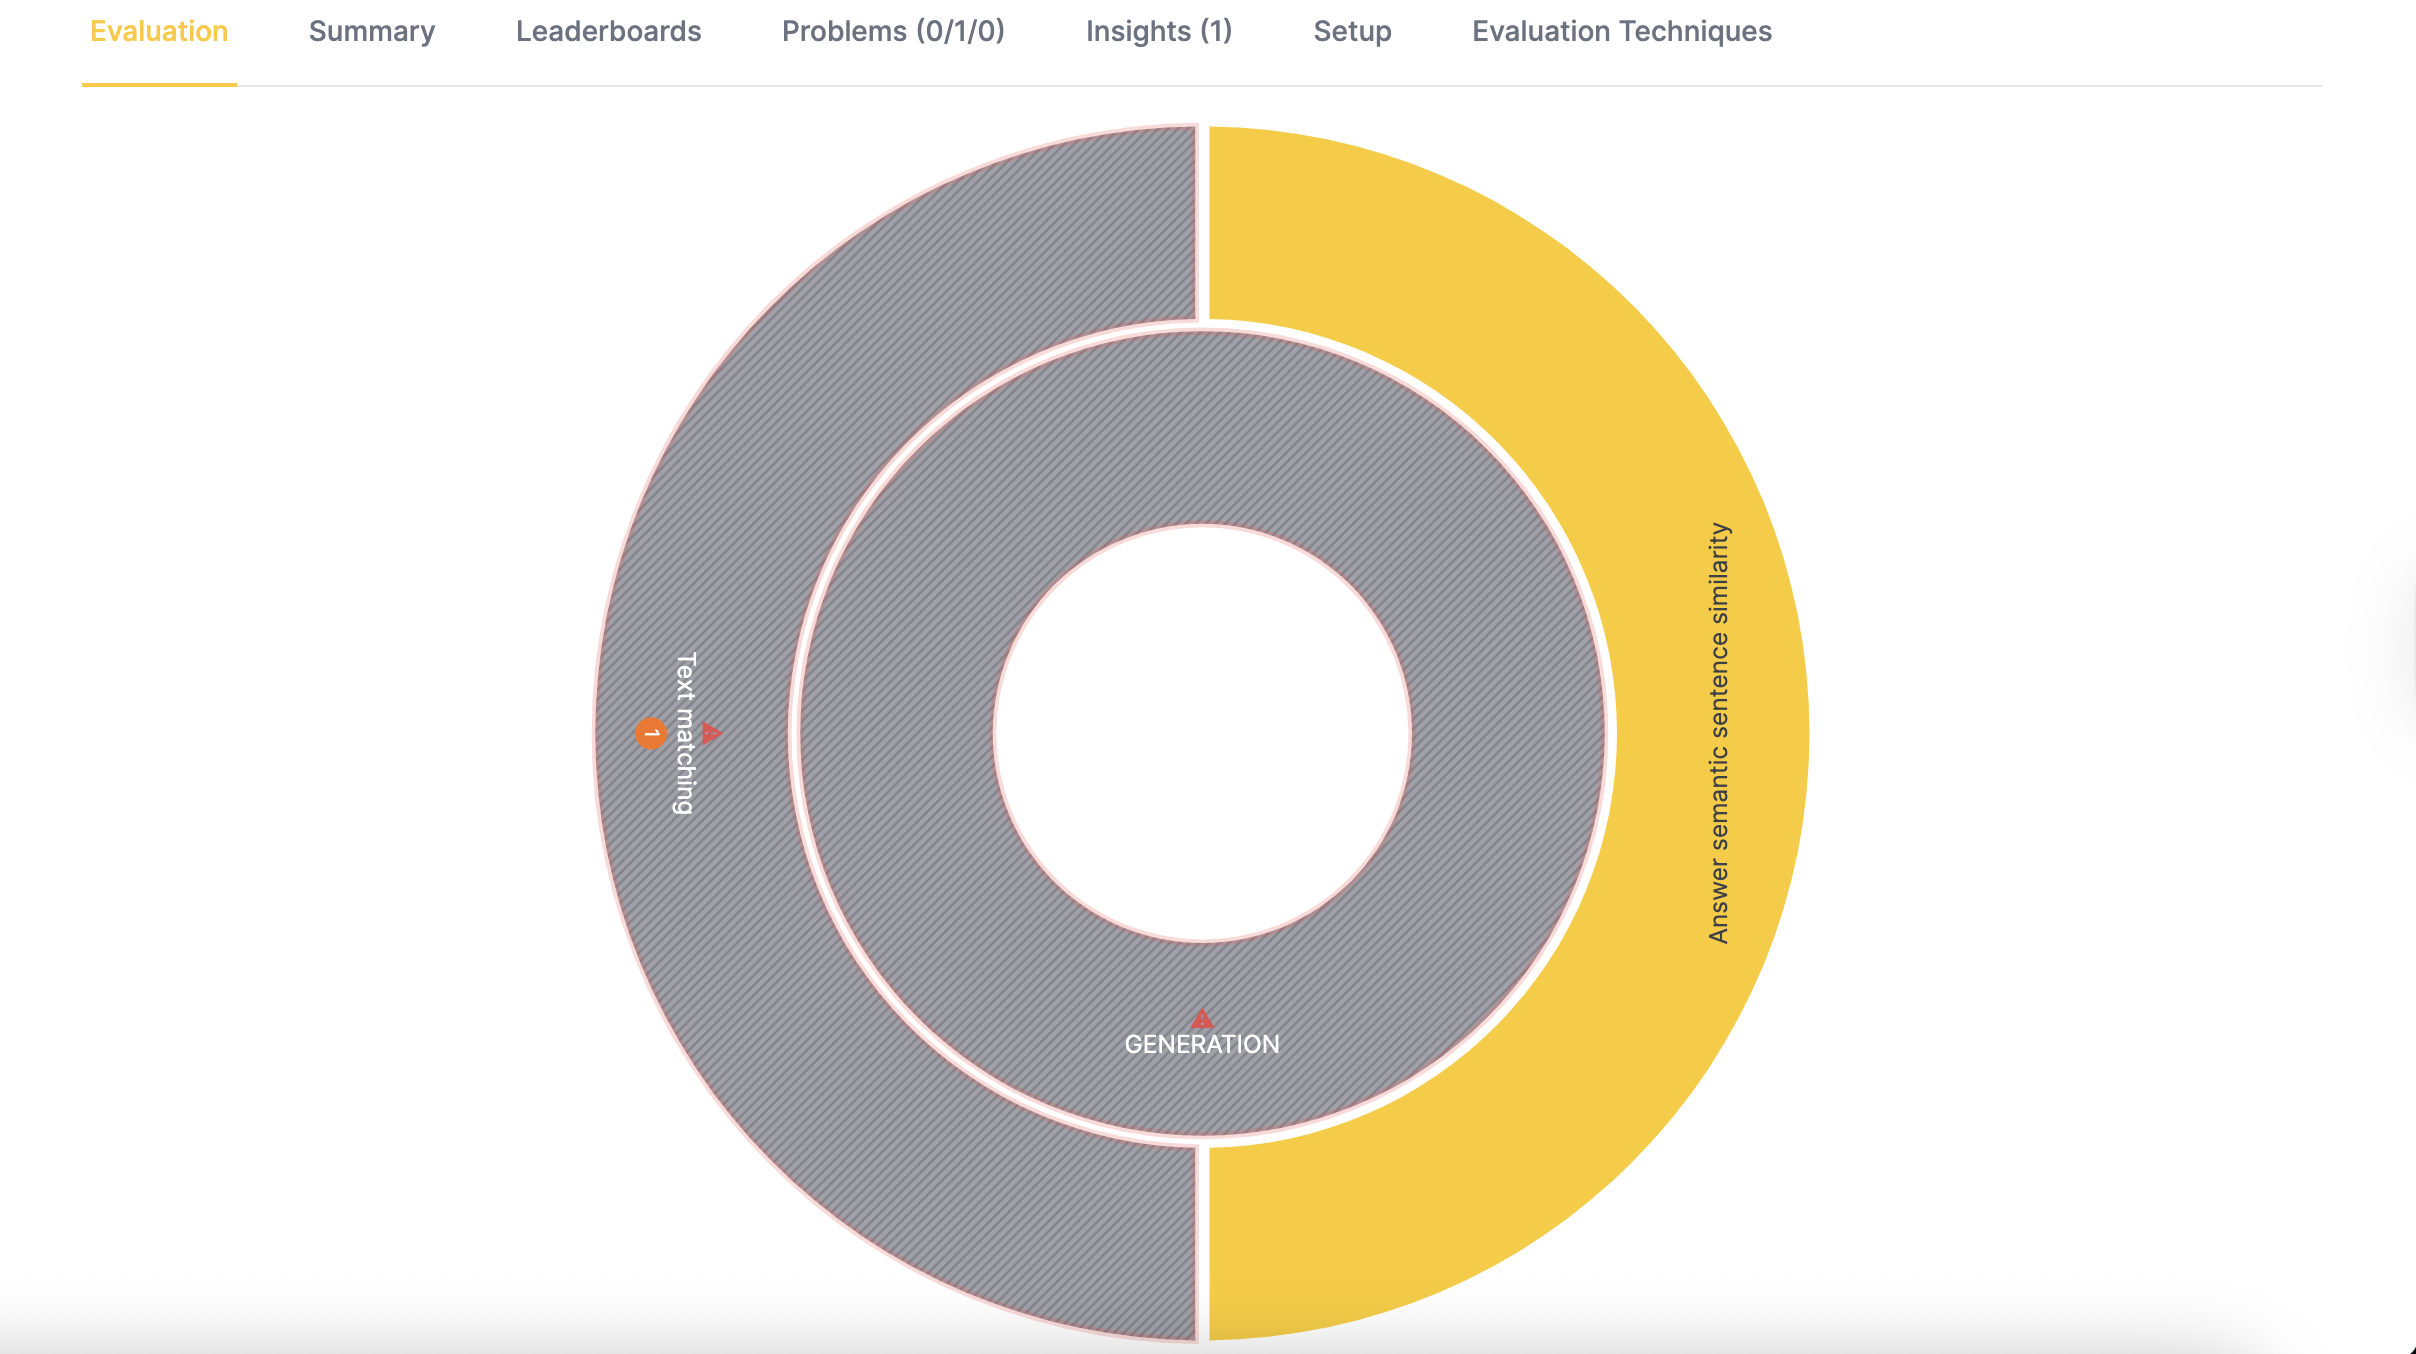
- Click on the outer circle to view the sub-metrics:
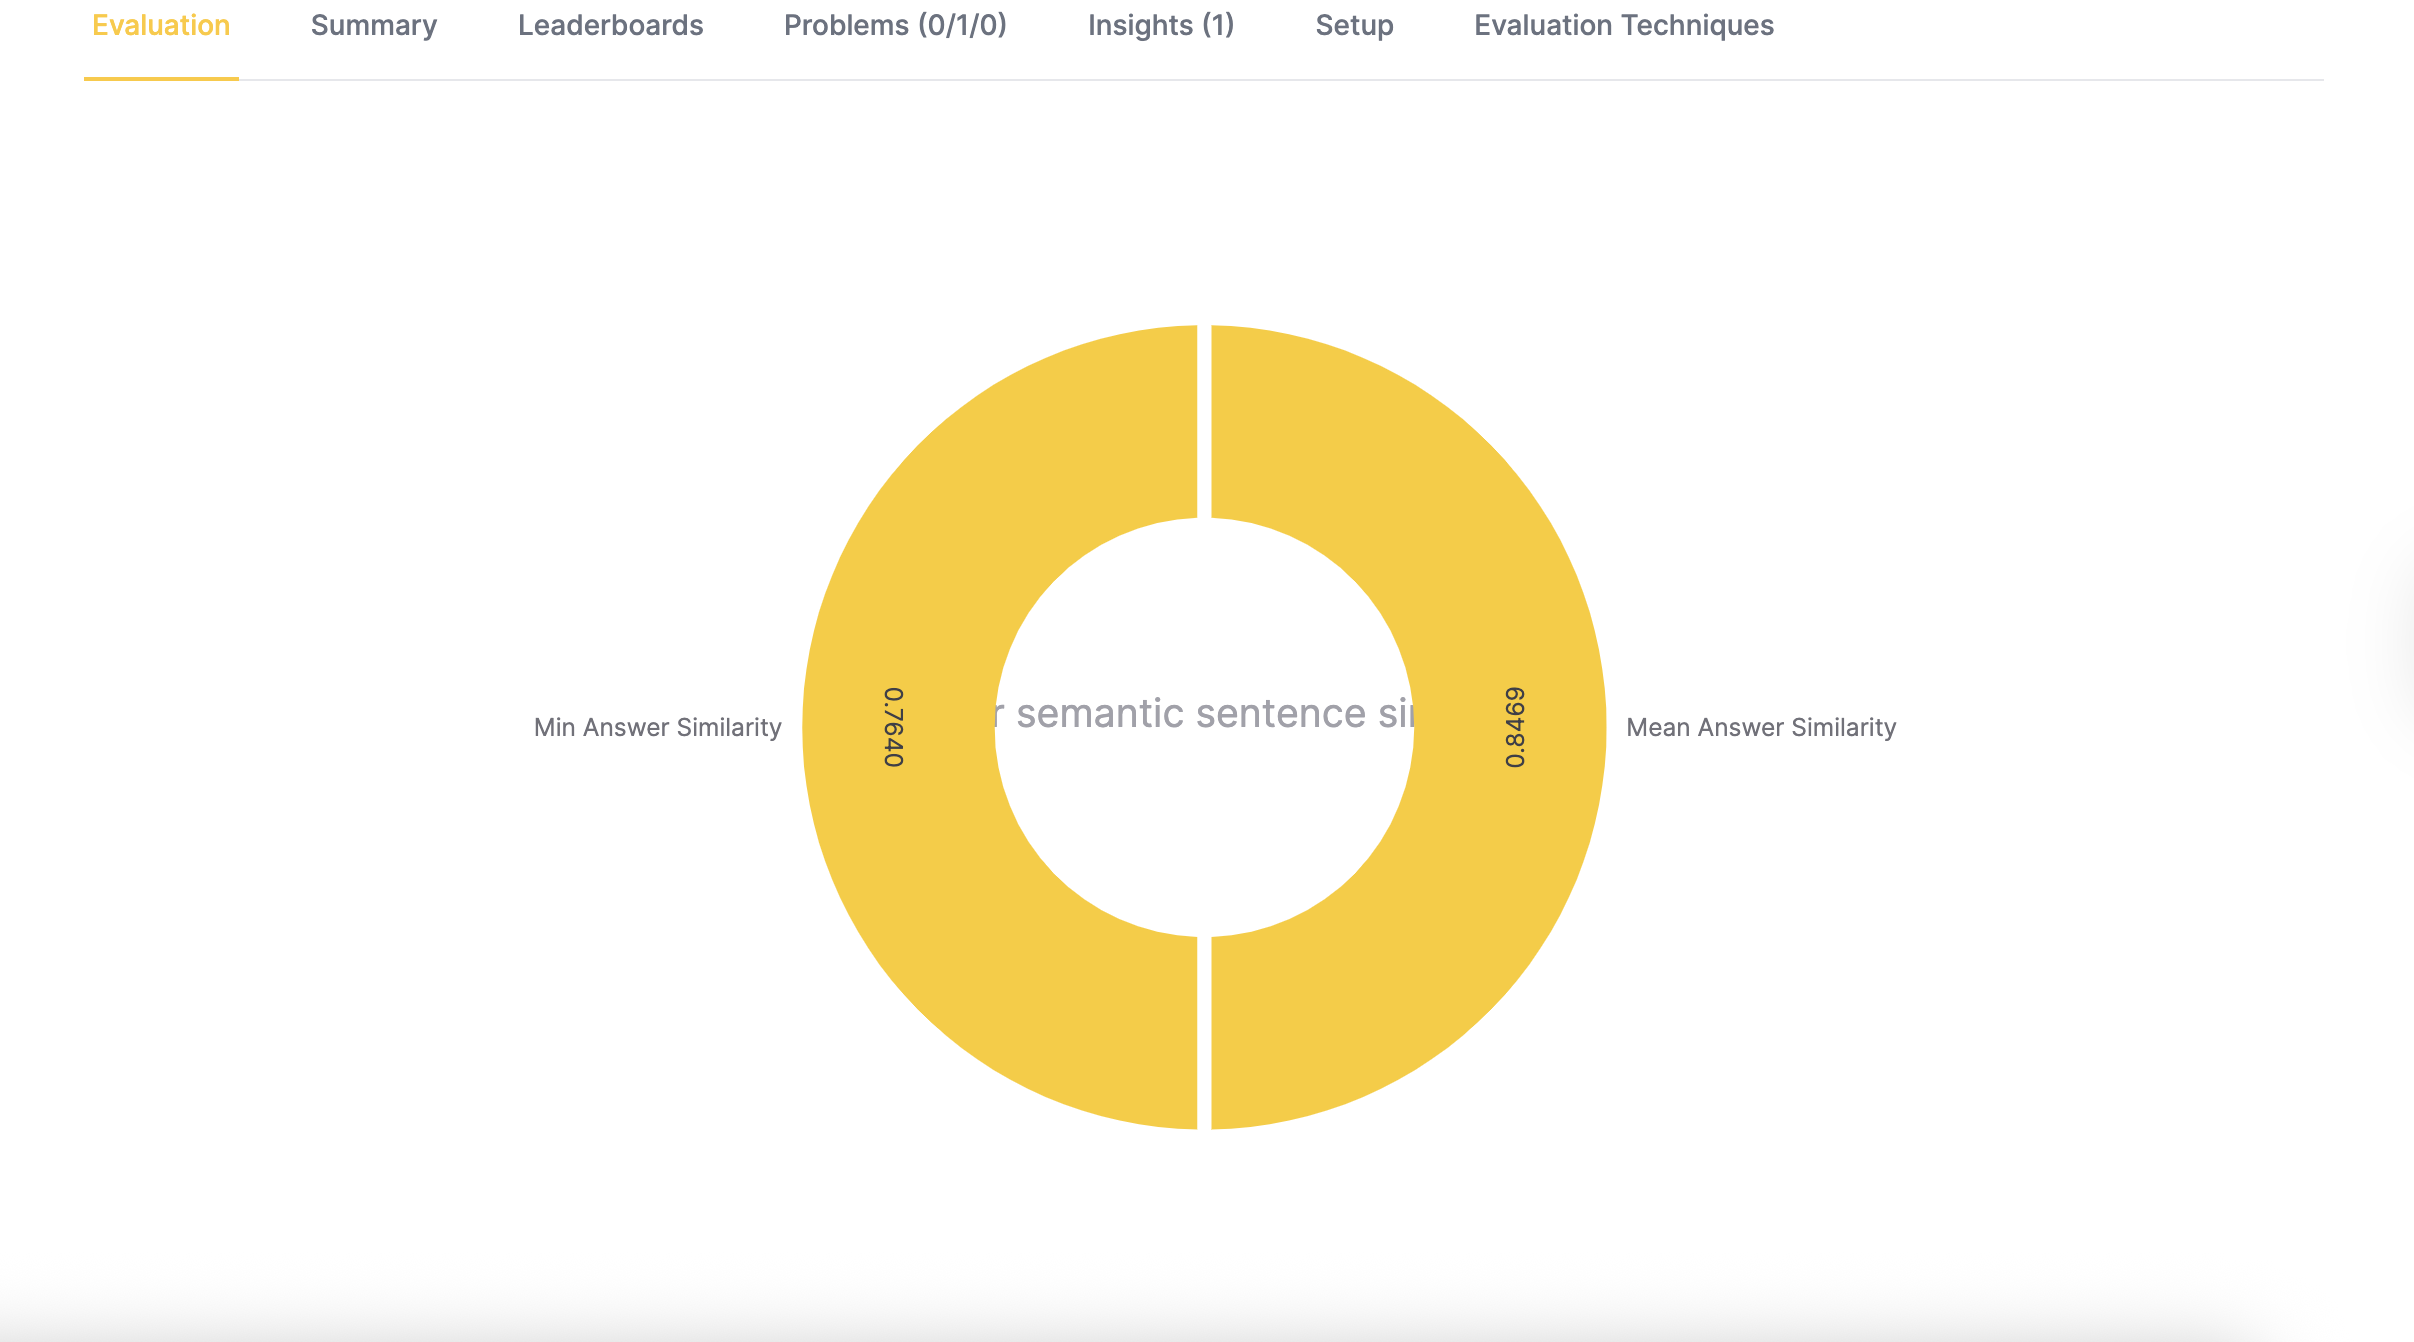
Answer semantic similarity:
- Minimum answer similarity: The lowest similarity score across all test runs
- Mean answer similarity: The average similarity score across all test runs
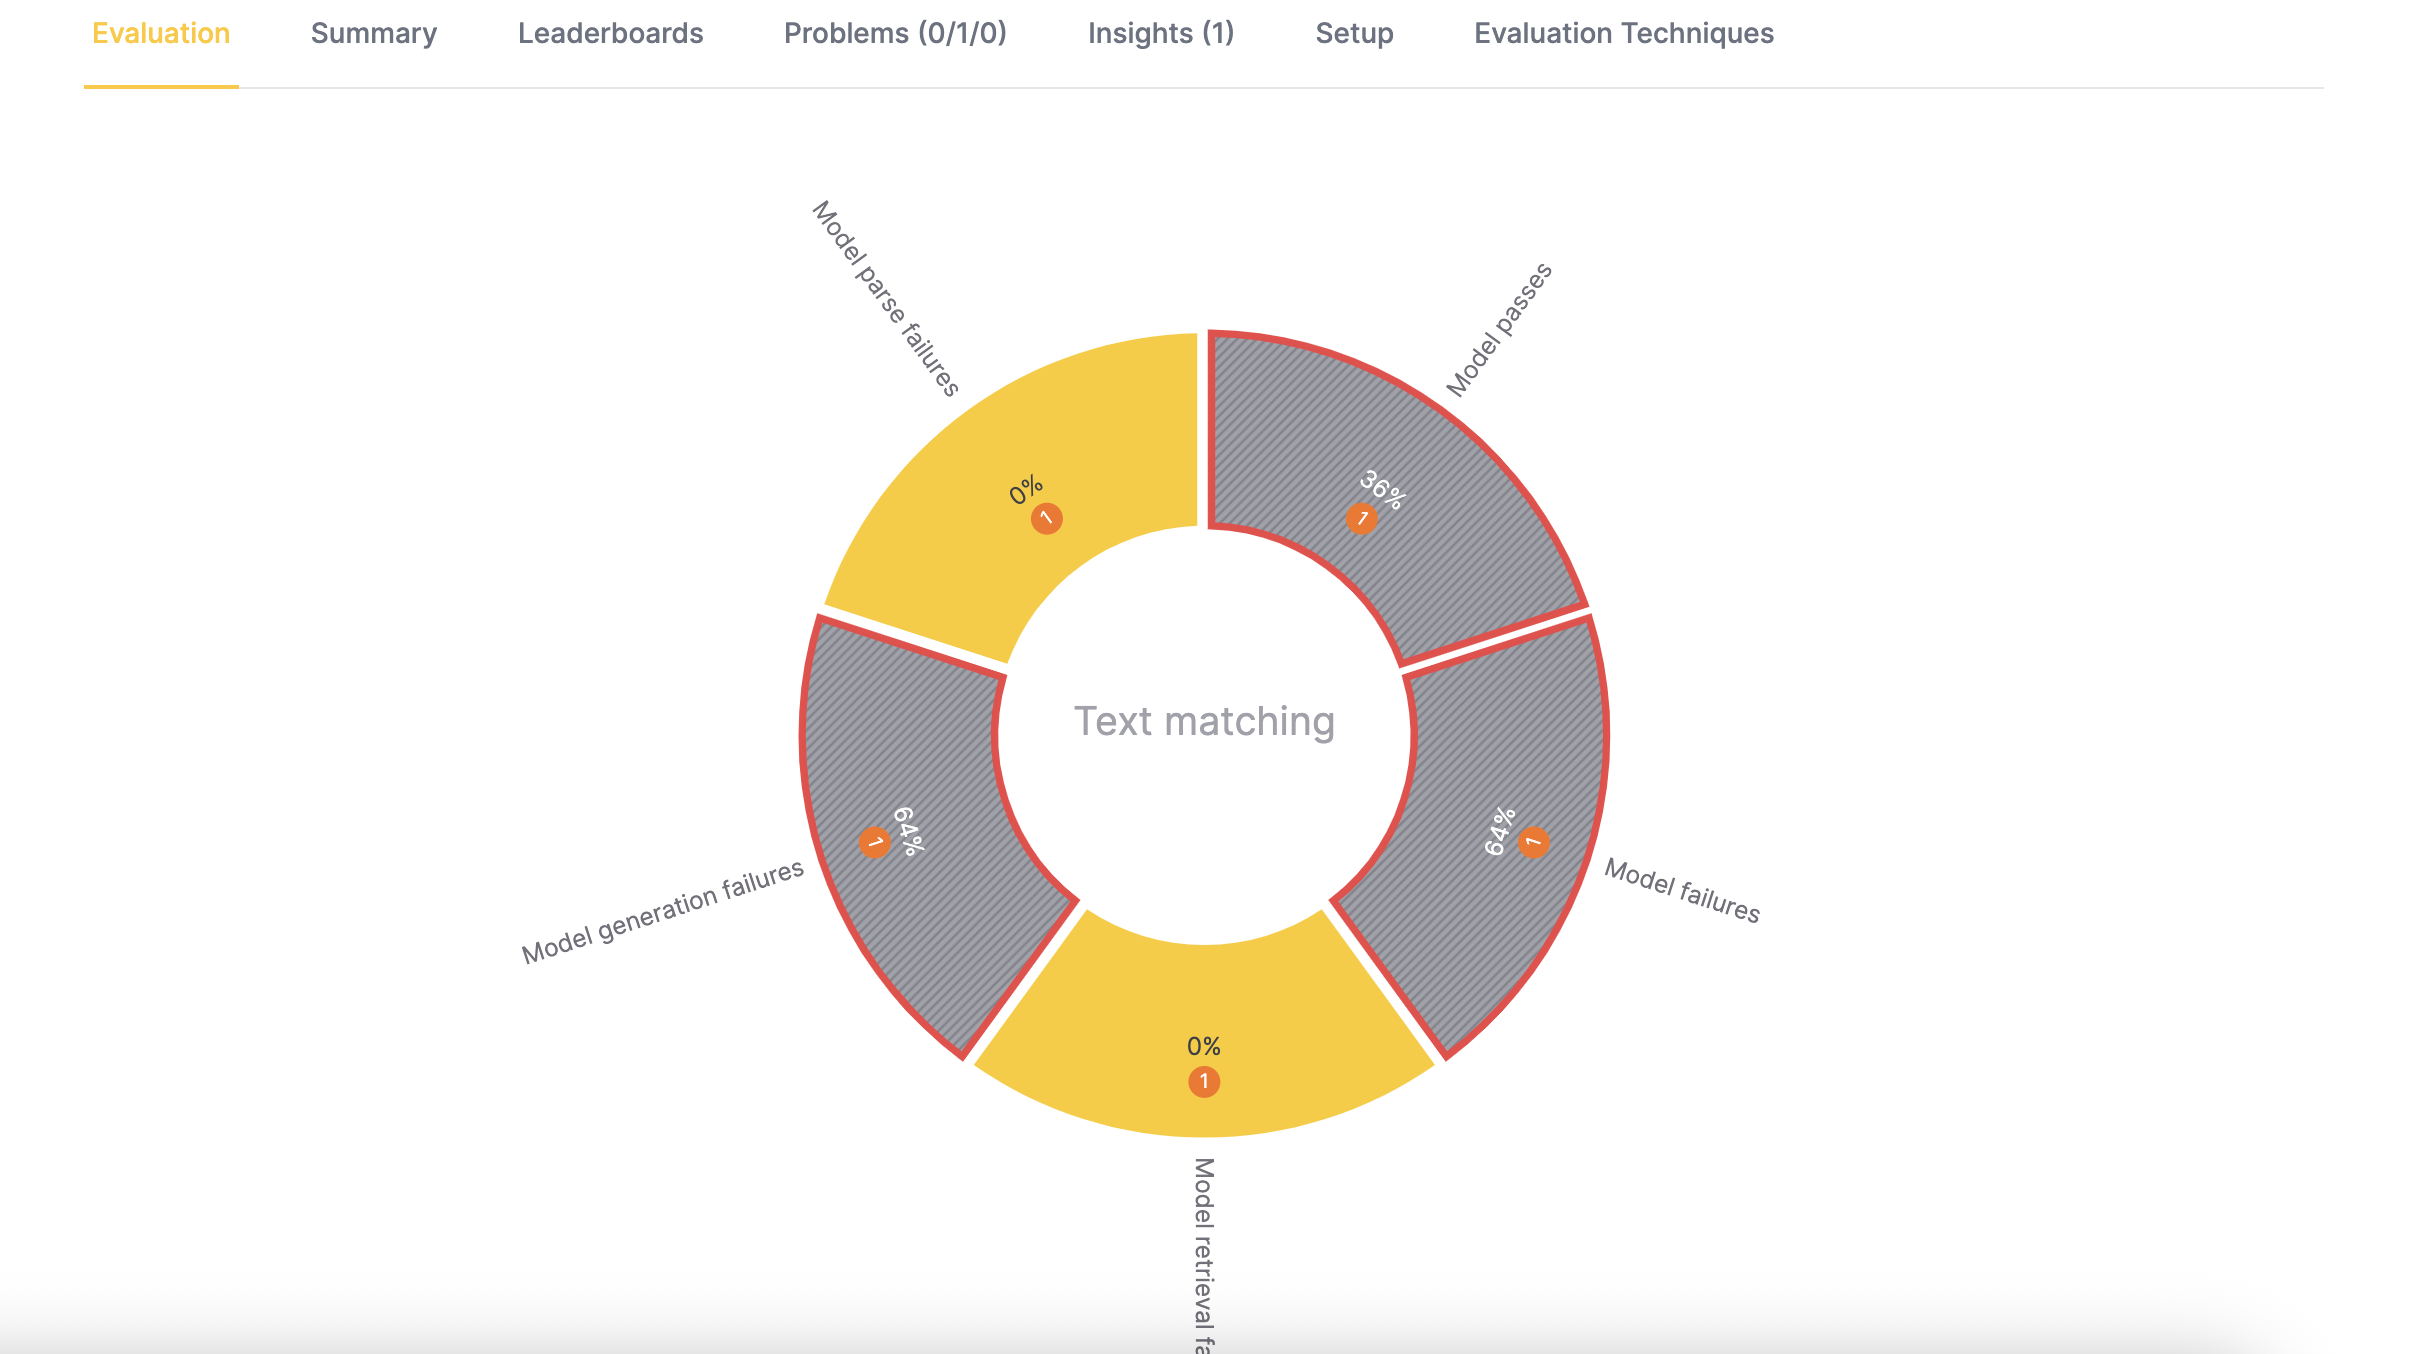
 Text matching:
- In this example, the entire visualization appears yellow for answer-semantic similarity because all scores exceed the minimum threshold.
- The text-matching visualization appears gray with a blinking red border if the minimum text-matching metric falls below the threshold or if any high-severity problems are detected.
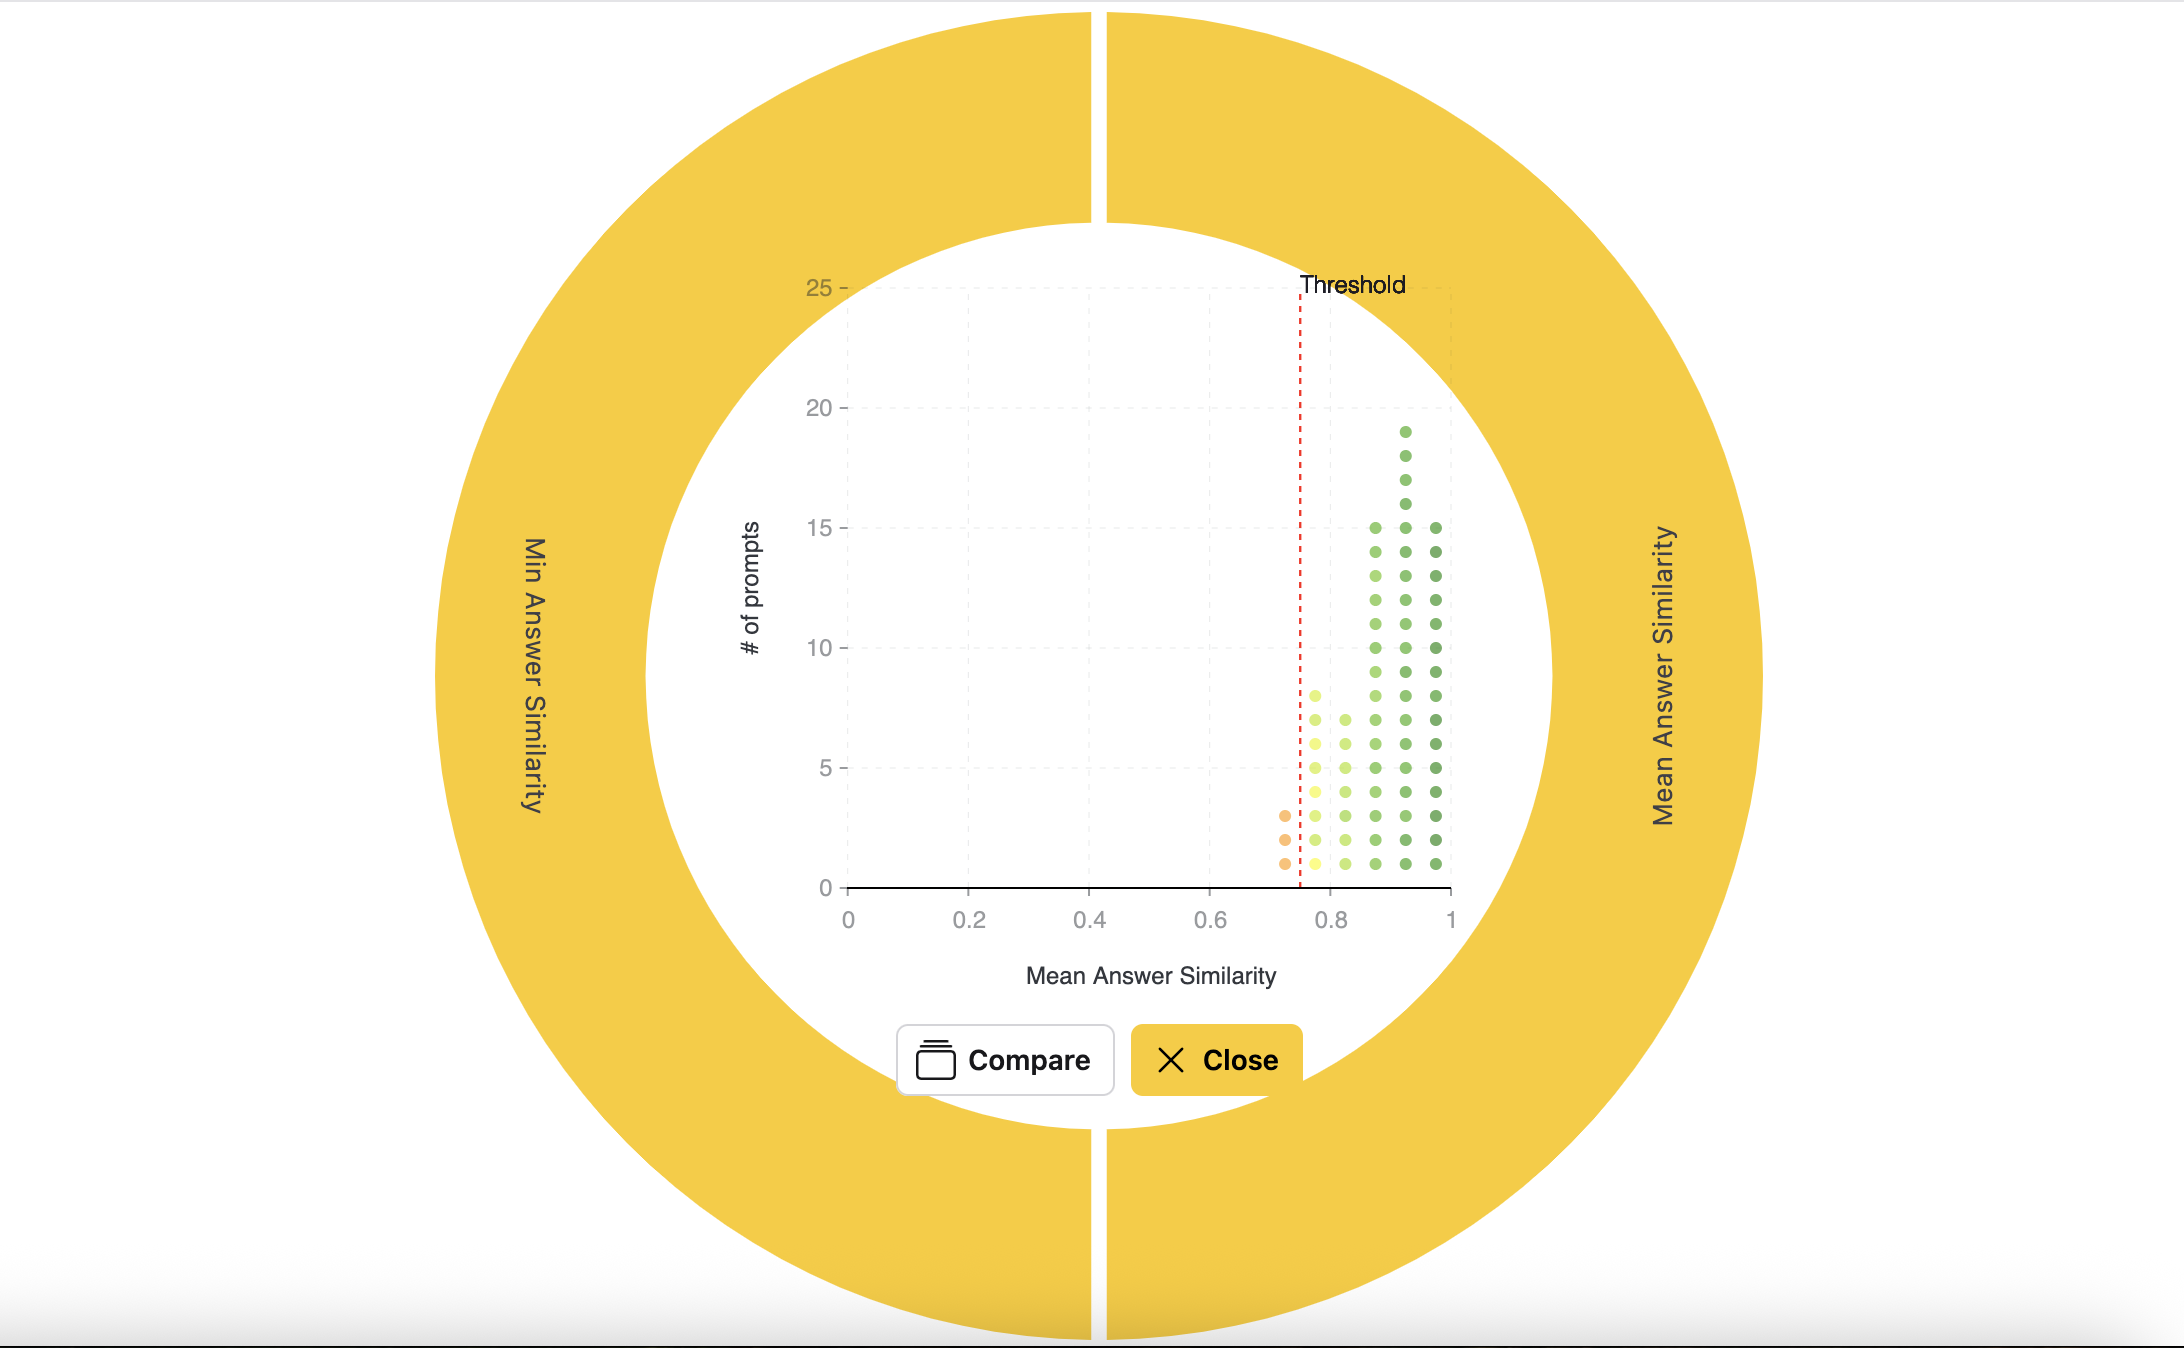
Step 7: Explore mean answer similarity
This metric helps you understand how well the model performs on average across multiple test cases. Let's explore:
- Click the Mean answer similarity section of the visualization.
- In the detailed view, review the following information:
- The threshold
- Each test case represented as a dot
- The number of test cases below the threshold (shown in orange) and above the threshold (shown in green)
- Click a dot to view a specific test case. The detailed view includes:
- The model used
- Mean answer similarity: The average of the maximum similarity scores between actual and expected answer sentences
- Minimum answer similarity: The lowest similarity score between actual and expected answer sentences
- The prompt
- The expected answer
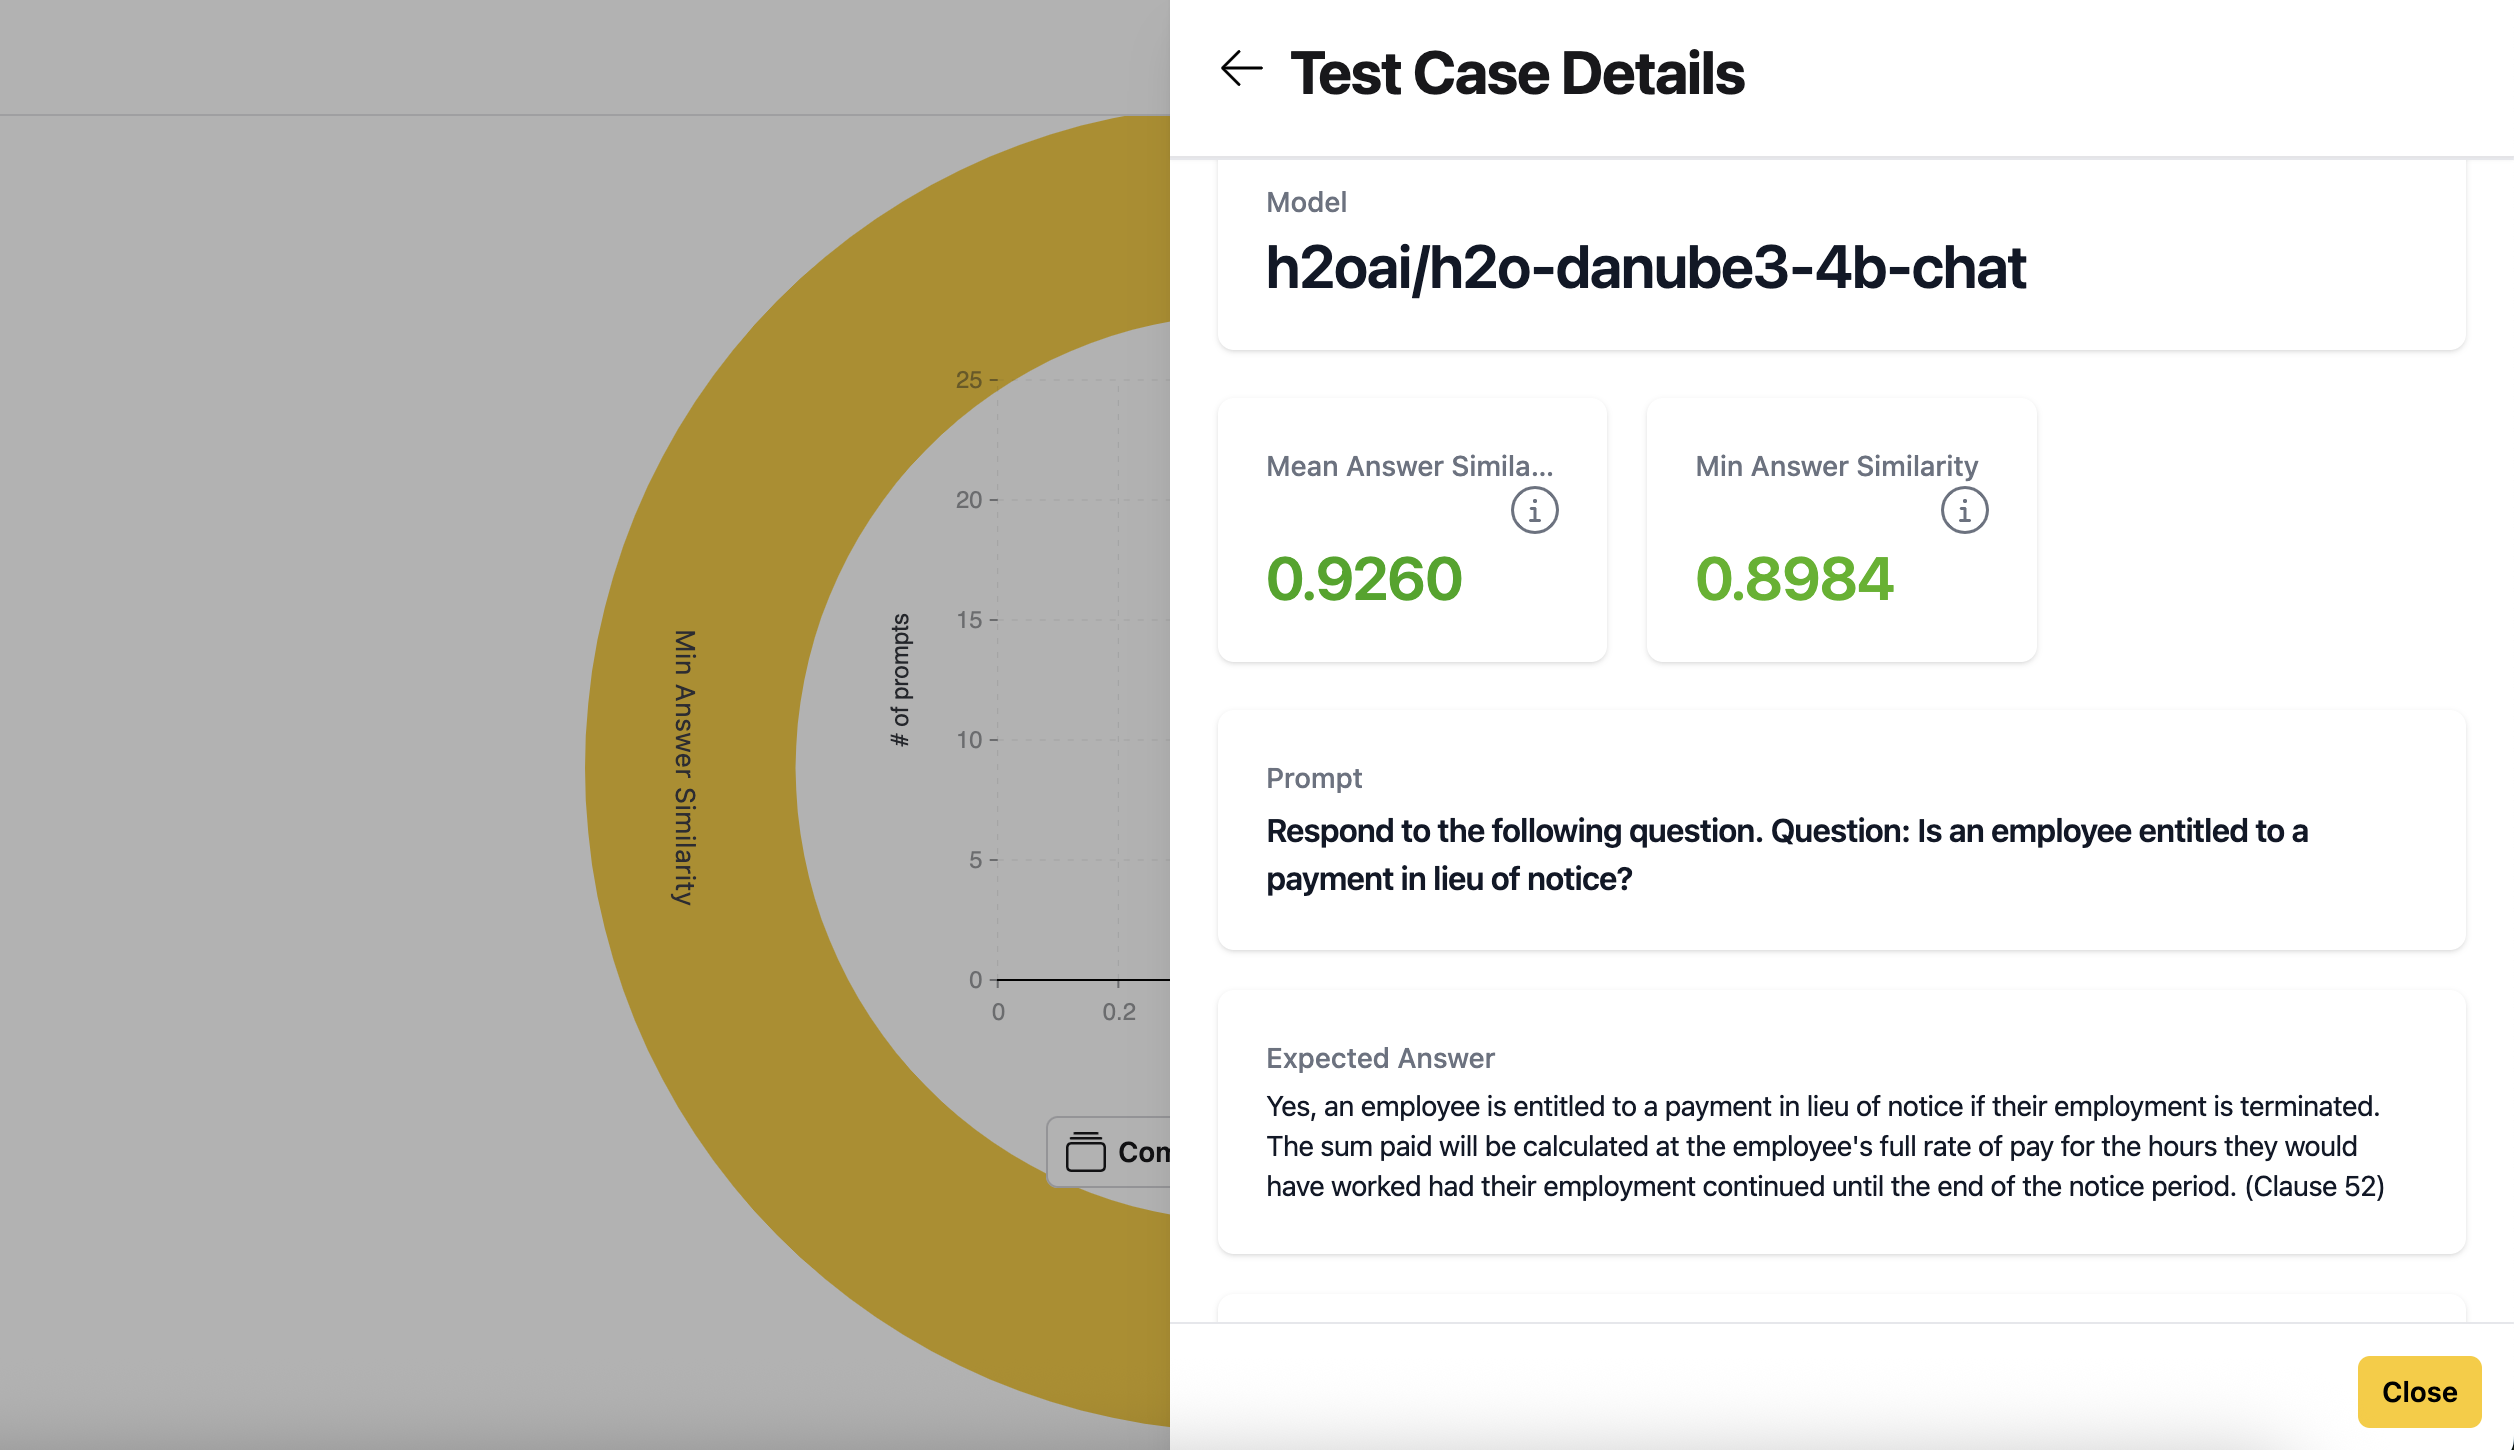
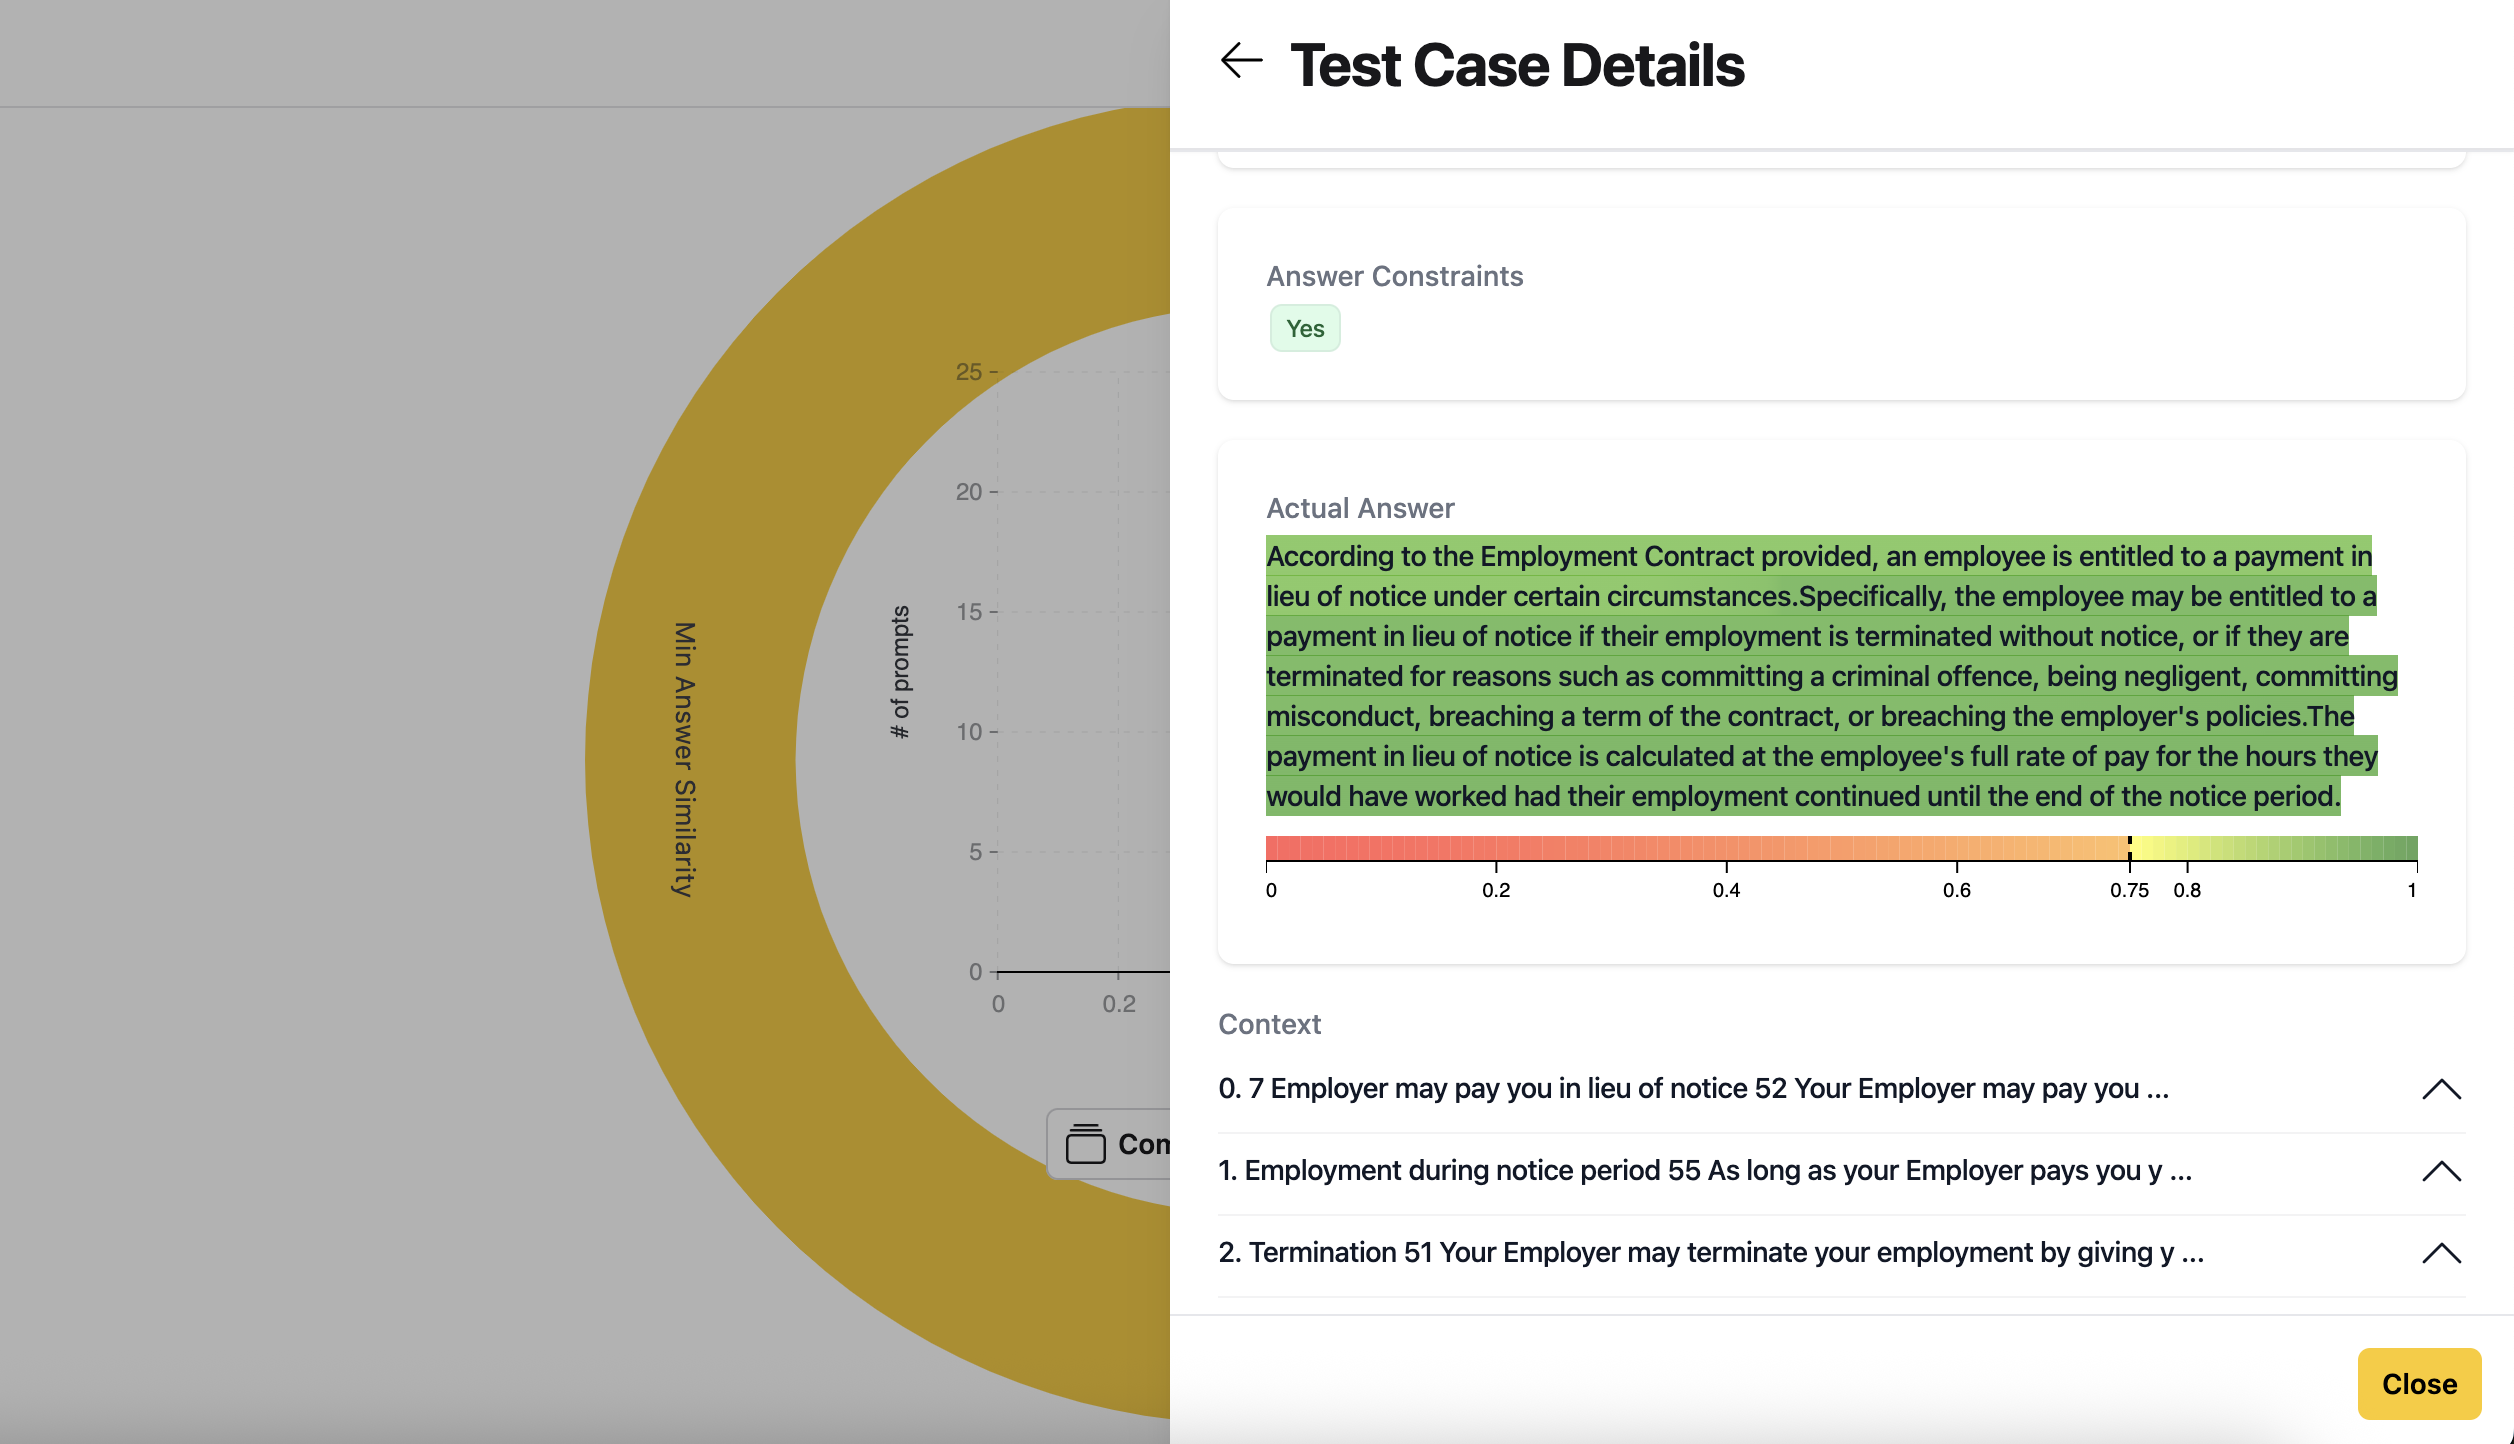
- The actual response from the model
- Highlighted differences in the response compared to the expected answer (shown in lighter green)
- The context of the actual answer
- Review multiple test cases to identify patterns in how the model performs on average.
Step 8: Analyze minimum answer similarity
This metric highlights the lowest performance scores across test runs, helping you spot cases where the model’s responses may be unreliable or inconsistent. Let's analyze:
- Click the Minimum answer similarity section of the visualization.
note
If this metric appears gray, it means that several test cases had at least one run with low performance.
- Review the test cases where the minimum similarity score is below the threshold (shown in orange):
- These cases represent the lowest-performing runs for your model
- They may indicate issues with consistency in the model’s responses
- Compare the minimum and mean similarity scores to assess the range of performance:
- A large difference between the two scores suggests inconsistent performance
- A small difference suggests more consistent performance
- Each test case runs multiple times (the default is 3) to account for the variability in LLM outputs:
- Large language models are non-deterministic
- Multiple runs help identify consistency issues
- The results include both average performance (mean) and worst-case performance (minimum)
- In the evaluation settings, you can change the number of runs per test case if needed.
- Compare the mean and minimum similarity scores to assess consistency:
- If the mean score meets the threshold but the minimum score does not, the model may be inconsistent
- This pattern suggests that the model performs well on average but sometimes produces low-quality responses
Step 9: Access the detailed evaluation report
This detailed report provides comprehensive information on each test case, including prompts, responses, runtimes, and costs, useful for comparing different runs or models.
- On the evaluation results page, open the Actions dropdown and select Show report.
- In the report view, go to Explanations > Evaluation metrics data to access a JSON file that includes detailed information about each test case:
- User inputs (prompts or questions)
- Actual outputs from the model
- Expected outputs
- Runtime metrics
- Cost data

- Use the detailed report to:
- Debug individual test cases
- Optimize model performance
- Analyze resource usage and cost
- Identify patterns in successful and unsuccessful responses
Summary
In this tutorial, we created an agent-only collection in Enterprise h2oGPTe for employment contract analysis and integrated it into an evaluation on H2O Eval Studio. The evaluation helped us assess the performance of a large language model (LLM) for this specific use case, providing insights into consistency, accuracy, and instruction adherence.
We explored visual tools and semantic similarity metrics, mean and minimum, to identify performance trends, inconsistencies, and opportunities for optimization. The evaluation results can guide future model fine-tuning, help compare different models or configurations, and ultimately ensure the model is effective and reliable for analyzing employment contracts.
- Submit and view feedback for this page
- Send feedback about H2O Eval Studio to cloud-feedback@h2o.ai