Task 2: Deploy H2O Driverless AI model with H2O MLOps
Create Project
To deploy the built H2O Driverless AI model to H2O MLOps, you must first create an H2O Driverless AI Project containing the built experiment and used datasets. Automatically, all Projects are registered in H2O MLOps, so you can access them for deployment.
In H2O Driverless AI, Projects are a way to organize and manage multiple related experiments and datasets within a single workspace. Projects help users streamline their workflow by grouping all components necessary for a specific machine-learning task or analysis. Additionally, Projects facilitate collaboration among team members by providing a centralized location where all project-related experiments and data are stored, making it easier for teams to work together efficiently and consistently.
H2O MLOps is an open, interoperable platform for model deployment, management, governance, monitoring, and alerting that features integration with H2O Driverless AI, H2O-3 open source, and third-party models.
- In the H2O Driverless AI navigation menu, click PROJECTS.
- Click + NEW PROJECT.
- In the Name box, enter the following name for the Project:
model-to-h2o-mlops - Click CREATE A NEW PROJECT.
- Click LINK EXPERIMENTS.
- In the LINK EXPERIMENTS list, select BY SELECTING EXPERIMENTS.
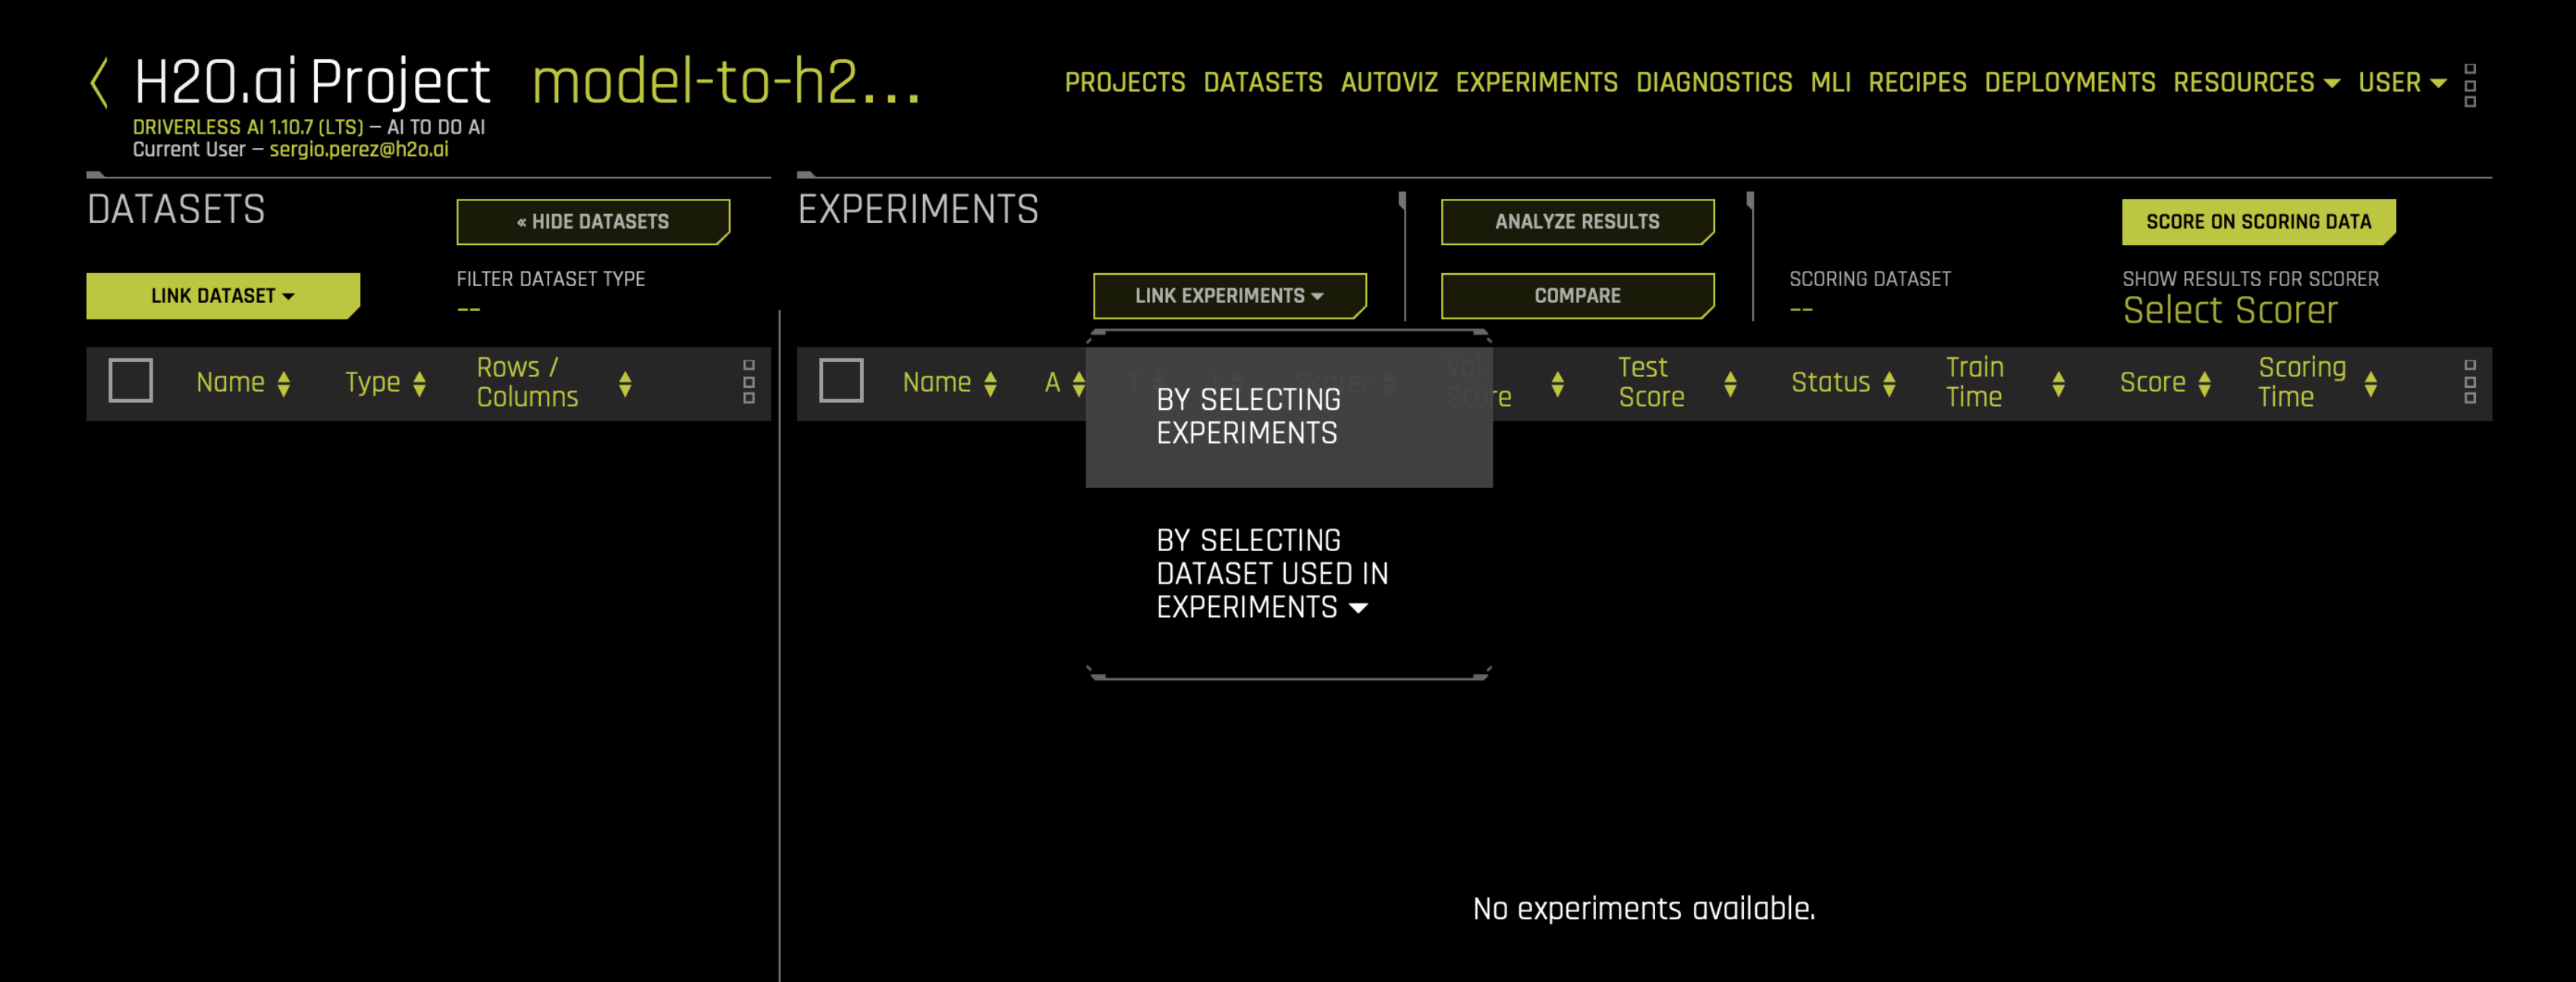
- Select model-to-mlops......
- Click DONE. note
Linking an experiment to a Project also links the experiment's dataset(s).
Register model
Now that we have shared an H2O Driverless AI Project with H2O MLOps, which contains the built model and its datasets, the model is only available in H2O MLOps for further use, such as for deployment. Before being able to deploy a model in H2O MLOps, we need to register it as a model. Let's register the model in H2O MLOps.
- Conditional step: If you already know how to access H2O MLOps v0.66.1 in the H2O AI Cloud, skip to step 2.
- In the H2O AI Cloud navigation menu, click MY MODELS.
- In the Projects table, click model-to-h2o-mlops.
- Click the Experiments tab.
- In the Experiments table, click model-to-h2o-mlops.
- Click Register as Model.
- Select Register As A New Model.
- In the Model Name box, enter the following:
model-to-h2o-mlops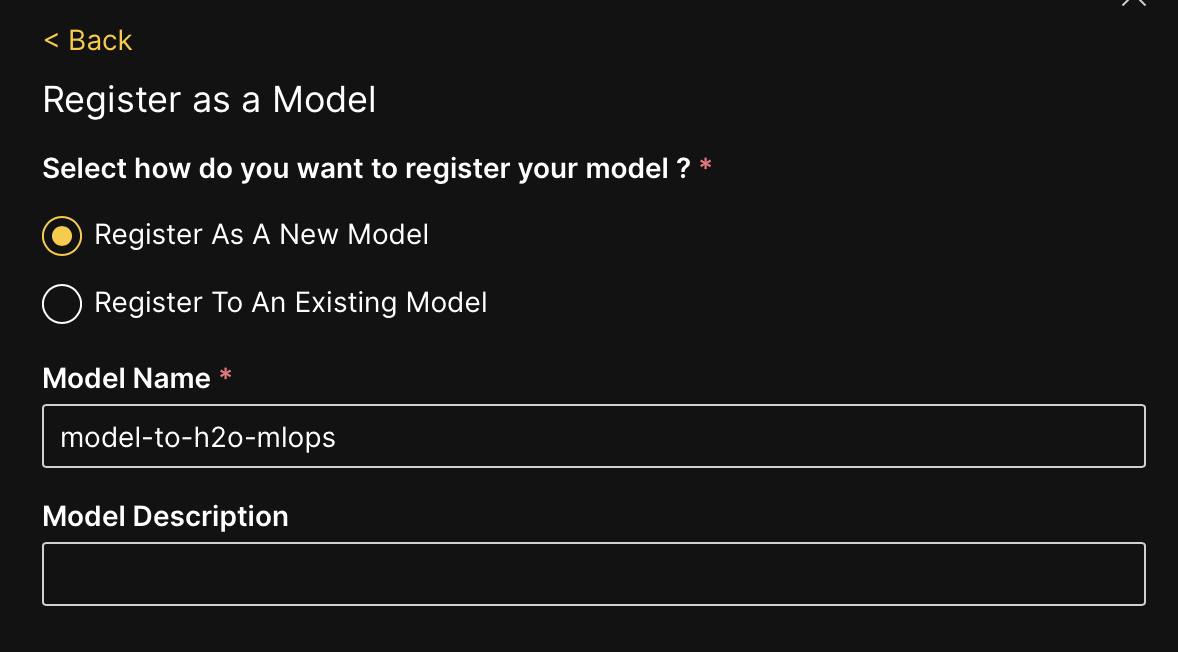
- Click Register.
Deploy model
After registering the model, you can deploy the model in H2O MLOps.
Click the Deployments tab.
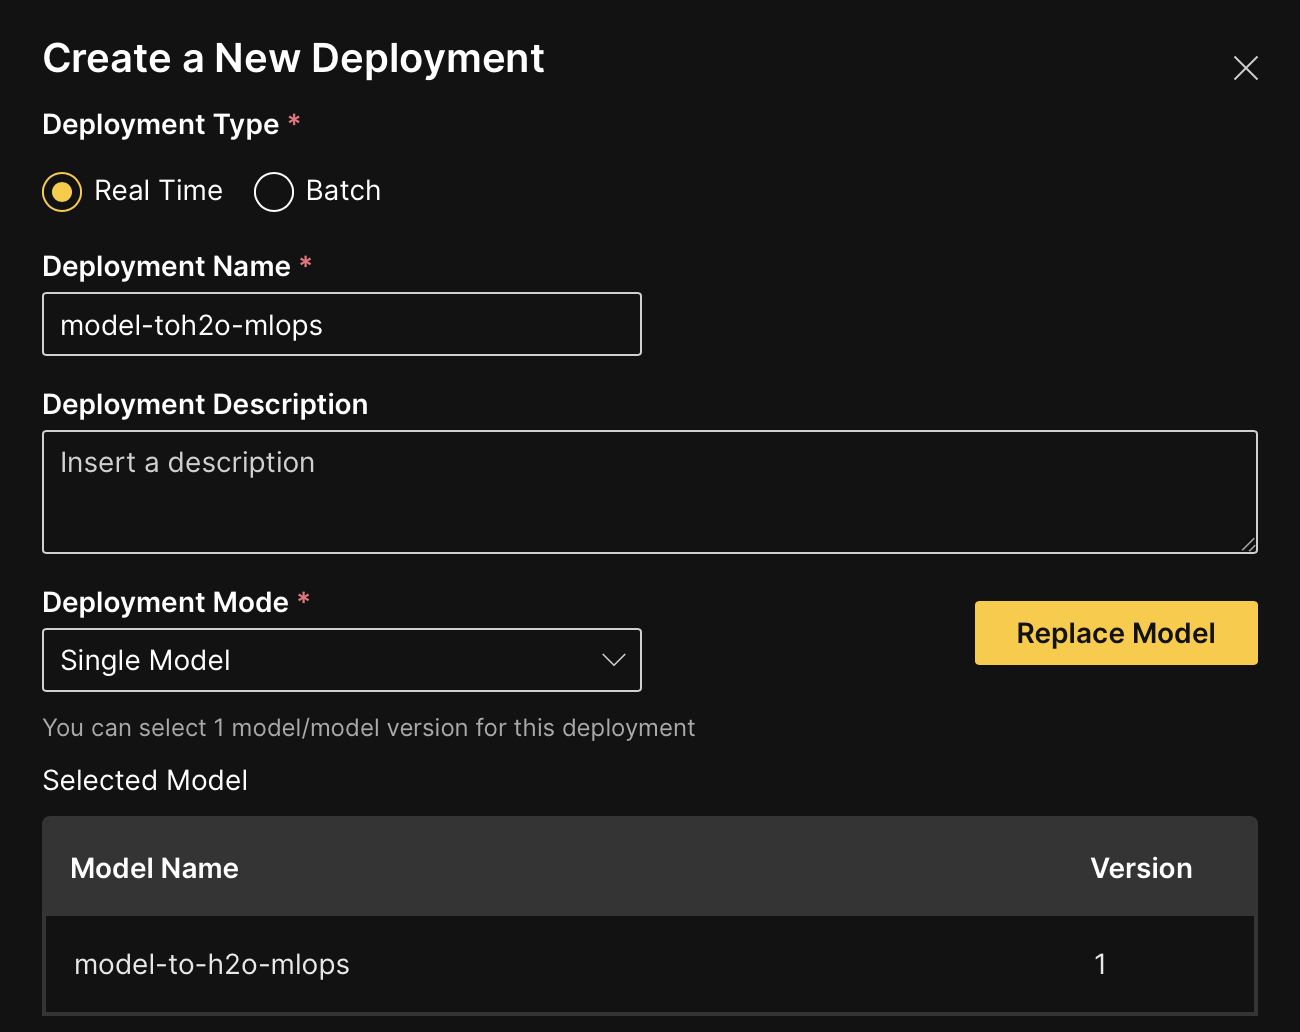
Click Create Deployment.
For this tutorial, we will use the following selected deployment type: Real Time.
In the Deployment Name box, enter the following:
model-to-h2o-mlopsFor this tutorial, we will use the following selected deployment mode: Single model.
Click Select Model.
In the Models table, click model-to-h2o-mlops.
For this tutorial, we will use the following selected deployment environment: PROD.
In the Artifact Type list, select DAI MOJO Pipeline.
In the Runtime list, select DAI MOJO Scorer.
caution updateFor H2O Driverless AI models v1.10.5 or later, it is highly recommended to prioritize using one of the following C++ MOJO Scorer runtimes due to their speed and minimal vulnerabilities:
- DAI MOJO Scorer (C++ Runtime)
- DAI MOJO Scorer (C++ Runtime in subprocess mode)
As a last resort, you can use the following runtime:
- Python Pipeline Scorer [DAI 1.10.x]
Click the Enable Monitoring toggle to the On position.
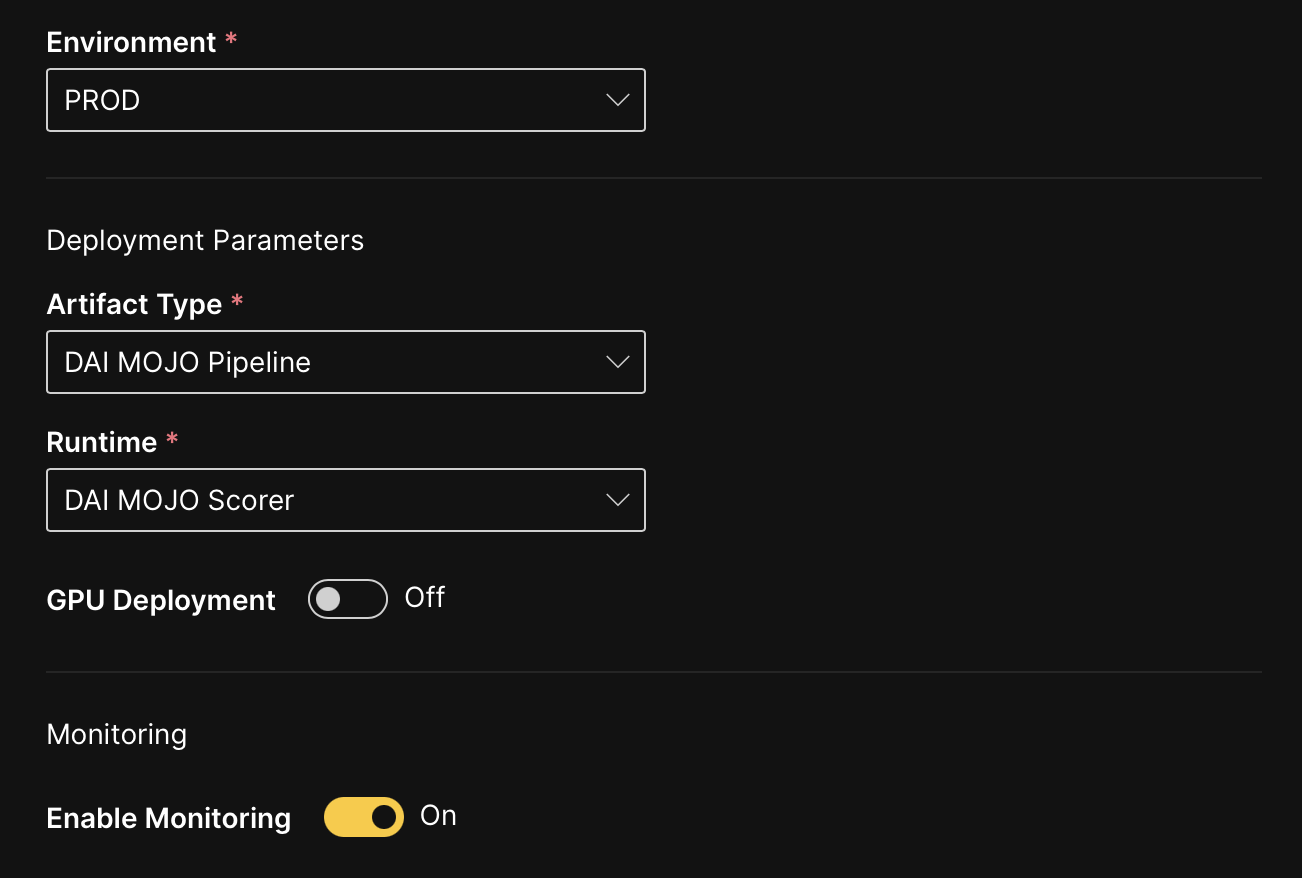
Select the Drift Calculation checkbox.
Click Create Deployment.
In the Successfully created box, click Close.
noteThe model is ready for scoring once its deployment status reaches a Healthy state.
- Submit and view feedback for this page
- Send feedback about H2O Driverless AI | Tutorials to cloud-feedback@h2o.ai