Import models from external model repositories
This section describes how to import models from external model repositories/registries to H2O MLOps. For more information on adding experiments in MLOps, see Add experiments.
For information on third-party model support in H2O MLOps, see the page on third-party model support.
MLflow Model Registry
The following steps describe how to import registered models from the MLflow Model Registry.
This section assumes that you have configured Databricks hosted Azure Active Directory (Azure AD) to integrate with H2O MLOps as an external model registry. For more information, see Configuring Azure AD integration with Keycloak.
In the main navigation, click Projects.
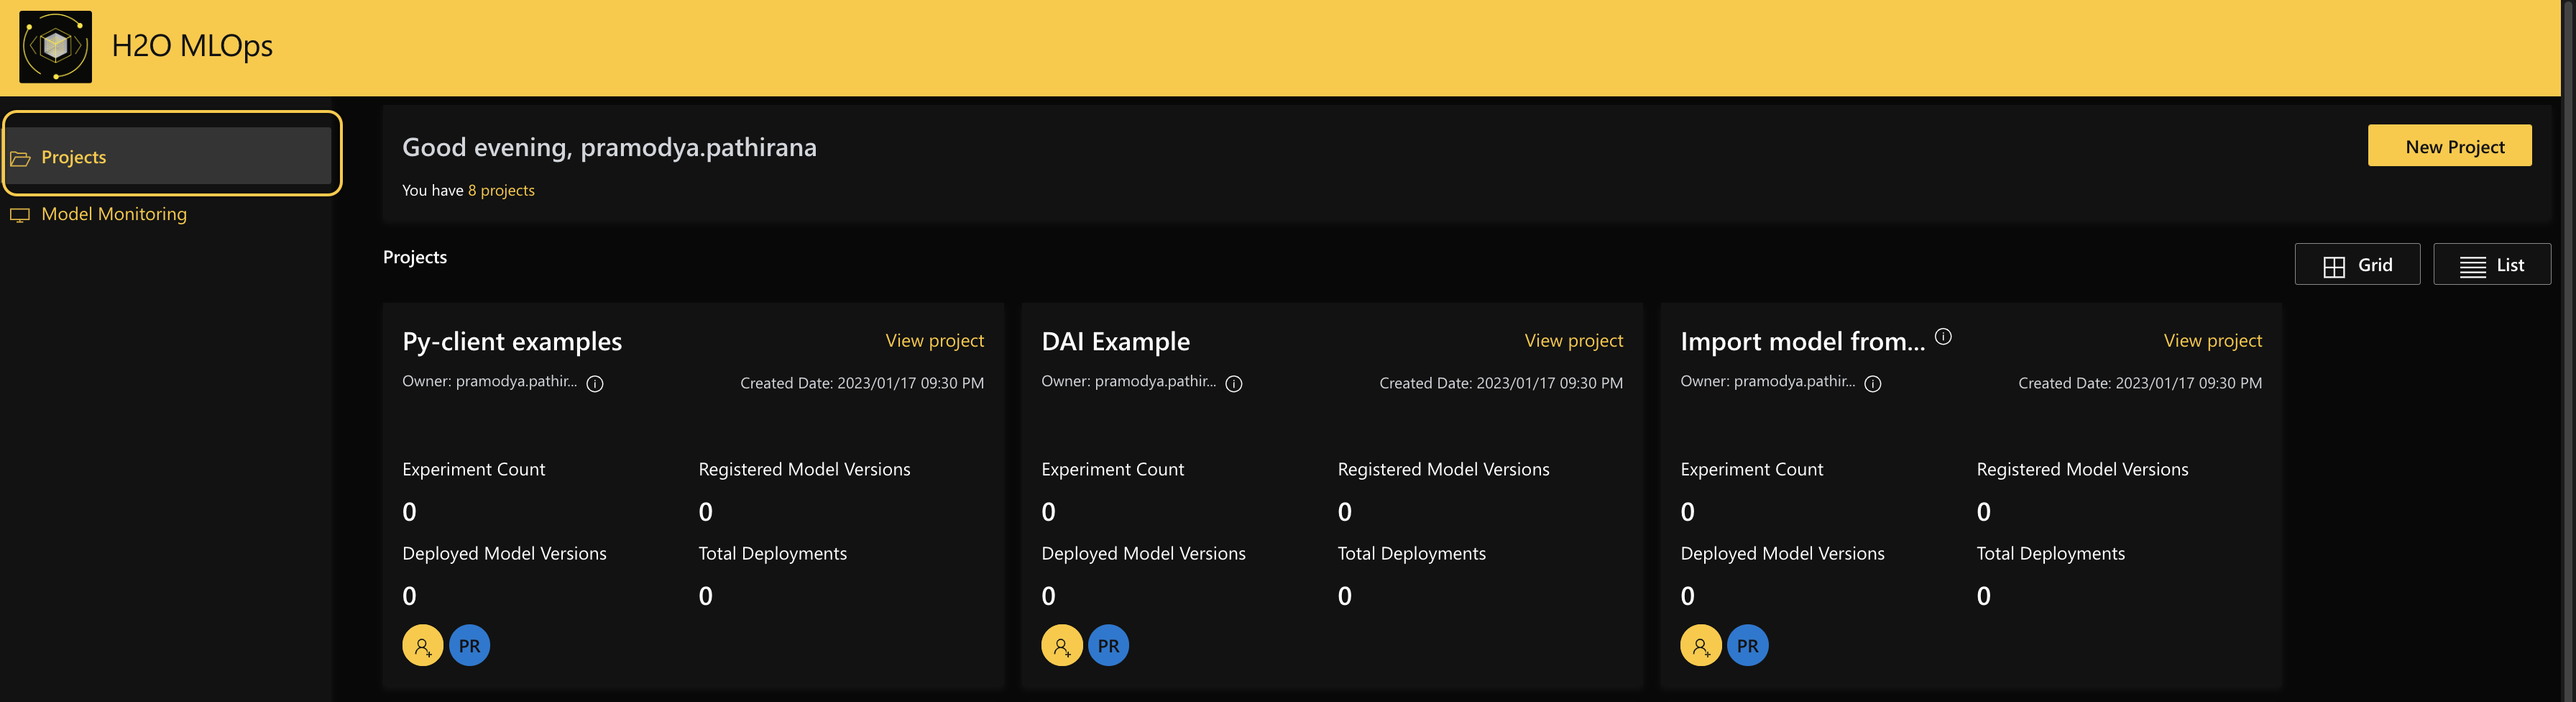
Select the project you want to add models to from the MLflow Model Registry.
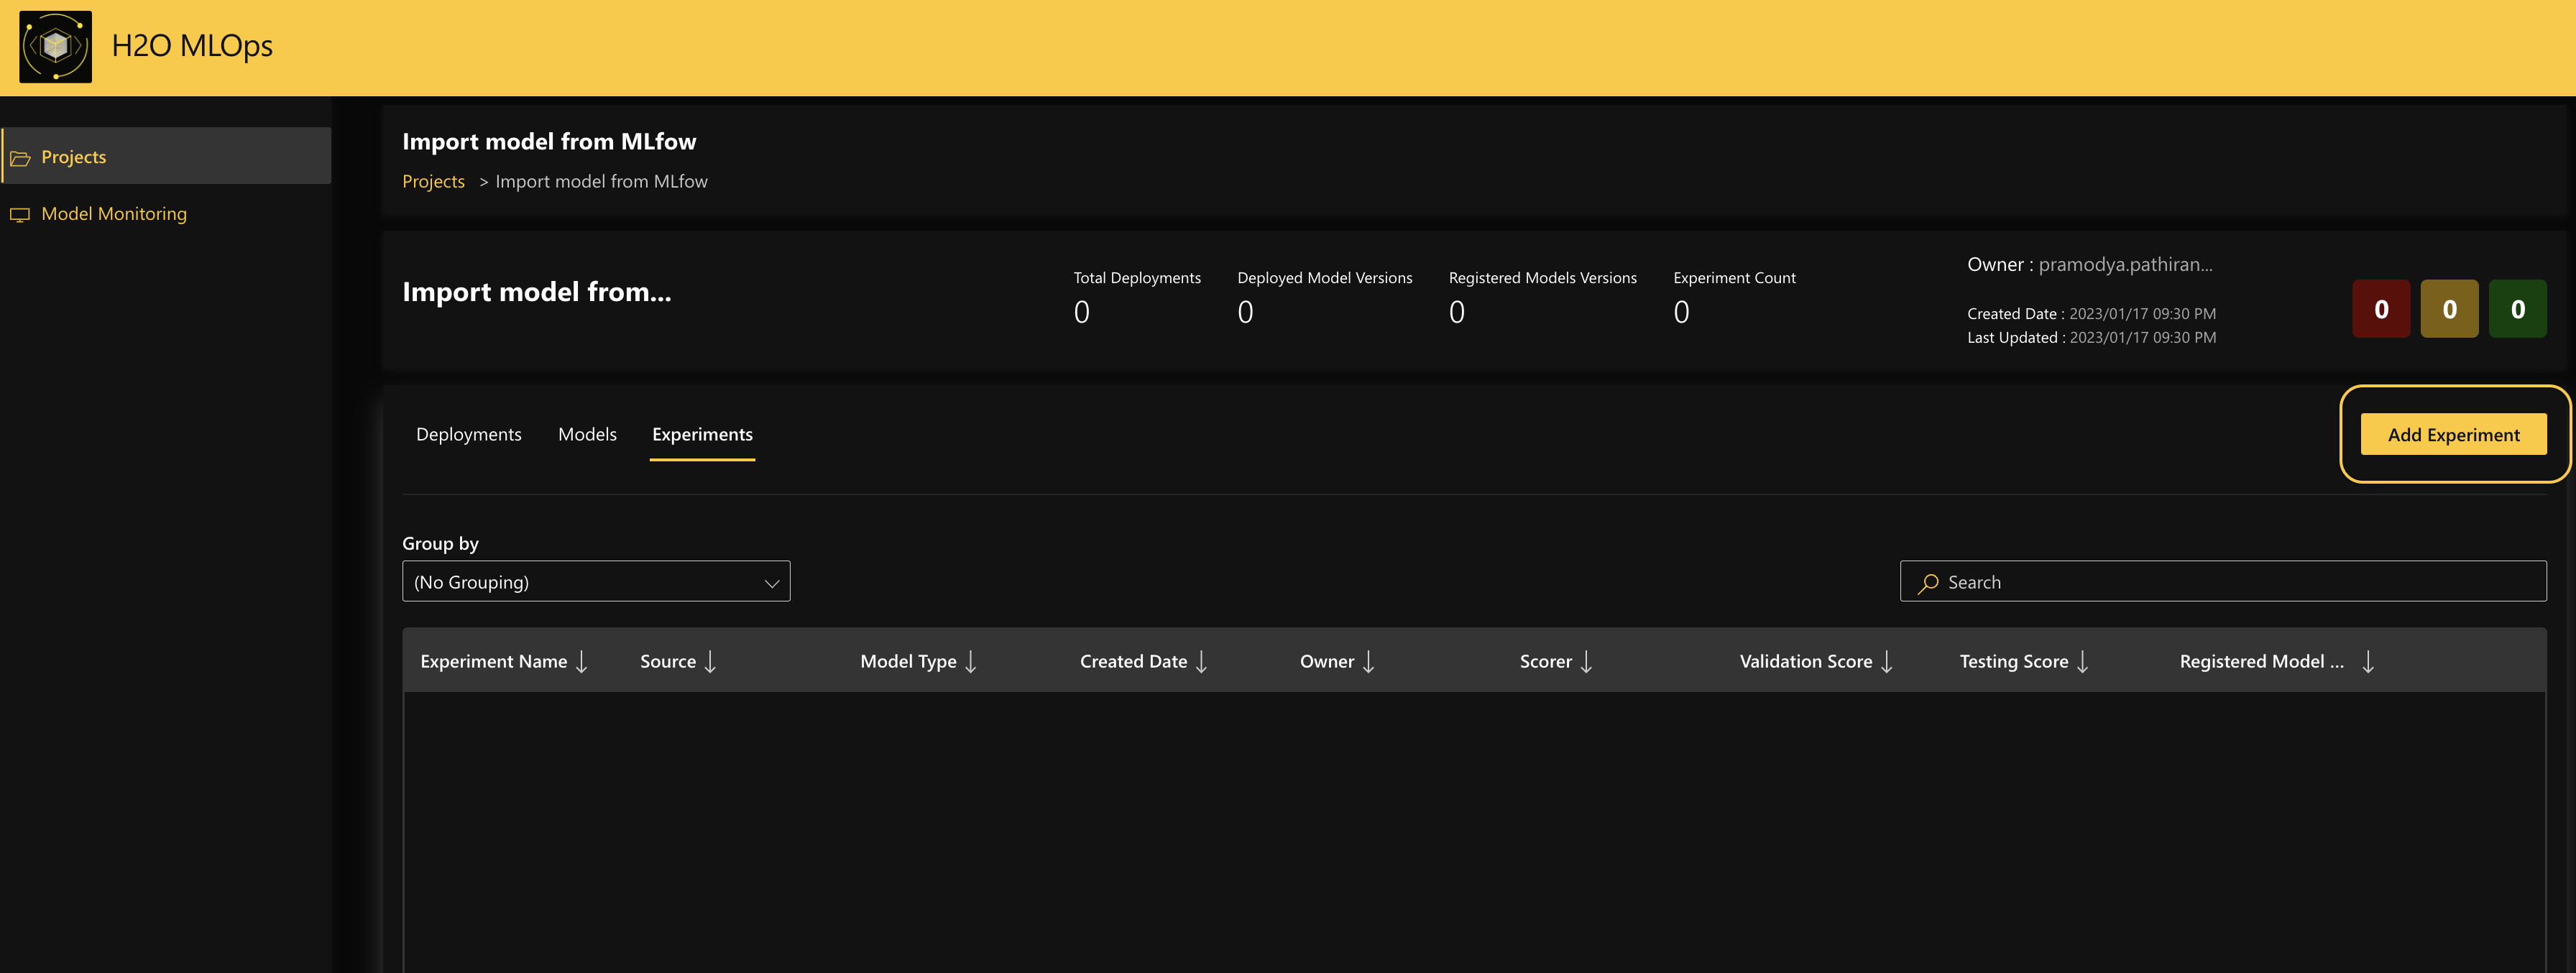
Click the Experiments tab.

Click Add Experiment.
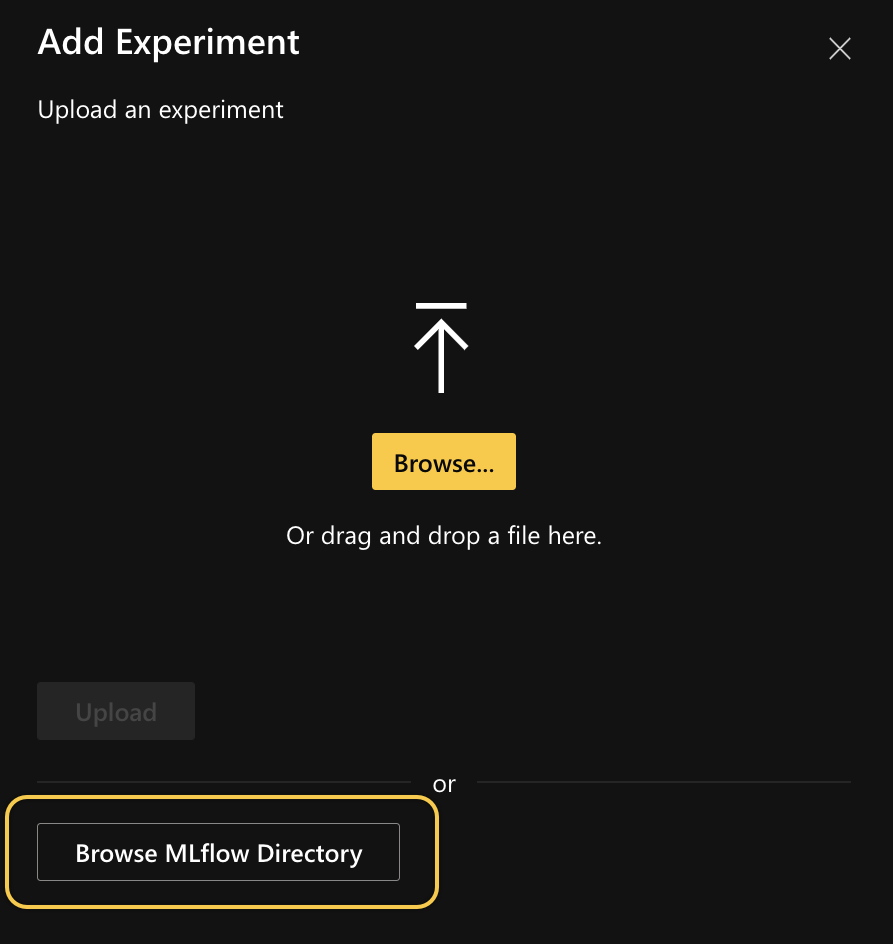
In the Add Experiment side panel, click Browse MLflow Directory. A list of registered models from the MLflow Model Registry is displayed.
 Note
NoteThe Browse MLflow Directory button is available only if you have correctly configured the external model registry to integrate with H2O MLOps. For more information, see Configuring Azure AD integration with Keycloak.
Select the registered model that you want to add to H2O MLOps.
You can search for a specific model by its name or tag.
To search the models by name, go to the Search by dropdown menu and select Name. Then enter the name of the MLflow model on the search bar. This performs a
LIKE %<FILTER_VALUE>%operation.To search the models by tag, go to the Search by dropdown menu and select Tag. Then enter the tag
<key>=<value>pair on the search bar. This fetches any model that has the given<key>=<value>combination.
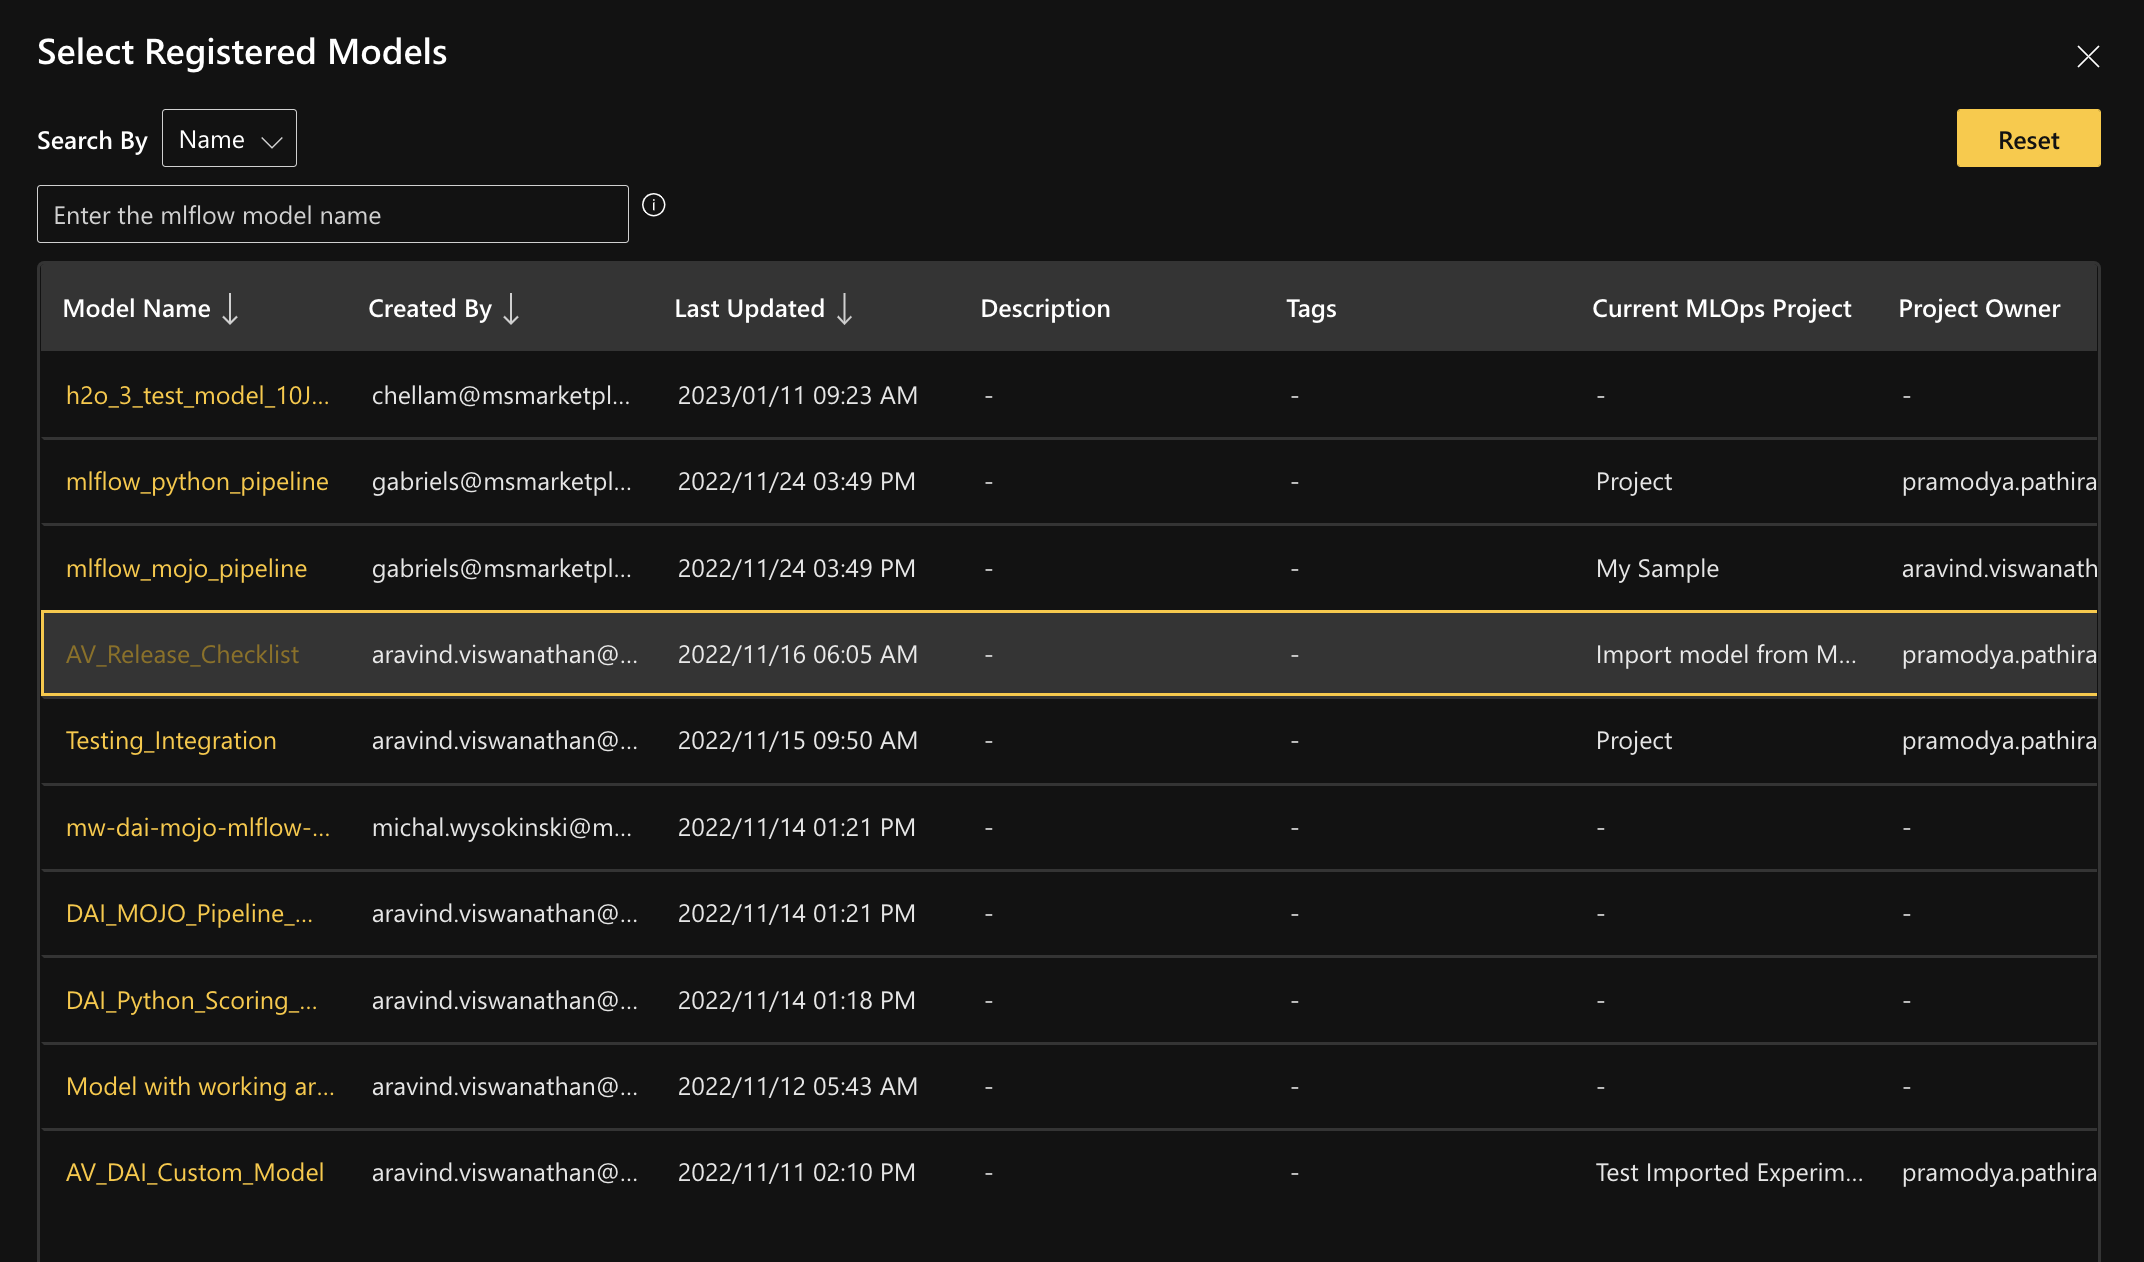
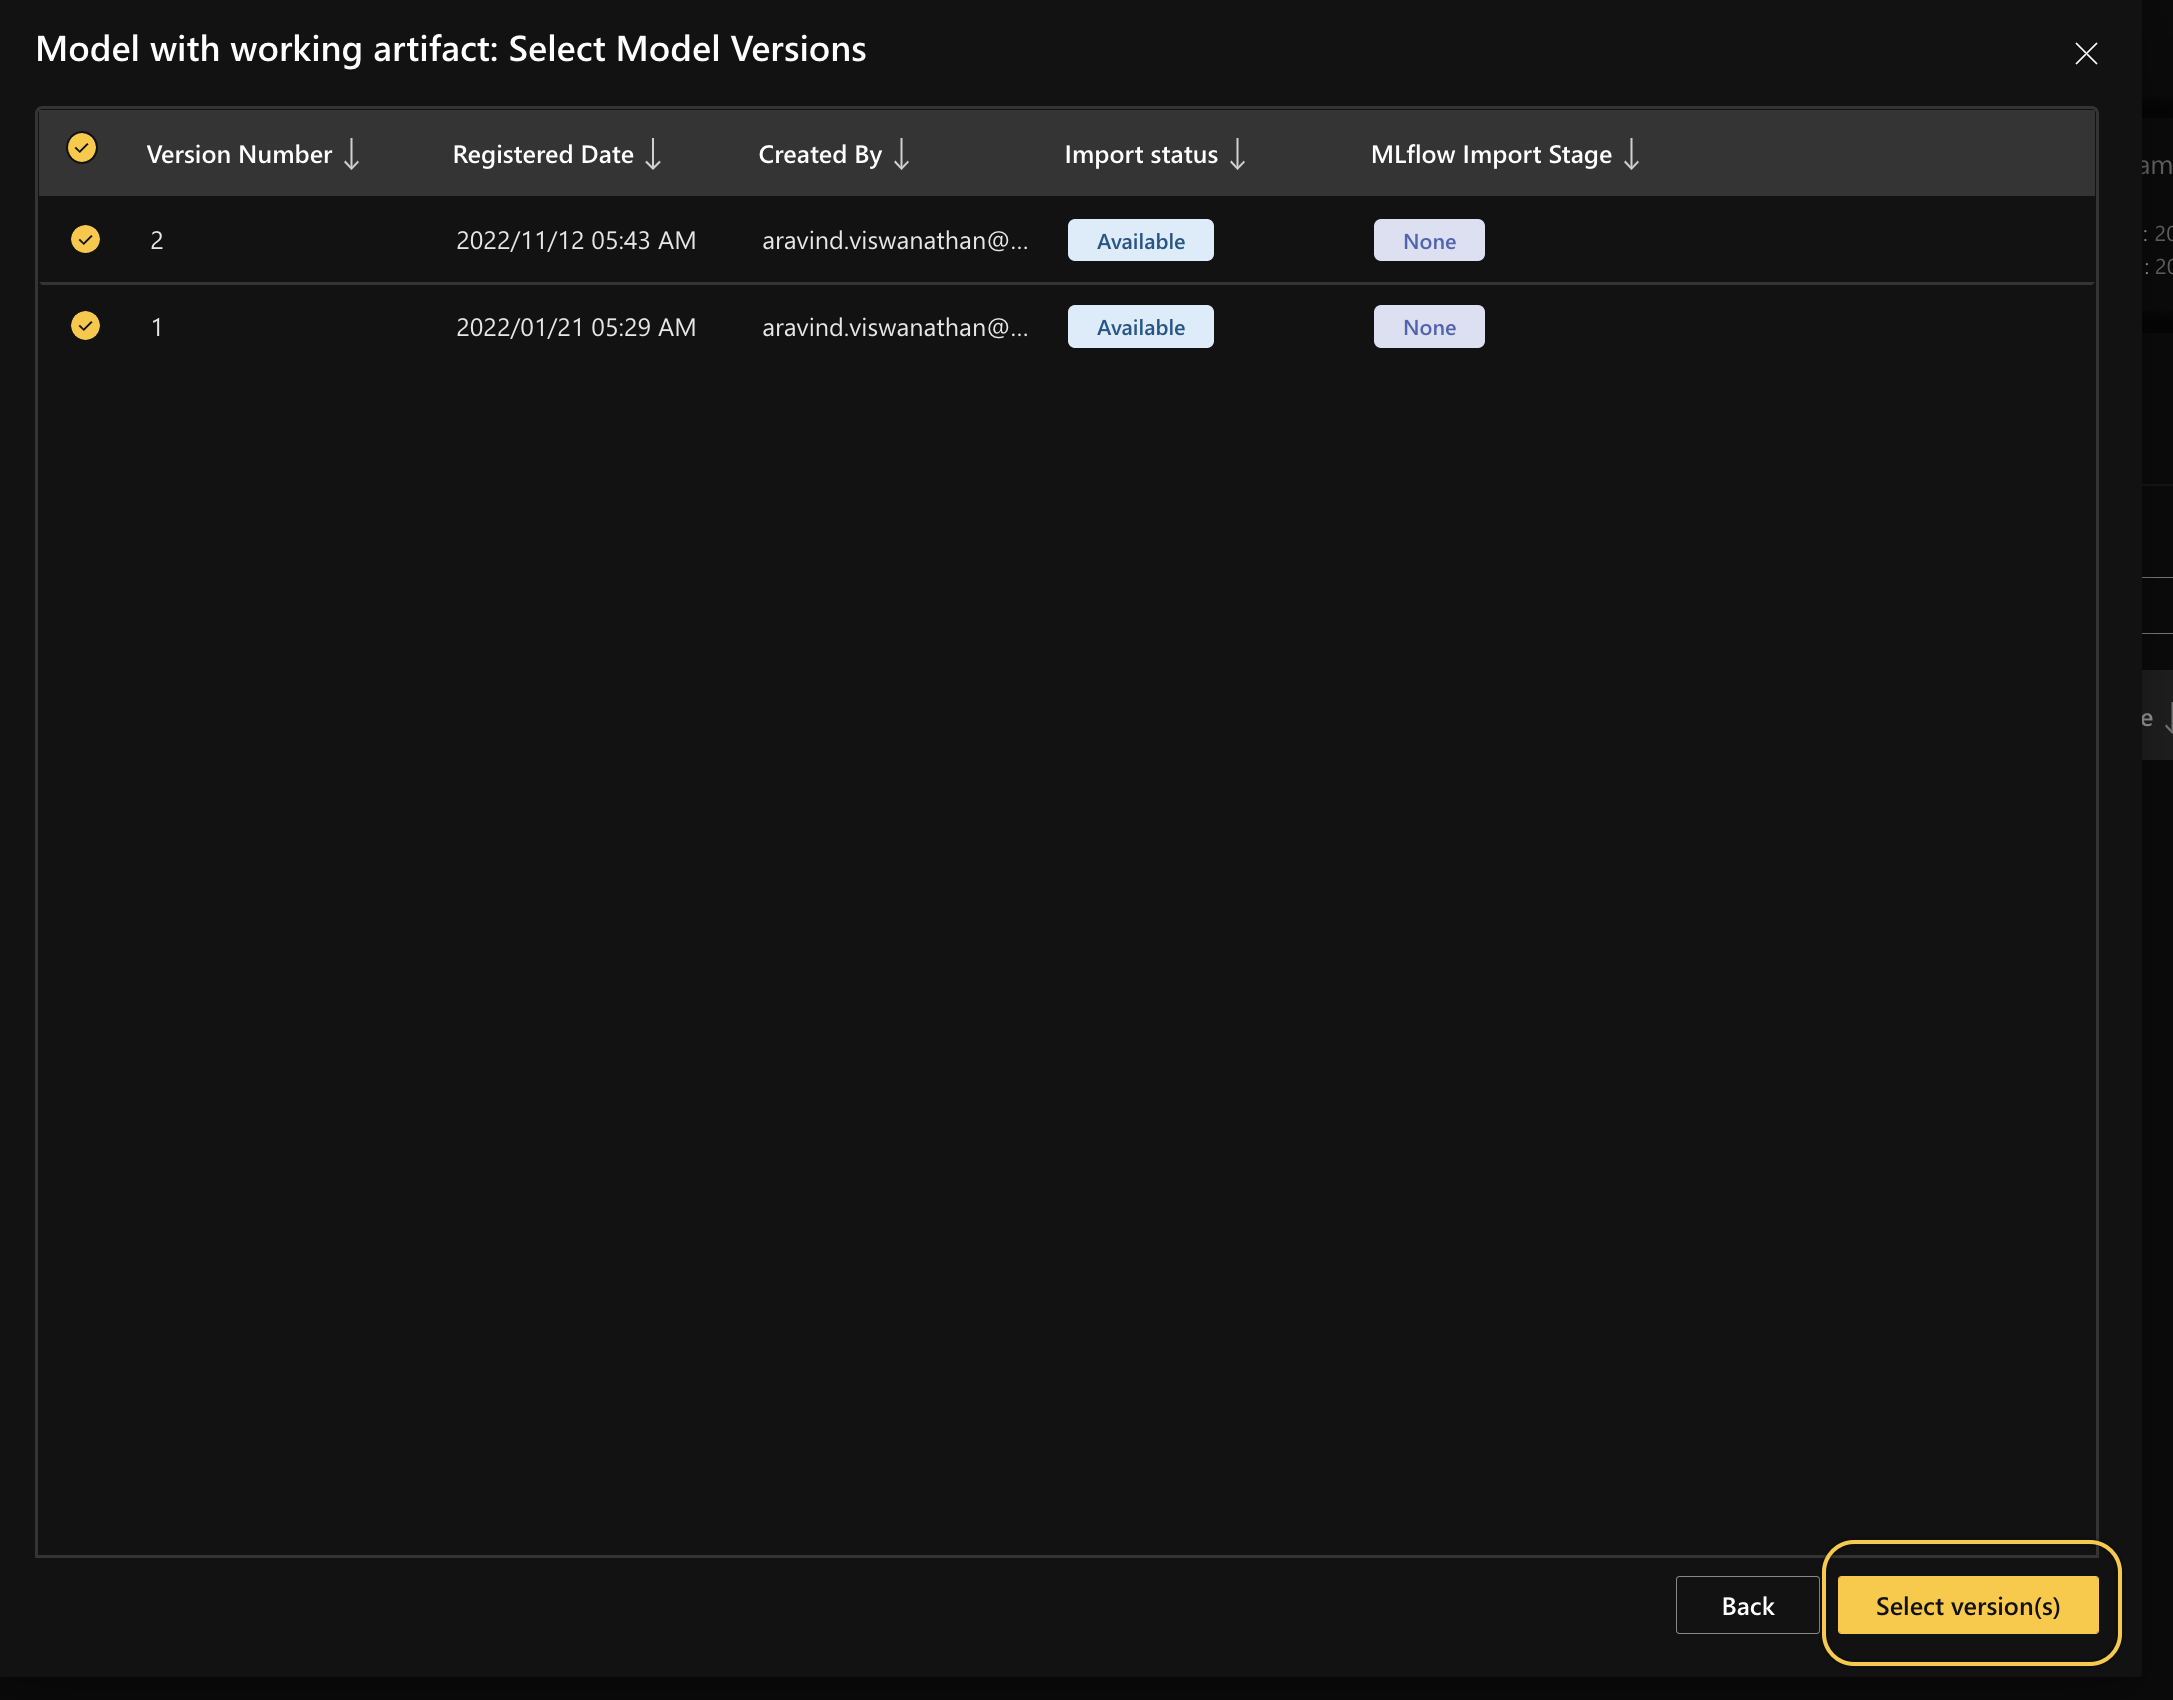
Select the version(s) of the registered model to add to H2O MLOps, then click Select version(s).
For each model version listed in the Select Model Versions prompt, the Import Status and MLflow Import Stage fields will help you ascertain whether you can import that model version to MLOps.
Import status: The import status of the model version. The following is a list of potential import statuses.
- Available: The model version has not yet been imported and is available to import.
- Imported: The model version has been successfully imported.
- Failed: An error has occurred during the import process. To view a tooltip with details about the error, hold the pointer over the Failed status icon. A failed model could be imported when the error condition is no longer valid.
MLflow Import Stage: The current deployment stage of the model version in the MLflow Model Registry.
 Note
Note- Up to five model versions can be selected during this step.
- Model versions that have already been imported to H2O MLOps cannot be selected.
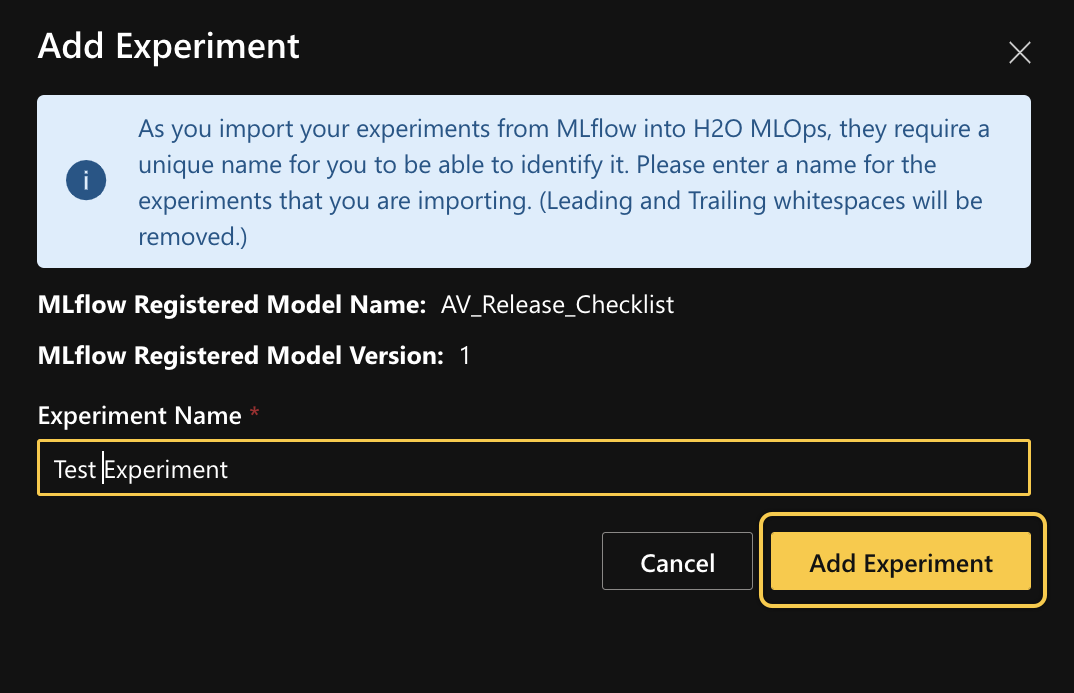
Enter the experiment name and click Add Experiment in the side panel to add the experiments to MLOps.
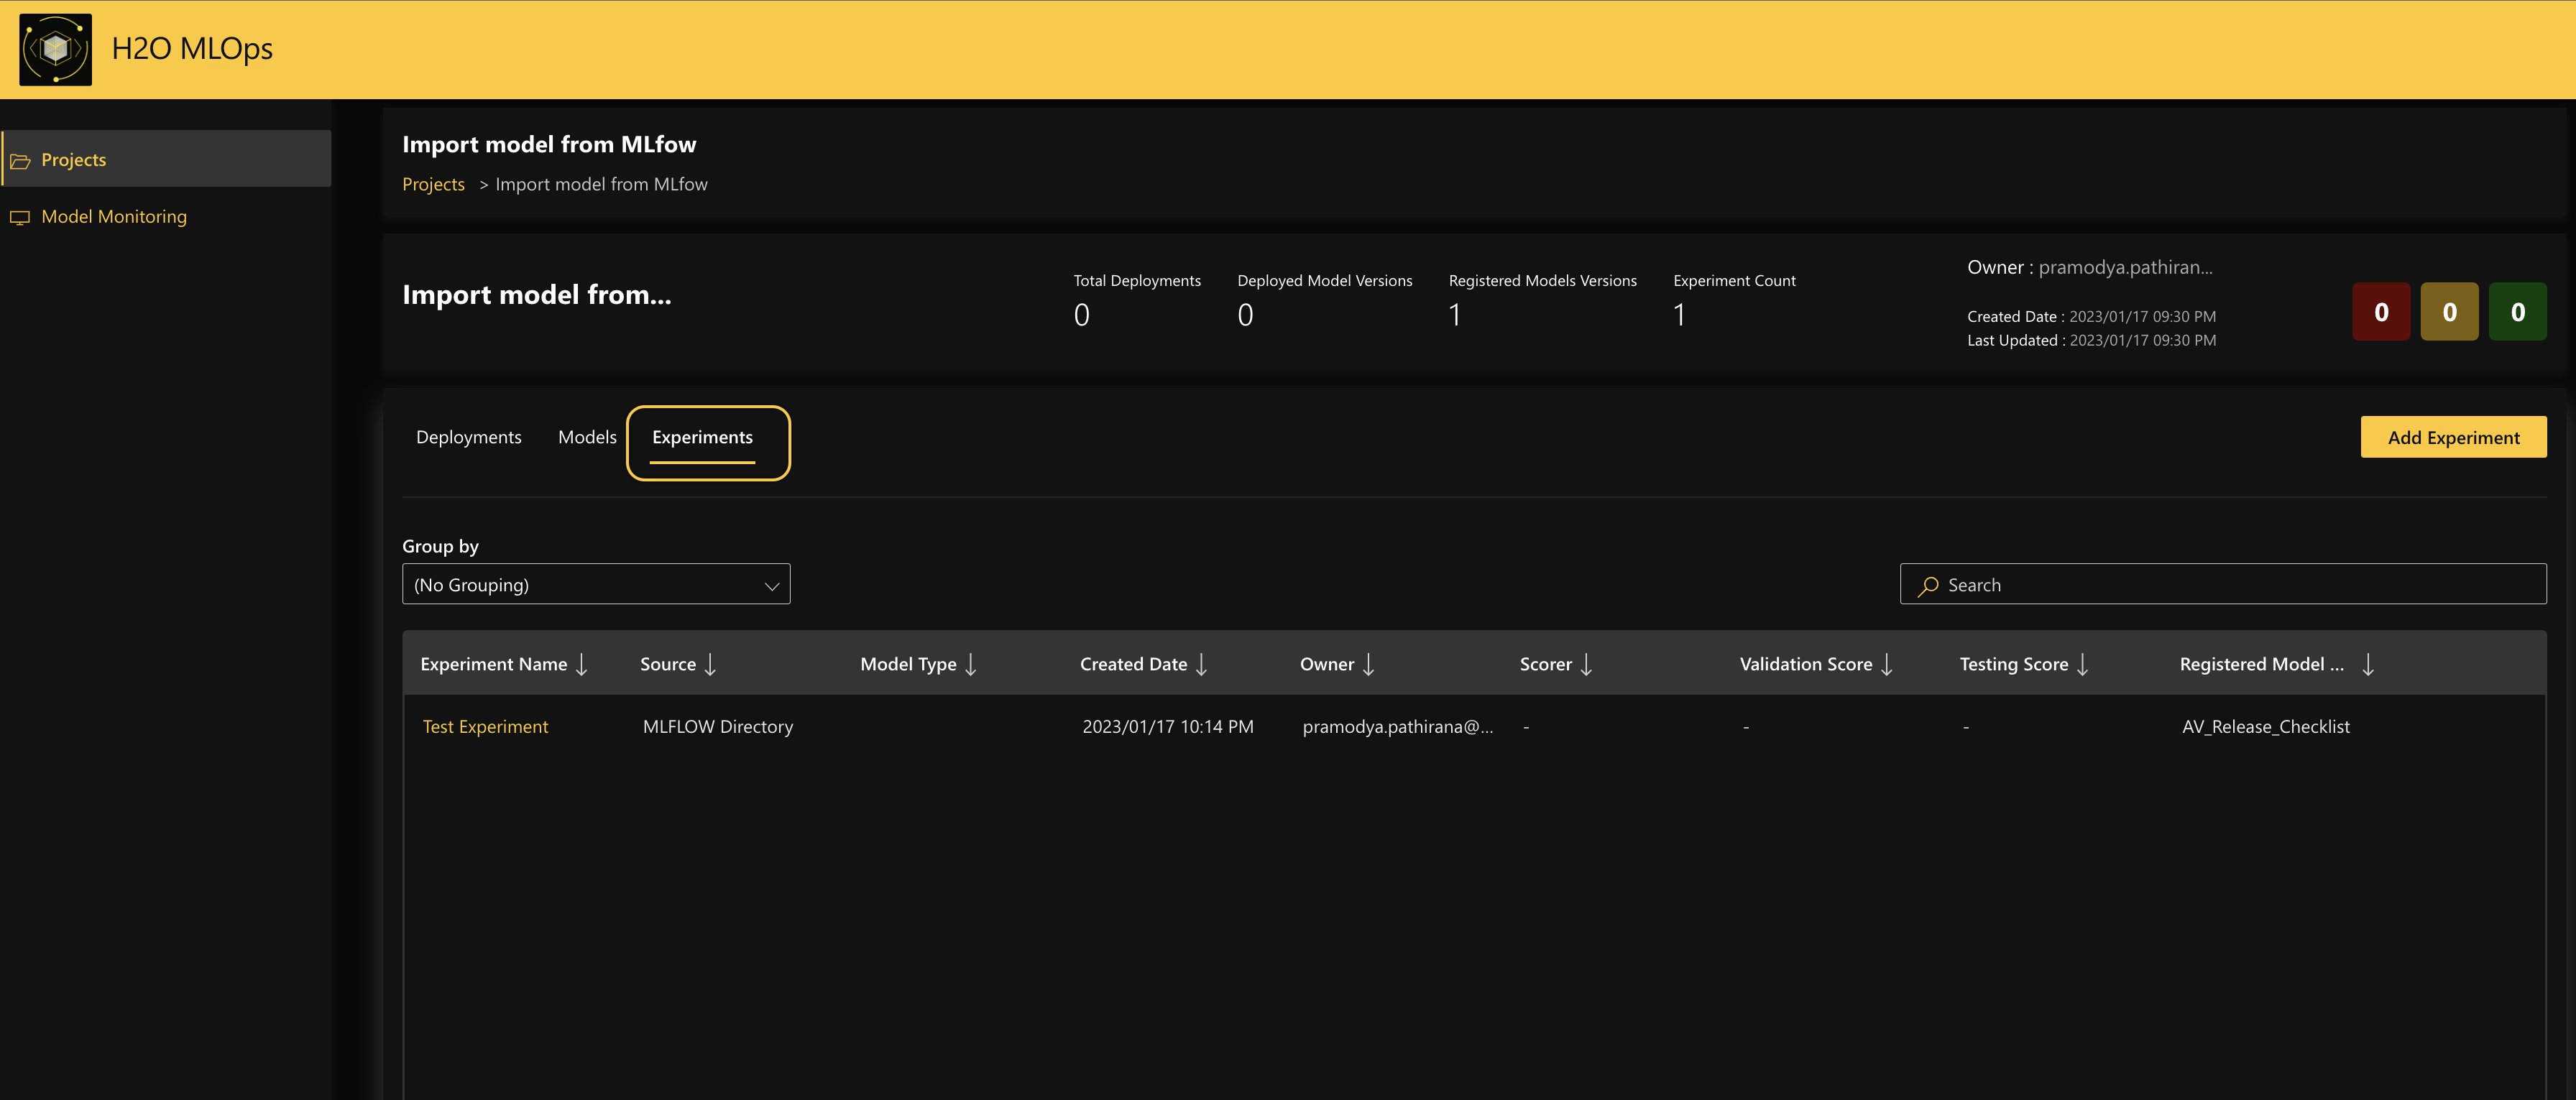
You can view the imported experiments by going to the Experiments tab.
For each experiment that is added to H2O MLOps, both the MLflow model name (
source_model_name) and MLflow version number (source_model_version) are included as part of the experiment metadata. Double-click the experiment and go to the Metadata tab in the side panel that opens up to view the metadata of the experiment.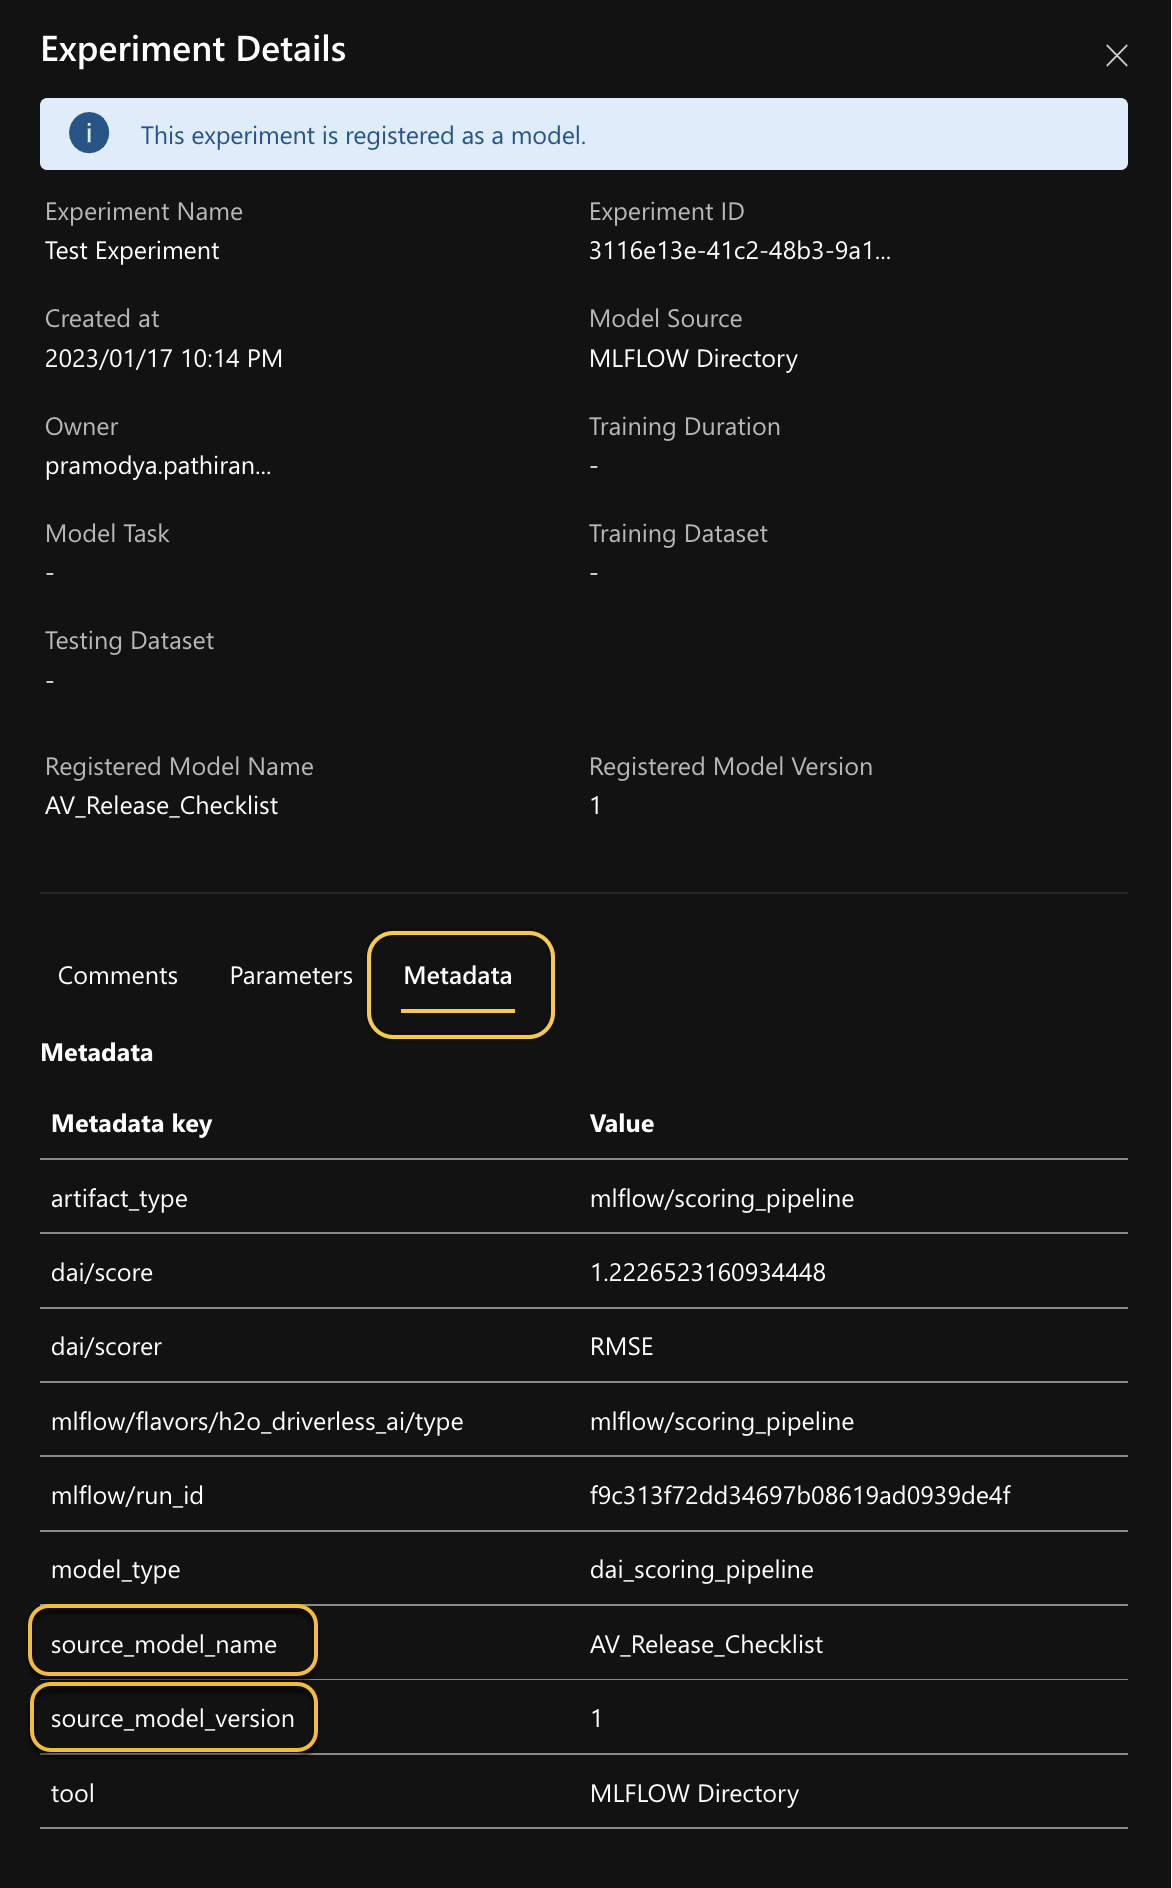
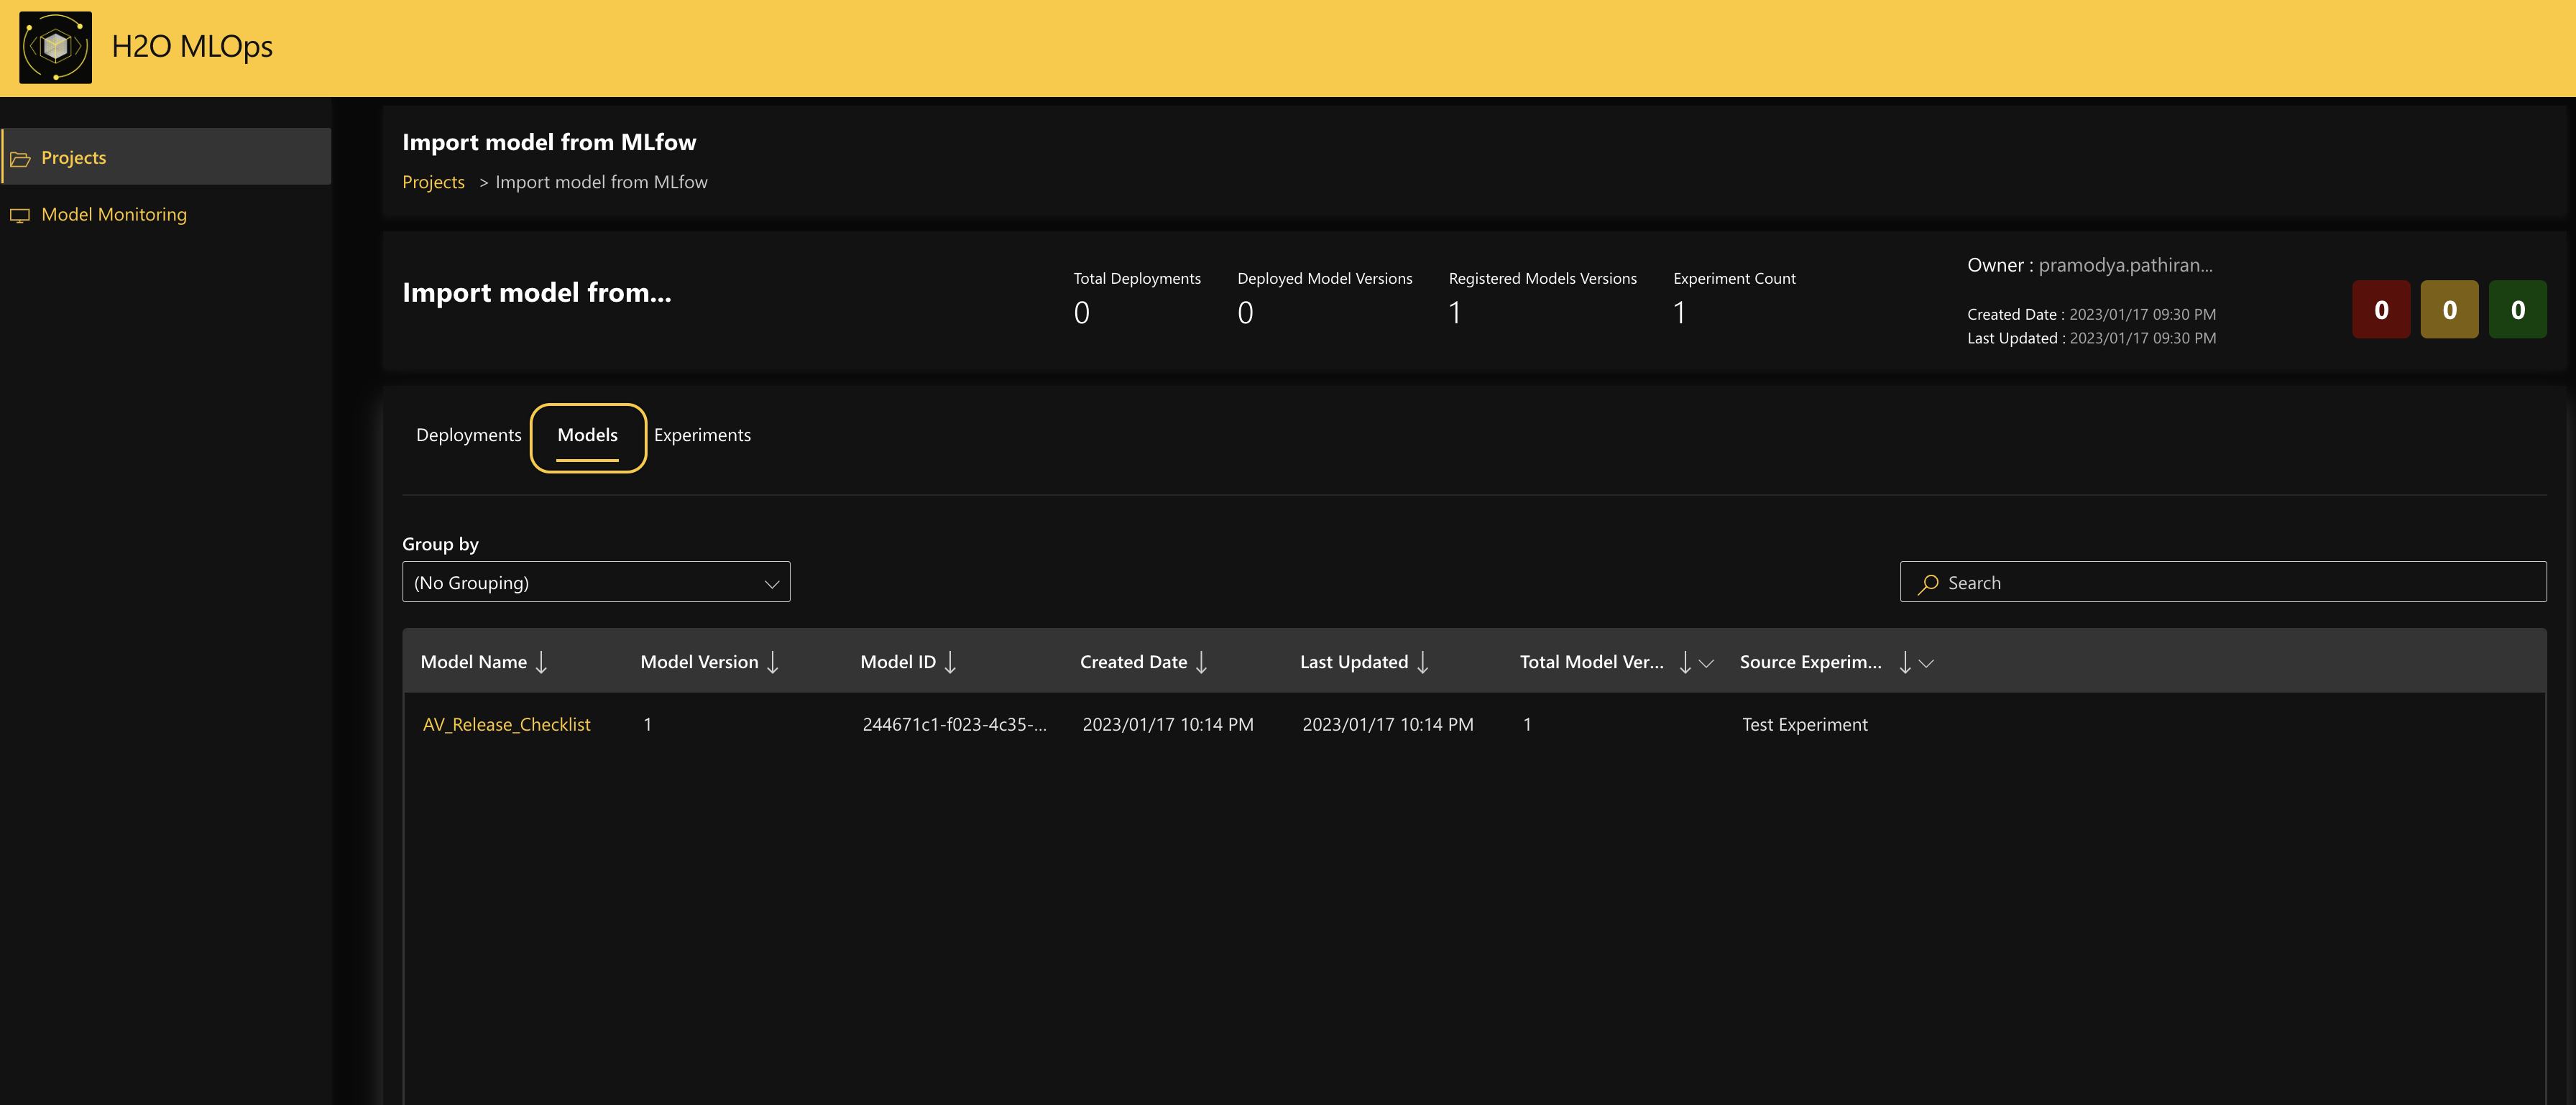
The added experiments are automatically registered in the MLOps Model Registry. To view the imported model, go to the Models tab . If the imported model was another version of an existing model, then the new version is added.
 Note
NoteThe version number indicated here is the version of that model in MLOps and may not match its version number in the MLflow registry. The corresponding version number in the MLflow registry (
source_model_version) is indicated as a part of the metadata, as explained in step 10.
- Submit and view feedback for this page
- Send feedback about H2O MLOps to cloud-feedback@h2o.ai