Install the Driverless AI AWS Community AMI
Watch the installation video here. Note that some of the images in this video may change between releases, but the installation steps remain the same.
Environment
| Provider | Instance Type | Num GPUs | Suitable for |
|---|---|---|---|
| AWS | p2.xlarge | 1 | Experimentation |
| p2.8xlarge | 8 | Serious use | |
| p2.16xlarge | 16 | Serious use | |
| p3.2xlarge | 1 | Experimentation | |
| p3.8xlarge | 4 | Serious use | |
| p3.16xlarge | 8 | Serious use | |
| g3.4xlarge | 1 | Experimentation | |
| g3.8xlarge | 2 | Experimentation | |
| g3.16xlarge | 4 | Serious use |
Installing the EC2 Instance
- Log in to your AWS account at https://aws.amazon.com.
- In the upper right corner of the Amazon Web Services page, make sure that the location drop-down is US East (N Virginia).

- Select the EC2 option under the Compute section to open the EC2 Dashboard.

- Click the Launch Instance button under the Create Instance section.

- Under Community AMIs, search for h2oai, and then select the version that you want to launch.

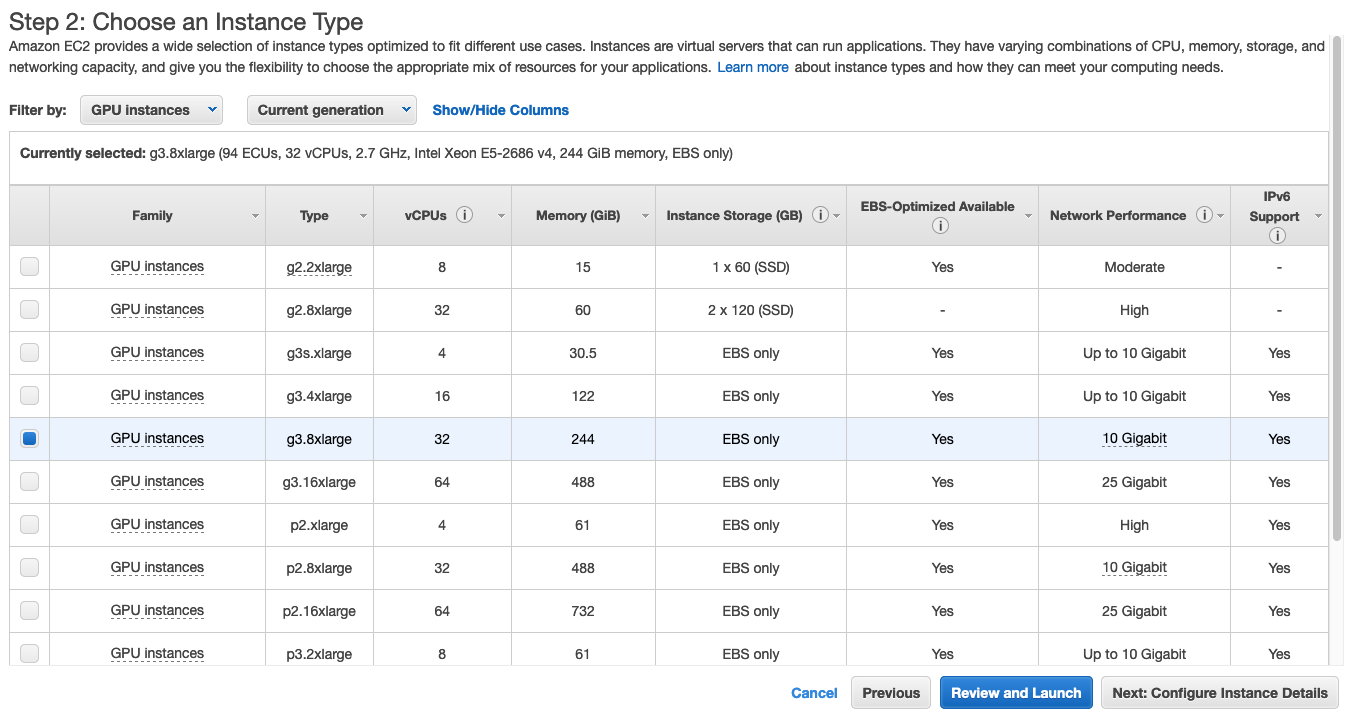
- On the Choose an Instance Type page, select GPU compute in the Filter by dropdown. This will ensure that your Driverless AI instance will run on GPUs. Select a GPU compute instance from the available options. (We recommend at least 32 vCPUs.) Click the Next: Configure Instance Details button.
- Specify the Instance Details that you want to configure. Create a VPC or use an existing one, and ensure that “Auto-Assign Public IP” is enabled and associated to your subnet. Click Next: Add Storage.

- Specify the Storage Device settings. Note again that Driverless AI requires 10 GB to run and will stop working of less than 10 GB is available. The machine should have a minimum of 30 GB of disk space. Click Next: Add Tags.

- If desired, add unique Tag name to identify your instance. Click Next: Configure Security Group.
- Add the following security rules to enable SSH access to Driverless AI, then click Review and Launch.
| Type | Protocol | Port Range | Source | Description |
|---|---|---|---|---|
| SSH | TCP | 22 | Anywhere 0.0.0.0/0 | |
| Custom TCP Rule | TCP | 12345 | Anywhere 0.0.0.0/0 | Launch DAI |

- Review the configuration, and then click Launch.
- A popup will appear prompting you to select a key pair. This is required in order to SSH into the instance. You can select your existing key pair or create a new one. Be sure to accept the acknowledgement, then click Launch Instances to start the new instance.

- Upon successful completion, a message will display informing you that your instance is launching. Click the View Instances button to see information about the instance including the IP address. The Connect button on this page provides information on how to SSH into your instance.
- Open a Terminal window and SSH into the IP address of the AWS instance. Replace the DNS name below with your instance DNS.
ssh -i "mykeypair.pem" ubuntu@ec2-34-230-6-230.compute-1.amazonaws.com
- If you selected a GPU-compute instance, then you must enable persistence and optimizations of the GPU. The commands vary depending on the instance type. Note also that these commands need to be run once every reboot. Refer to the following for more information:
- http://docs.nvidia.com/deploy/driver-persistence/index.html
- https://docs.aws.amazon.com/AWSEC2/latest/WindowsGuide/optimize_gpu.html
- https://www.migenius.com/articles/realityserver-on-aws
# g3:
sudo nvidia-smi -pm 1
sudo nvidia-smi -acp 0
sudo nvidia-smi --auto-boost-permission=0
sudo nvidia-smi --auto-boost-default=0
sudo nvidia-smi -ac "2505,1177"

# p2:
sudo nvidia-smi -pm 1
sudo nvidia-smi -acp 0
sudo nvidia-smi --auto-boost-permission=0
sudo nvidia-smi --auto-boost-default=0
sudo nvidia-smi -ac "2505,875"

# p3:
sudo nvidia-smi -pm 1
sudo nvidia-smi -acp 0
sudo nvidia-smi -ac "877,1530"
- At this point, you can copy data into the data directory on the host machine using
scp. (Note that the data folder already exists.) For example:
scp <data_file>.csv ubuntu@ec2-34-230-6-230.compute-1.amazonaws.com:/home/dataThe data will be visible inside the Docker container.
- Connect to Driverless AI with your browser. You will be prompted to enter your Driverless AI license key the first time that you log in.
http://Your-Driverless-AI-Host-Machine:12345
Stopping the EC2 Instance
The EC2 instance will continue to run even when you close the aws.amazon.com portal. To stop the instance:
- On the EC2 Dashboard, click the Running Instances link under the Resources section.
- Select the instance that you want to stop.
- In the Actions drop down menu, select Instance State > Stop.
- A confirmation page will display. Click Yes, Stop to stop the instance.
Upgrading the Driverless AI Community Image
WARNING: Experiments, MLIs, and MOJOs reside in the Driverless AI tmp directory and are not automatically upgraded when Driverless AI is upgraded.
- Build MLI models before upgrading.
- Build MOJO pipelines before upgrading.
- Back up your Driverless AI tmp directory before upgrading.
If you did not build MLI on a model before upgrading Driverless AI, then you will not be able to view MLI on that model after upgrading. Before upgrading, be sure to run MLI jobs on models that you want to continue to interpret in future releases. If that MLI job appears in the list of Interpreted Models in your current version, then it will be retained after upgrading.
If you did not build a MOJO pipeline on a model before upgrading Driverless AI, then you will not be able to build a MOJO pipeline on that model after upgrading. Before upgrading, be sure to build MOJO pipelines on all desired models and then back up your Driverless AI tmp directory.
Upgrading from Version 1.2.2 or Earlier
The following example shows how to upgrade from 1.2.2 or earlier to the current version. Upgrading from these earlier versions requires an edit to the start and h2oai scripts.
- SSH into the IP address of the image instance and copy the existing experiments to a backup location:
# Set up a directory of the previous version name
mkdir dai_rel_1.2.2

# Copy the data, log, license, and tmp directories as backup
cp -a ./data dai_rel_1.2.2/data
cp -a ./log dai_rel_1.2.2/log
cp -a ./license dai_rel_1.2.2/license
cp -a ./tmp dai_rel_1.2.2/tmp
wgetthe newer image. The command below retrieves version 1.2.2:
wget https://s3.amazonaws.com/artifacts.h2o.ai/releases/ai/h2o/dai/rel-1.2.2-6/x86_64-centos7/dai-docker-centos7-x86_64-1.2.2-9.0.tar.gz
- In the /home/ubuntu/scripts/ folder, edit both the
start.shandh2oai.shscripts to use the newer image. - Use the
docker loadcommand to load the image:
docker load < ami-0c50db5e1999408a7
- Optionally run
docker imagesto ensure that the new image is in the registry. - Connect to Driverless AI with your browser at http://Your-Driverless-AI-Host-Machine:12345.
Upgrading from Version 1.3.0 or Later
The following example shows how to upgrade from version 1.3.0.
- SSH into the IP address of the image instance and copy the existing experiments to a backup location:
# Set up a directory of the previous version name
mkdir dai_rel_1.3.0

# Copy the data, log, license, and tmp directories as backup
cp -a ./data dai_rel_1.3.0/data
cp -a ./log dai_rel_1.3.0/log
cp -a ./license dai_rel_1.3.0/license
cp -a ./tmp dai_rel_1.3.0/tmp
wgetthe newer image. Replace VERSION and BUILD below with the Driverless AI version.
wget https://s3.amazonaws.com/artifacts.h2o.ai/releases/ai/h2o/dai/VERSION-BUILD/x86_64-centos7/dai-docker-centos7-x86_64-VERSION.tar.gz
- Use the
docker loadcommand to load the image:
docker load < dai-docker-centos7-x86_64-VERSION.tar.gz
- In the new AMI, locate the DAI_RELEASE file, and edit that file to match the new image tag.
- Stop and then start Driverless AI.
h2oai stop
h2oai start