kdb+ Setup
Driverless AI allows you to explore kdb+ data sources from within the Driverless AI application. This section provides instructions for configuring Driverless AI to work with kdb+.
Description of Configuration Attributes
kdb_user: (Optional) User namekdb_password: (Optional) User’s passwordkdb_hostname: IP address or host of the KDB serverkdb_port: Port on which the kdb+ server is listeningkdb_app_jvm_args: (Optional) JVM args for kdb+ distributions (for example,-Dlog4j.configuration). Separate each argument with spaces.kdb_app_classpath: (Optional) The kdb+ classpath (or other if the jar file is stored elsewhere).enabled_file_systems: The file systems you want to enable. This must be configured in order for data connectors to function properly.
Start Driverless AI
The following sections describes how to enable the kdb+ data connector when starting Driverless AI in Docker. This can done by specifying each environment variable in the nvidia-docker run command or by editing the configuration options in the config.toml file and then specifying that file in the nvidia-docker run command.
Enable kdb+ with No Authentication
This example enables the kdb+ connector without authentication. The only required flags are the hostname and the port. Replace TAG below with the image tag.
nvidia-docker run \
  --pid=host \
  --init \
  --rm \
  --shm-size=256m \
  --add-host name.node:172.16.2.186 \
  -e DRIVERLESS_AI_ENABLED_FILE_SYSTEMS="file,kdb" \
  -e DRIVERLESS_AI_KDB_HOSTNAME="<ip_or_host_of_kdb_server>" \
  -e DRIVERLESS_AI_KDB_PORT="<kdb_server_port>" \
  -p 12345:12345 \
  -v /tmp/dtmp/:/tmp \
  -v /tmp/dlog/:/log \
  -v /tmp/dlicense/:/license \
  -v /tmp/ddata/:/data \
  -u $(id -u):$(id -g) \
  h2oai/dai-centos7-x86_64:TAG
Enable kdb+ with Authentication
This example provides users credentials for accessing a kdb+ server from Driverless AI. Replace TAG below with the image tag.
# Docker instructions
nvidia-docker run \
  --pid=host \
  --init \
  --rm \
  --shm-size=256m \
  -e DRIVERLESS_AI_ENABLED_FILE_SYSTEMS="file,kdb" \
  -e DRIVERLESS_AI_KDB_HOSTNAME="<ip_or_host_of_kdb_server>" \
  -e DRIVERLESS_AI_KDB_PORT="<kdb_server_port>" \
  -e DRIVERLESS_AI_KDB_USER="<username>" \
  -e DRIVERLESS_AI_KDB_PASSWORD="<password>" \
  -p 12345:12345 \
  -v /tmp/dtmp/:/tmp \
  -v /tmp/dlog/:/log \
  -v /tmp/dlicense/:/license \
  -v /tmp/ddata/:/data \
  -u $(id -u):$(id -g) \
  h2oai/dai-centos7-x86_64:TAG
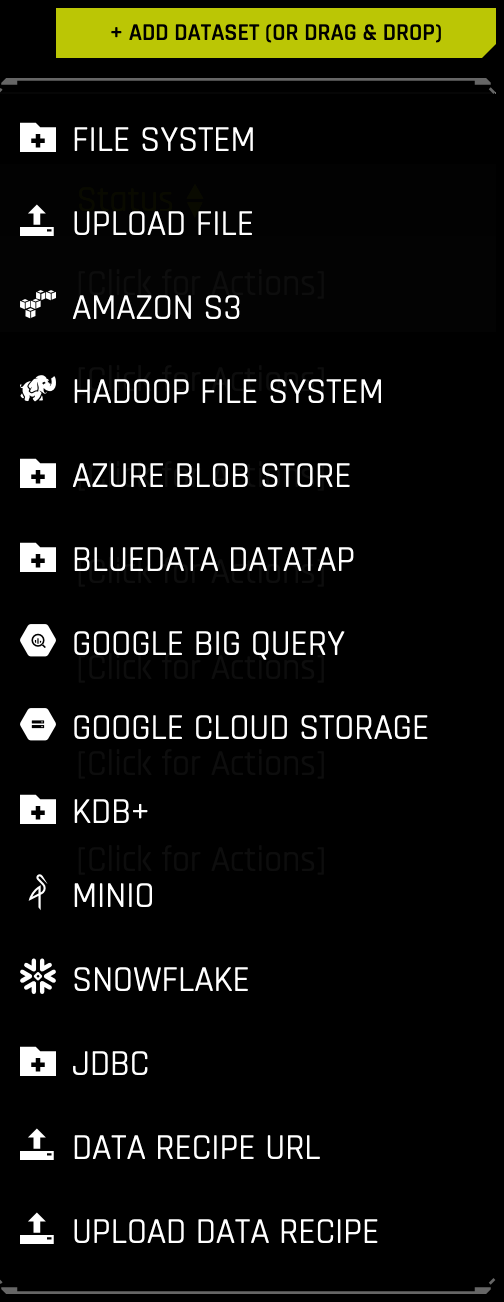
After the kdb+ connector is enabled, you can add datasets by selecting kdb+ from the Add Dataset (or Drag and Drop) drop-down menu.
Start DAI by Updating the config.toml File
This example shows how to configure kdb+ options in the config.toml file, and then specify that file when starting Driverless AI in Docker. Note that this example enables kdb+ with no authentication.
Configure the Driverless AI config.toml file. Set the following configuration options.
enabled_file_systems = "file, upload, kdb"
kdb_hostname = <ip_or_host_of_kdb_server>"
kdb_port = "<kdb_server_port>"
Mount the config.toml file into the Docker container.
nvidia-docker run \
  --pid=host \
  --init \
  --rm \
  --shm-size=256m \
  --add-host name.node:172.16.2.186 \
  -e DRIVERLESS_AI_CONFIG_FILE=/path/in/docker/config.toml \
  -p 12345:12345 \
  -v /local/path/to/config.toml:/path/in/docker/config.toml \
  -v /etc/passwd:/etc/passwd:ro \
  -v /etc/group:/etc/group:ro \
  -v /tmp/dtmp/:/tmp \
  -v /tmp/dlog/:/log \
  -v /tmp/dlicense/:/license \
  -v /tmp/ddata/:/data \
  -u $(id -u):$(id -g) \
  h2oai/dai-centos7-x86_64:TAG
After the kdb+ connector is enabled, you can add datasets by selecting kdb+ from the Add Dataset (or Drag and Drop) drop-down menu.
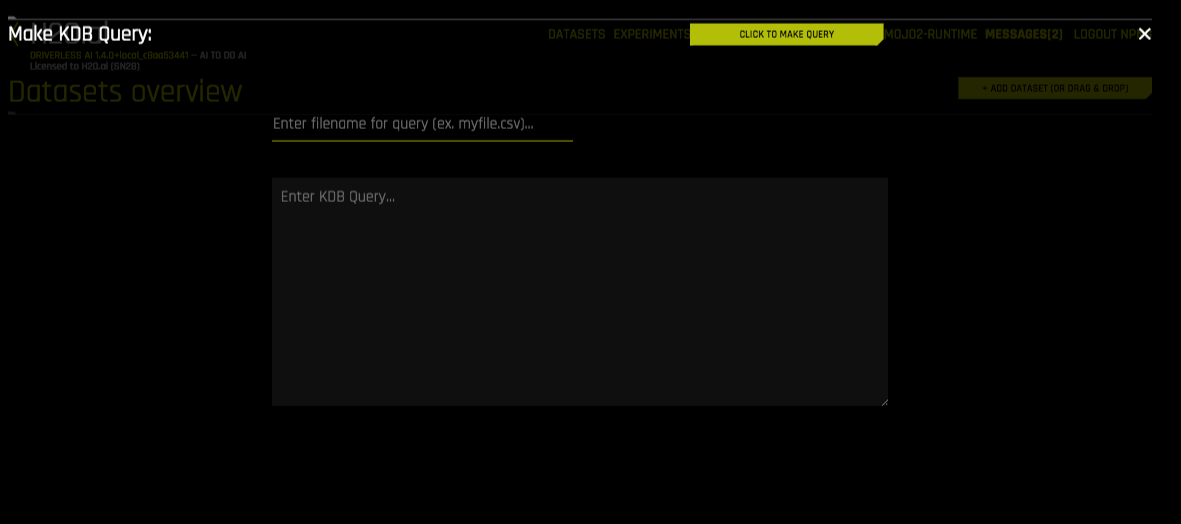
Specify the following information to add your dataset.
Enter filepath to save query. Enter the local file path for storing your dataset. For example, /home/<user>/myfile.csv. Note that this can only be a CSV file.
Enter KDB Query: Enter a kdb+ query that you want to execute. Note that the connector will accept any q qeuries. For example:
select from <mytable>or<mytable> lj <myothertable>When you are finished, select the Click to Make Query button to add the dataset.