Tutorial 3B: Model deployment with a model's Python scoring pipeline
This tutorial will explore one of the three options available in H2O Hydrogen Torch to deploy a built model. In particular, this tutorial builds an image regression model to explore how you can deploy a model in any external Python environment using the model's standalone Python scoring pipeline.
Prerequisites
- Basic understanding of Python
- Complete Tutorial 1A: Default hyperparameter values (start your first experiment)
- Ubuntu 16.04+ with Python 3.8.
Step 1: Import dataset
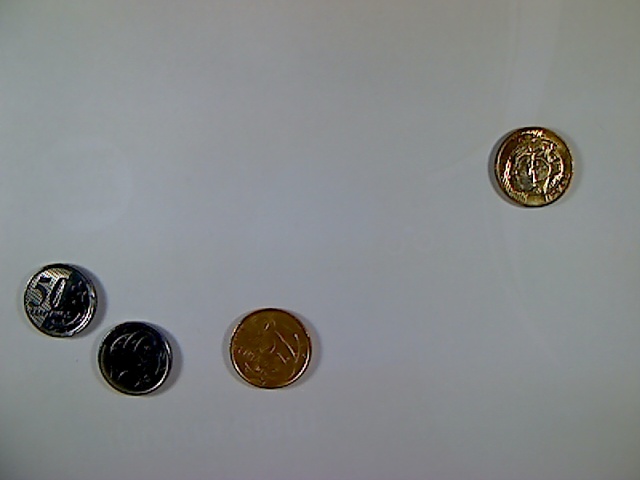
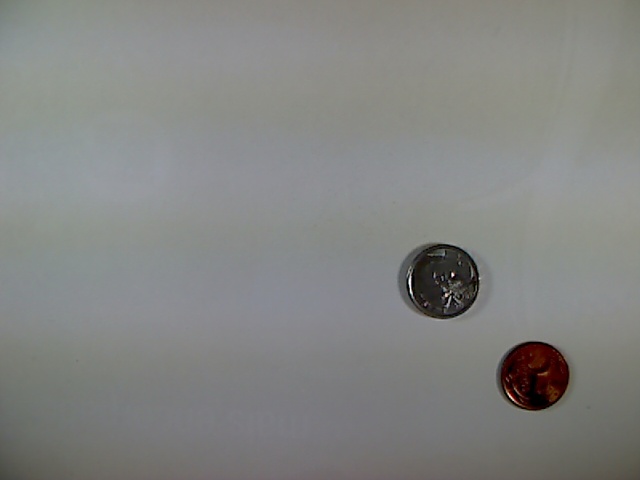
For this tutorial, we will be using the preprocessed Coins image regression dataset. The dataset contains a collection of 6,028 images with one or more coins. Each image has been labeled to indicate the sum of its coins. The currency of the coins is the Brazilian Real (R$). Let's import the dataset:
- In the H2O Hydrogen Torch navigation menu, click Import dataset.
- In the S3 file name list, select coins_image_regression.zip.
- Click Continue.
- Again, click Continue.
- Again, click Continue.

As a requirement, H2O Hydrogen Torch requires the dataset for an experiment to be preprocessed to follow a certain dataset format for the problem type the experiment aims to solve. The Coins image regression dataset was preprocessed to follow a dataset format for an image regression model. To learn more, see Dataset formats.
Step 2: Build model
Let's quickly build an image regression model capable of predicting the sum of Brazilian Real (R$) coins in images. After creating the model, we will use the model's Python scoring pipeline to generate predictions (deploy the model).
- In the H2O Hydrogen Torch navigation menu, click Create experiment.
- In the Dataset list, select coins_image_regression.
- In the Experiment name box, enter
tutorial-3b. - Click Run experiment.
Note
After starting your experiment, H2O Hydrogen Torch will take you to the View experiments card, where you can view running and completed experiments.
Step 3: Download model's Python scoring pipeline
Now that our experiment is complete, let's download the model's Python scoring pipeline to deploy the model in a Python environment.
- In the experiments table, click tutorial-3b.
Note
In the experiments table, H2O Hydrogen Torch will mark an experiment as completed when its status changes to finished.
- Click Download scoring.
Step 4: Deploy Python scoring pipeline
The downloaded Python scoring pipeline, in particular, contains the following files:
- hydrogen_torch-*.whl: a wheel package containing the necessary H2O Hydrogen Torch framework functionality to generate predictions
- images: a folder containing sample images from the validation dataset
- scoring_pipeline.py: an example Python script demonstrating how to load the model and score new data
To deploy our model, we need to install the .whl package to an external Python environment (e.g., Conda). Right after, we will use the scoring_pipeline.py file to score new data.
Bearing in mind that you can deploy a model's Python scoring pipeline to any external Python environment of your choice (e.g, Conda), proceed with the following steps:
The H2O Hydrogen Torch Python scoring pipeline only supports Ubuntu 16.04+ with Python 3.8.
- Create a virtual environment for Python 3.8
Note
- Update setuptools (
pip install --upgrade pip setuptools) and pip (pip install --upgrade pip) - Ensure that Python 3.8-dev is installed for Ubuntu versions that support it. To install it, run:
sudo apt-get install python3.8-dev - You need to install extra dependencies for audio models to score new data. See Deploy model.
- Update setuptools (
- Install the hydrogen_torch-*.whl package
Note
To install the
.whlpackage, run:pip install *.whl
Step 5: Score new data
Now that you have deployed the built model's Python scoring pipeline, we can score on new data using the trained model weights. For instance, using the scoring_pipeline.py file, let's score the images inside the images folder.
- Run
python3 scoring_pipeline.py
Details
scoring_pipeline.py
# Copyright (c) 2022 H2O.ai. Proprietary License - All Rights Reserved

"""scoring pipeline for models trained in H2O Hydrogen Torch."""

import glob
import json
import os

import dill
import pandas as pd
from torch.utils.data import DataLoader, SequentialSampler

from hydrogen_torch.src.utils.modeling_utils import (
    load_checkpoint,
    run_python_scoring_inference,
)

# reading the config from trained experiment
with open("cfg.p", "rb") as pickle_file:
    cfg = dill.load(pickle_file)

# changing internal cfg settings for inference, not subject to change
cfg.prediction._calculate_test_metric = False

# preparing examplary dataframe for inference loading samples
# this has to be altered for custom data

# Image data -------------------------------------------------------
if hasattr(cfg.dataset, "image_column"):
    images = []
    for image in sorted(glob.glob("images/*")):
        images.append(os.path.basename(image))

    test_df = pd.DataFrame({f"{cfg.dataset.image_column}": images})

    # set image folder
    cfg.dataset.data_folder_test = "images"
# ------------------------------------------------------------------

# Audio data -------------------------------------------------------
if hasattr(cfg.dataset, "audio_column"):
    audios = []
    for audio in sorted(glob.glob("audios/*")):
        audios.append(os.path.basename(audio))

    test_df = pd.DataFrame({f"{cfg.dataset.audio_column}": audios})

    # set audio folder
    cfg.dataset.data_folder_test = "audios"
# ------------------------------------------------------------------

# Text data --------------------------------------------------------
if hasattr(cfg.dataset, "text_column"):
    texts = []
    for text in sorted(glob.glob("texts/*")):
        texts.append(open(text).read())

    test_df = pd.DataFrame({f"{cfg.dataset.text_column}": texts})

# special handling for span prediction problem type
if all(
    hasattr(cfg.dataset, column) for column in ("question_column", "context_column")
):
    questions_and_contexts = []

    for text in sorted(glob.glob("texts/*")):
        data = json.load(open(text))

        questions_and_contexts.append(
            {
                cfg.dataset.question_column: data["question"],
                cfg.dataset.context_column: data["context"],
            }
        )

    test_df = pd.DataFrame.from_dict(questions_and_contexts)
# ------------------------------------------------------------------

# set device for inference
cfg.environment._device = "cuda:0"

# disable original pretrained weights for model initialization
if hasattr(cfg.architecture, "pretrained"):
    cfg.architecture.pretrained = False

# it is possible to specify a custom cache directory for Huggingface transformers models
if hasattr(cfg, "transformers_cache_directory"):
    cfg.transformers_cache_directory = None

# loading model and checkpoint
model = cfg.architecture.model_class(cfg).eval().to(cfg.environment._device)
cfg.architecture.pretrained_weights = "checkpoint.pth"
load_checkpoint(cfg, model)

# preparing torch dataset and dataloader
# batch_size and num_workers are subject to change
batch_size = 1 if cfg.training._single_sample_inference_batch else 16

test_dataset = cfg.dataset.dataset_class(df=test_df, cfg=cfg, mode="test")
test_dataloader = DataLoader(
    test_dataset,
    sampler=SequentialSampler(test_df),
    batch_size=batch_size,
    num_workers=4,
    pin_memory=True,
    collate_fn=cfg.dataset.dataset_class.get_validation_collate_fn(),
)

# running actual inference
# raw_predictions is a dictionary with predictions in the raw format
# df_predictions is a pandas DataFrame with predictions
raw_predictions, df_predictions = run_python_scoring_inference(
    cfg=cfg, model=model, dataloader=test_dataloader
)

# final output
print(df_predictions.head())
After running the scoring_pipeline.py file, we obtain the following result that you can save (e.g., save to a database or disk):
There are no columns ['label'] in the test DataFrame or they contain missing values. Not using labels.
           image_path  pred_label
0  115_1479348288.jpg  129.665771
1  150_1479430338.jpg  148.593445
2   50_1477139904.jpg   57.118023
3   50_1477282128.jpg   48.614349
4   55_1477843506.jpg   56.298607
115_1479348288.jpg |
150_1479430338.jpg |
50_1477139904.jpg |
50_1477282128.jpg |
55_1477843506.jpg |


Summary
In this tutorial, we learned how to deploy a built model to any external Python environment (e.g., Conda). We also learned how to score new data using the Python scoring pipeline.
Next
Now that you know how to deploy a built model using a model's Python scoring pipeline, consider the following two tutorials to learn how to deploy a built model using the H2O Hydrogen Torch (HT) user interface (UI) or a model's H2O MLOps pipeline:
- Tutorial 1B: Model deployment through the H2O Hydrogen Torch UI
- Tutorial 2B: Model deployment with a model's H2O MLOps pipeline
To learn how to improve a built model, consider the following tutorial:
- Submit and view feedback for this page
- Send feedback about H2O Hydrogen Torch to cloud-feedback@h2o.ai