Tutorial 3A: Annotation task: Text-entity recognition
This tutorial will underline the steps (process) of annotating and specifying an annotation task rubric for a text-entity recognition annotation task. This tutorial will also quickly explore how you can download the fully annotated dataset supported in H2O Hydrogen Torch.
Step 1: Explore dataset
We will use the preloaded amazon-reviews-demo demo dataset for this tutorial. The dataset contains 180 samples (text), each containing a review of an Amazon product. Let's quickly explore the dataset.
- On the H2O Label Genie navigation menu, click Datasets.
- In the datasets table, click amazon-reviews-demo.
The first two reviews are as follows:
| Stars | Comment |
|---|---|
| 3.0 out of 5 stars | I've used other devices to track my fitness/health and I really thought that the Charge 5 was going to be the answer. I did research on various brand devices through various sources. The Fitbit gets great ratings.I'm disappointed. I've been using it faithfully for about 3 weeks now. I'm of the opinion that it just may be buggy, and a future firmware update can improve it in many ways, hence the overall three-star rating. The Premium service is hype and doesn't seem that it is worth the money, so I'm debating if I will subscribe once the free period expires.When I'm walking the actual steps are fewer than what the Fitbit reports, When I'm doing my cardio, while my heart rate is steady, the Fitbit continually reports inaccurate reading, usually much lower than the actual heartbeat and at times showing peak heart rates. It does this inconsistently like it operates on a sliding scale. Different location placement of the Fitbit on either arm makes no difference. Also, I have programed the high/low settings for notification, which I have exceeded, the Fitbit for some reason has not warned/notified/signaled or whatever it is supposed to do.It does an excellent job accurately displaying my heart rhythm for the 30 second period when I do an ECG. It does report when I'm experiencing Atrial fabulation. However, unlike many of the other features, it doesn't record for record the readings. It does a good job in tracking my resting heart rate.I'm not impressed with the Sp02 percentage process. It only does an average during sleep. It doesn't provide data as to levels during the period that it monitors. The ECG, the Sp02% should have a feature like the ECG so I can manually check my oxygen level when desired. |
| 1.0 out of 5 stars | Bought this yesterday because it looked like a good fitness tracker; it's shipped and sold by Amazon, so I thought it would be a simple process. However, the battery drains shortly after charging; how can you use this? GPS took several minutes to work, then stopped recording. Missing ECG -- which was the main reason for choosing this model. (Fitbit promises all these apps and options for Charge 5, but they aren't available.)Tried to return it -- it says right on the page that you can return this item until January 31, 2022 -- but Amazon would not let me. Sent me to chat, that chat person said I had to contact the manufacturer myself to get a case number, and then go back to Amazon to maybe return it if they approved it. What?? I don't have time for all this! I simply want to return a defective Fitness Charge 5 tracker sold by Amazon, and Amazon won't let me. What a waste of time; so much better to buy at Costco, where at least they take back defective items without hassling you and wasting your time. |
Step 2: Create annotation task
Now that we understand the dataset let's create an annotation task that will enable you to annotate the dataset. An annotation task refers to the process of labeling data. For example, a text-entity recognition annotation task refers to locating and classifying named entities in unstructured text into pre-defined categories (e.g., product name). Let's create an annotation task.
- Click New annotation task.
- In the Task name box, enter
Tutorial 3A. - In the Task description box, enter
Annotate dataset containing reviews from Amazon products. - In the Select task list, select Entity recognition.
- In the Select text column box, select comment.
- Click Create task.
Step 3: Specify annotation task rubric
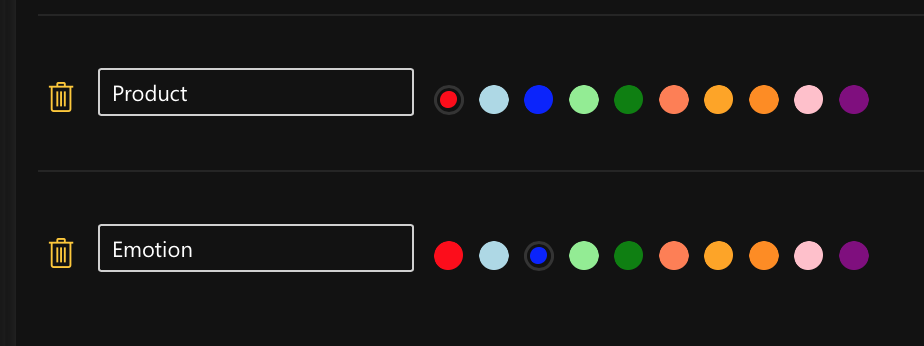
Before we can start annotating our dataset, we need to specify an annotation task rubric. An annotation task rubric refers to the labels (e.g., object classes) you want to use when annotating your dataset. For our dataset, we can define an array of entities, but for purposes of this tutorial will define and use the following two entities: Product and Emotion. Product will refer to the Amazon product reviewed, while Emotion will refer to one or several expressed (written) feelings during the review.
- In the Entity class name box, enter
Product. - For the product class color, choose an option.
- Click Add entity.
- In the new Entity class name box, enter
Emotion. - For the emotion class color, choose an option.
Step 4: Annotate dataset
Now that we have specified the annotation task rubric, let's annotate the dataset.
- Click Continue to annotate.
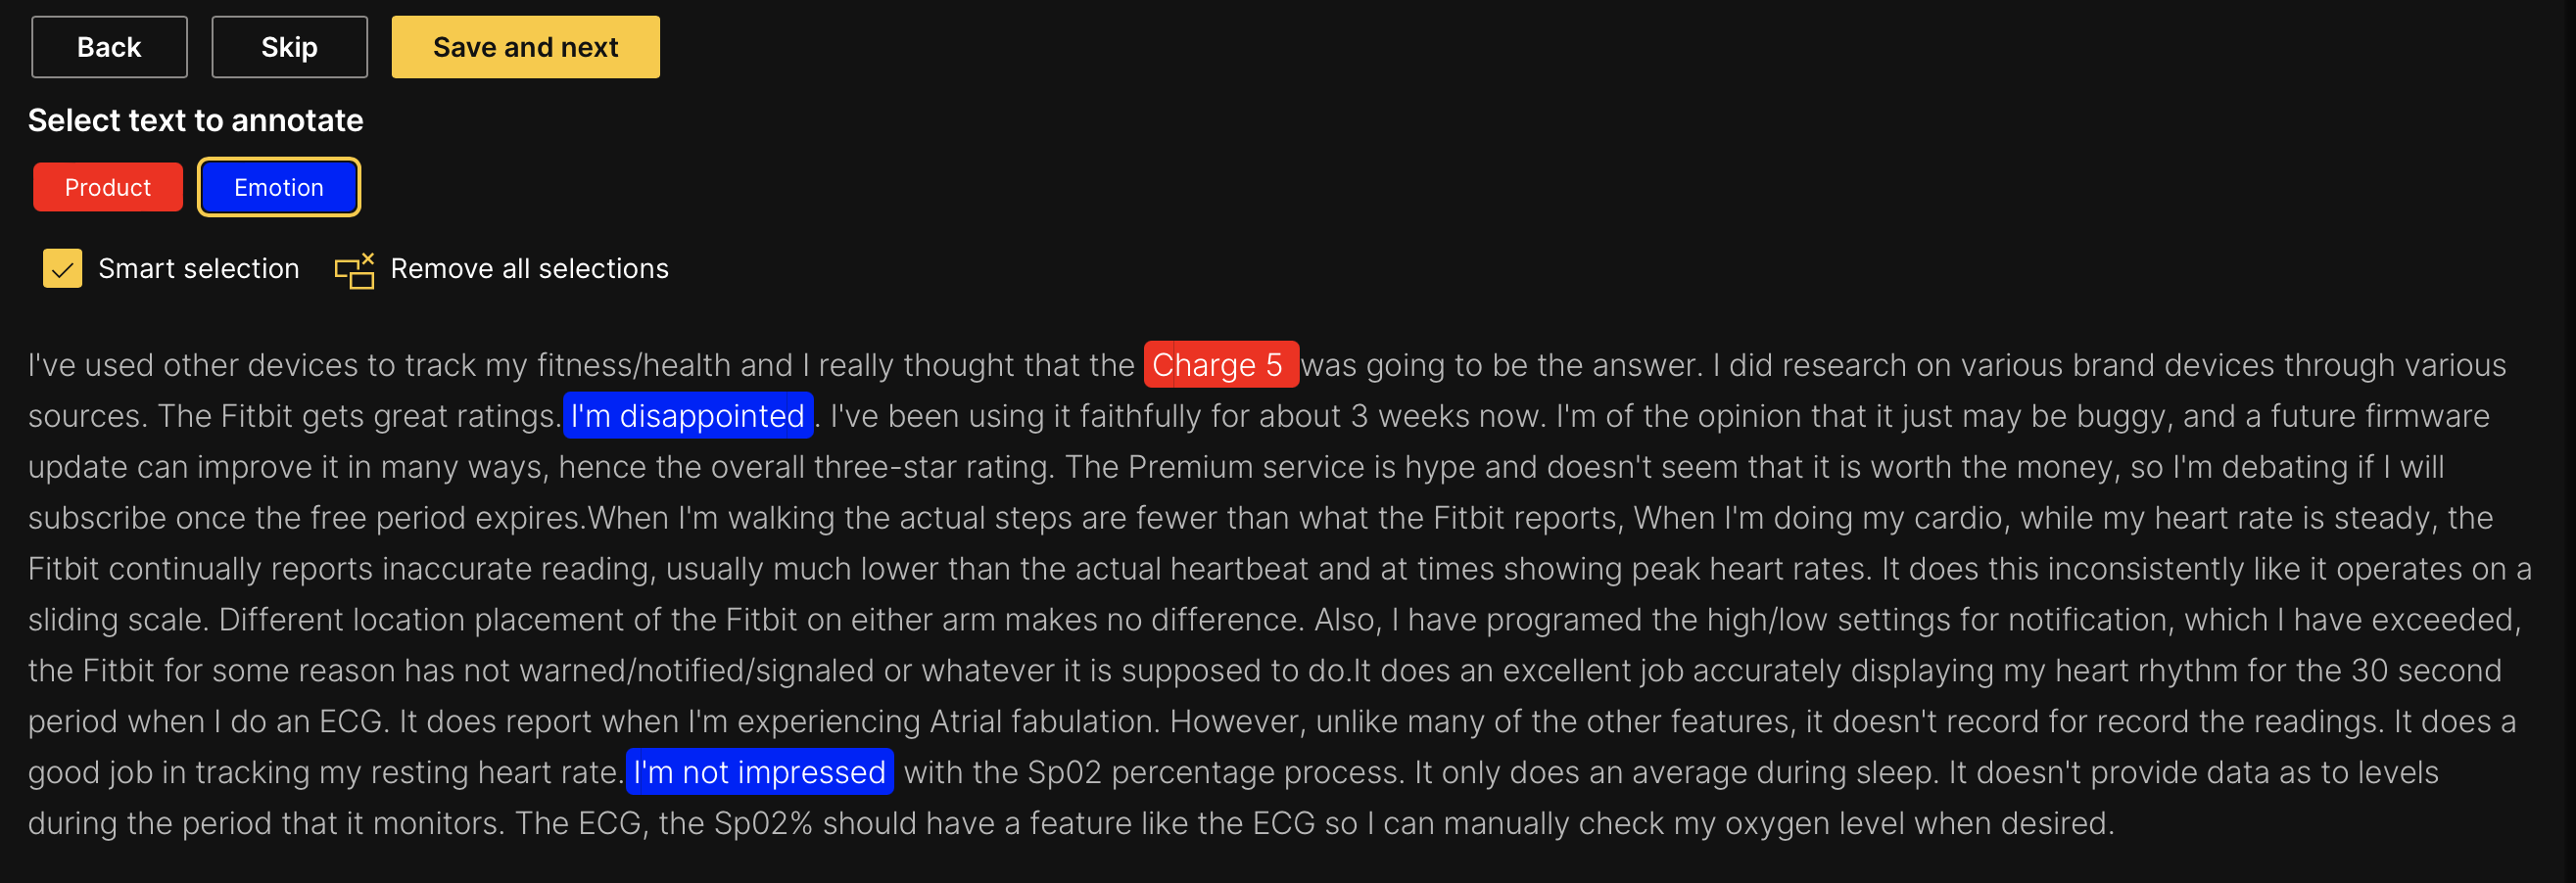
In the Annotate tab, you can individually annotate each review (text) in the dataset. Let's annotate the first review.
Let's start by annotating the product entities in the review.
- Highlight
Charge 5.
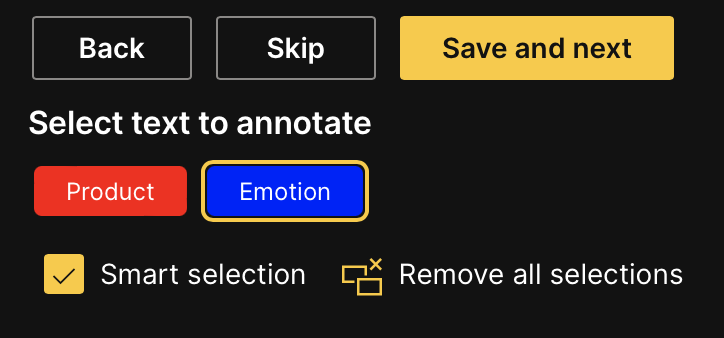
Now, let's annotate the review's emotional (emotion) entities.
-
Click Emotion.
NoteAs you annotate the dataset, note that you can select which entity to use as you annotate a review. To select the Product or Emotion entity: Click Product or Emotion.
-
Highlight
I'm disappointed.NoteYou can attribute a particular entity (Product or Emotion) to a word by clicking it.
-
Highlight
I'm not impressed.NoteYou can attribute a particular entity (Product or Emotion) to a word by clicking it.
-
Click Save and next.
 Note
Note- Save and next saves the annotated review
- To skip a review to annotate later: Click Skip.
- Skipped reviews (samples) will reappear after all non-skipped reviews are annotated
Export annotated dataset
After annotating all the reviews, you can download the dataset in a format that H2O Hydrogen Torch supports. Let's download the annotated dataset.
-
In the Annotate tab, click Export annotated samples.
 Note
Note- In the Dashboard tab, you can download all annotated reviews at any point in the annotation process of a dataset. To download all annotated reviews so far, consider the following instructions:
- Click the Dashboard tab.
- Click Export approved samples.
- H2O Label Genie will download a
.zipfile containing the annotated dataset in a format aligning with the dataset's problem type (annotation task type). To learn more, see Downloaded dataset formats: Text-entity recognition.
- In the Dashboard tab, you can download all annotated reviews at any point in the annotation process of a dataset. To download all annotated reviews so far, consider the following instructions:
Summary
In this tutorial, we learned the process of annotating and specifying an annotation task rubric for a text-entity recognition annotation task. We also learned how to download a fully annotated dataset supported in H2O Hydrogen Torch.
Next
To learn the process of annotating and specifying an annotation task rubric for other various annotation tasks in computer vision (CV), natural language processing (NLP), and audio, see Tutorials.
- Submit and view feedback for this page
- Send feedback about H2O Label Genie to cloud-feedback@h2o.ai