Tutorial 4B: Annotation task: Image instance segmentation
Overview
This tutorial describes the process of annotating and specifying an annotation task rubric for an image instance segmentation annotation task. To highlight the process, we are going to annotate a dataset that contains images of cars and coffee. This tutorial also quickly explores how you can download the fully annotated dataset supported in H2O Hydrogen Torch.
Step 1: Explore dataset
We are going to use the preloaded car-or-coffee-demo demo dataset for this tutorial. The dataset contains 40 images, each depicting a car or coffee. Let's quickly explore the dataset.
- On the H2O Label Genie navigation menu, click Datasets.
- In the datasets table, click car-or-coffee-demo.

Step 2: Create an annotation task
Now that we have seen the dataset, let's create an annotation task that enables you to annotate the dataset. An annotation task refers to the process of labeling data. For this tutorial, an image instance segmentation annotation task refers to:
- Specify one or more object classes (labels) for each input image
- Draw a polygon mask for each instance of the object class on the image
Let's create an annotation task.
- Click New annotation task.
- In the Task name box, enter
tutorial-4b. - In the Task description box, enter
Annotate a dataset containing images of cars and coffee. - In the Select task list, select Instance segmentation.
- Click Create task.
Step 3: Specify annotation task rubric
Before we can start annotating our dataset, we need to specify an annotation task rubric. An annotation task rubric refers to the labels (for example, object classes) you want to use when annotating your dataset. For our dataset, there are two labels (object classes) we want to specify, car and coffee. Let's define the annotation task rubric.
- In the New object name box, enter
Car. - Click Add.
- Click Add object class.
- In the New object name box, enter
Coffee. - Click Add.
- For the Coffee object color, choose an option (different from the one preselected for the Car object).
- Click Continue to annotate.

Step 4: Annotate dataset
Now that we have specified the annotation task rubric, let's annotate the dataset (the first image).
-
A zero-shot learning model is on by default for an image instance segmentation annotation task. The model accelerates the annotation (labeling) process by capturing with a polygon where in an image one of the specified object classes is located. In particular, the zero-shot model selects the fitting label while indicating where you can observe the label object in the image. In this case, "fitting" refers to the zero-shot learning model's calculations.
You can immediately start annotating in the annotate tab or wait until the zero-shot model is ready to provide annotation suggestions. H2O Label Genie notifies you to Refresh the instance when zero-shot predictions (suggestions) are available.
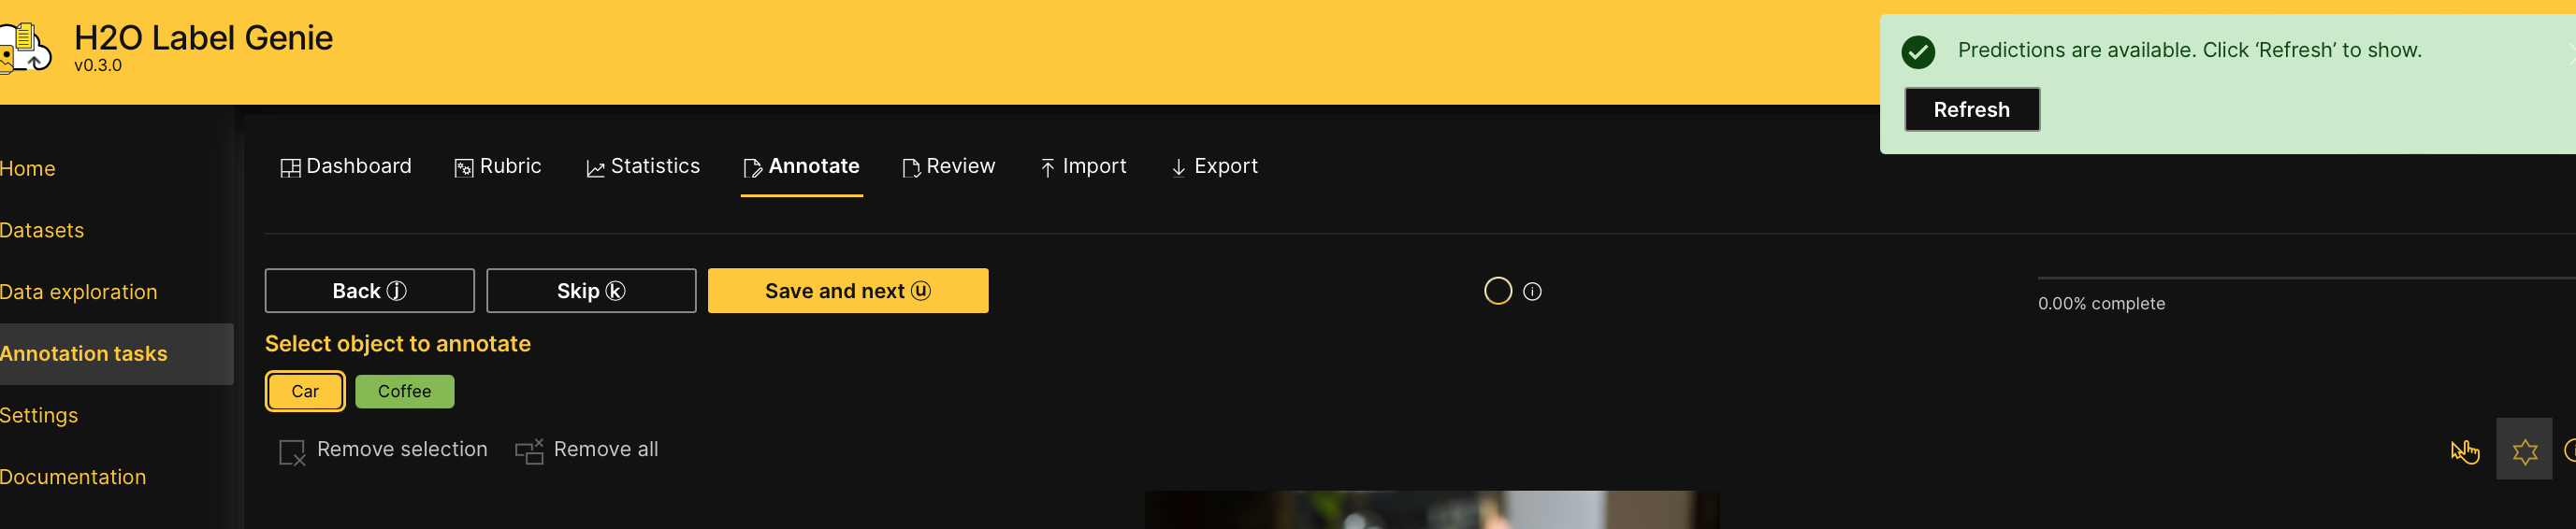
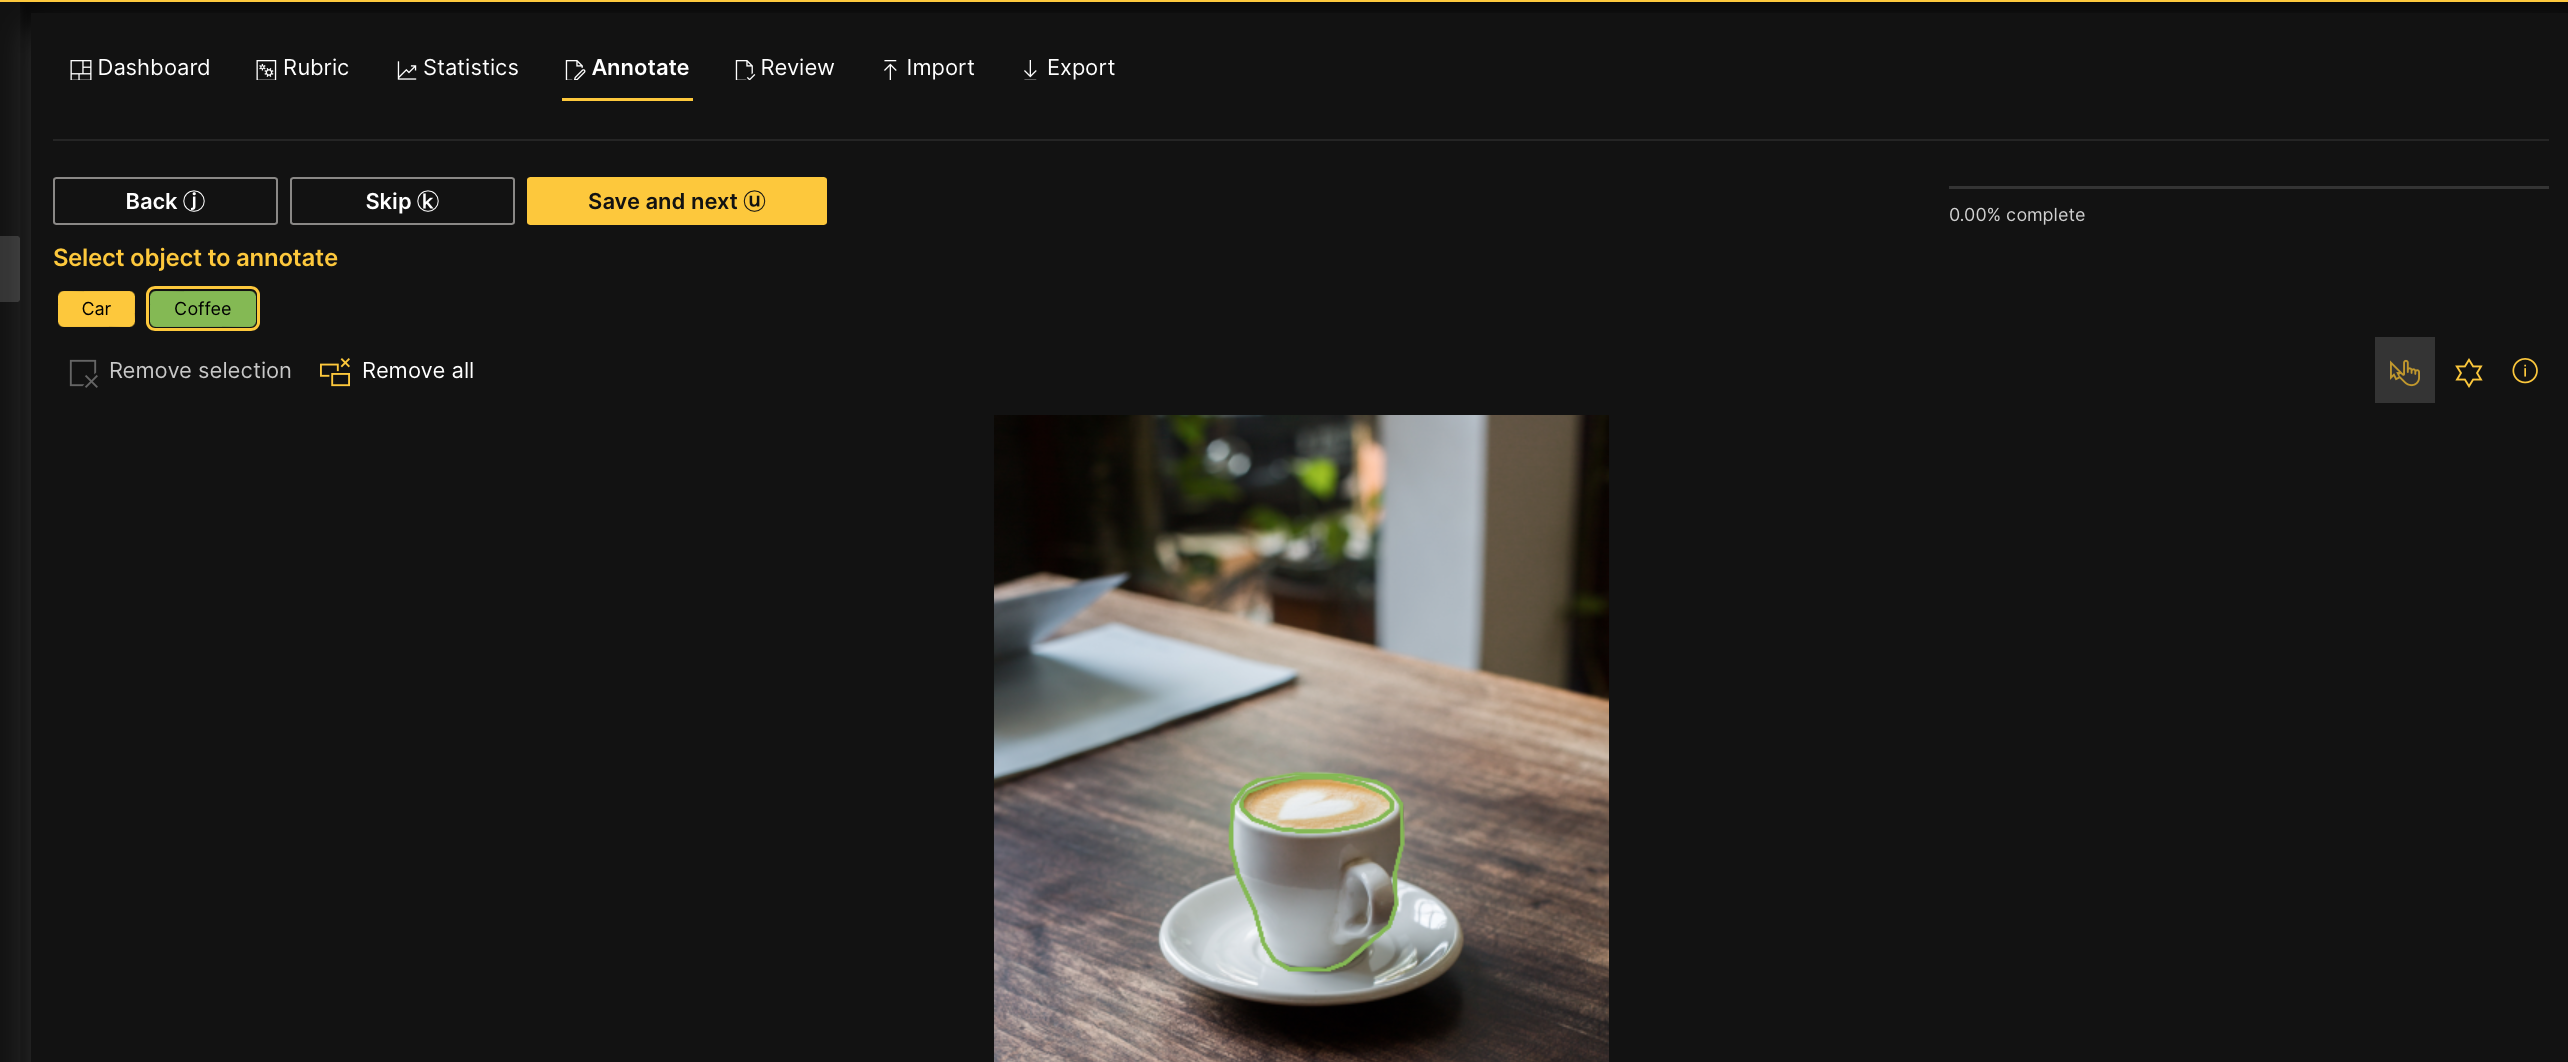
For example, in this tutorial, after refreshing the instance, the model selected the Coffee label while indicating where the coffee is in the image (with a polygon).
 note
note- To learn about the utilized model for an image instance segmentation annotation task, see Zero-shot learning models: Image instance segmentation.
- During the annotation process of an image instance segmentation dataset, you can download generated zero-shot predictions in the Export tab. To download all generated zero-shot predictions, consider the following instructions:
caution
- If the Enable zero-shot predictions setting is turned Off, the zero-shot learning model utilized for an image instance segmentation annotation task is not available during the annotation process while preventing the generation of zero-shot predictions. To turn On the Enable zero-shot predictions setting, see Enable zero-shot predictions.
- The time it takes H2O Label Genie to generate zero-shot predictions depends on the computational resources of the instance.
- Click the Export tab.
- In the Export zero-shot predictions list, select Download ZIP. :::
If the zero-shot learning model did not accurately capture an object on the image with a polygon shape, left-click inside the polygon. Left-clicking inside the polygon shape enables you to move and reshape the polygon to accurately cover the area the coffee (object) takes on the image.
-
Click Save and next.
Note- Save and next saves the annotated image
- To skip an image to annotate later: Click Skip.
- Skipped images (samples) reappear after all non-skipped images are annotate
- To download all annotated samples so far, consider the following instructions:
- Click the Export tab.
- In the Export approved samples list, select Download ZIP.
noteH2O Label Genie downloads a zip file containing the annotated dataset in a format that is supported in H2O Hydrogen Torch. To learn more, see Downloaded dataset formats: Image instance segmentation.
Download annotated dataset
After annotating all the images, you can download the dataset in a format that H2O Hydrogen Torch supports. Let's download the annotated dataset.
- In the Annotate tab, click Export approved samples.
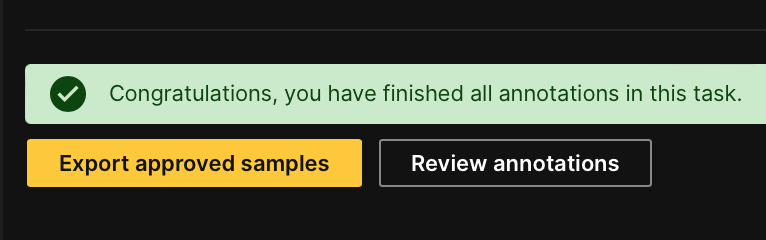
- In the Export approved samples list, select Download ZIP.
Summary
In this tutorial, we learned the process of annotating and specifying an annotation task rubric for an image instance segmentation annotation task. We also learned how to download a fully annotated dataset supported in H2O Hydrogen Torch.
Next
To learn the process of annotating and specifying an annotation task rubric for other various annotation tasks in computer vision (CV), natural language processing (NLP), and audio, see Tutorials.
- Submit and view feedback for this page
- Send feedback about H2O Label Genie to cloud-feedback@h2o.ai