Tutorial 5A: Text-generative AI annotation task
Overview
This tutorial describes the process of creating a text-generative AI annotation task, including specifying an annotation task rubric for it. To highlight the process, we will utilize the Amazon reviews dataset that contains user reviews (in text format) and ratings (from 0 to 5) of Amazon products. In particular, we will utilize an H2O.ai zero-shot learning model (large language model (LLM)) to summarize the product reviews.
Step 1: Explore dataset
We are going to use the preloaded Amazon reviews demo dataset for this tutorial. The dataset contains 180 samples (text), each containing a review of an Amazon product. Let's quickly explore the dataset.
- On the H2O Label Genie navigation menu, click Datasets.
- In the Datasets table, click amazon-reviews-demo.
Step 2: Create an annotation task
Now that we understand the dataset, let's create an annotation task that enables you to annotate the dataset. For this tutorial, the annotation task refers to a text-generative AI annotation task capable of generating text in response to prompts (text inputs).
- Click New annotation task.
- In the Task name box, enter
tutorial-5a. - In the Task description box, enter
Annotate a dataset containing reviews from Amazon products. - In the Select task list, select Generative AI.
- In the Select text column box, select comment.
- Click Create task.
Step 3: Specify an annotation task rubric
Before annotating our dataset, we need to specify an annotation task rubric. Generally, an annotation task rubric refers to the labels (for example, object classes) you want to use when annotating your dataset. In the case of a text-generative AI annotation task, the rubric specifies the following:
- (A) A zero-shot learning model (large language model (LLM)) and its parameters
- (B) A prompt template (that is the input for the LLM)
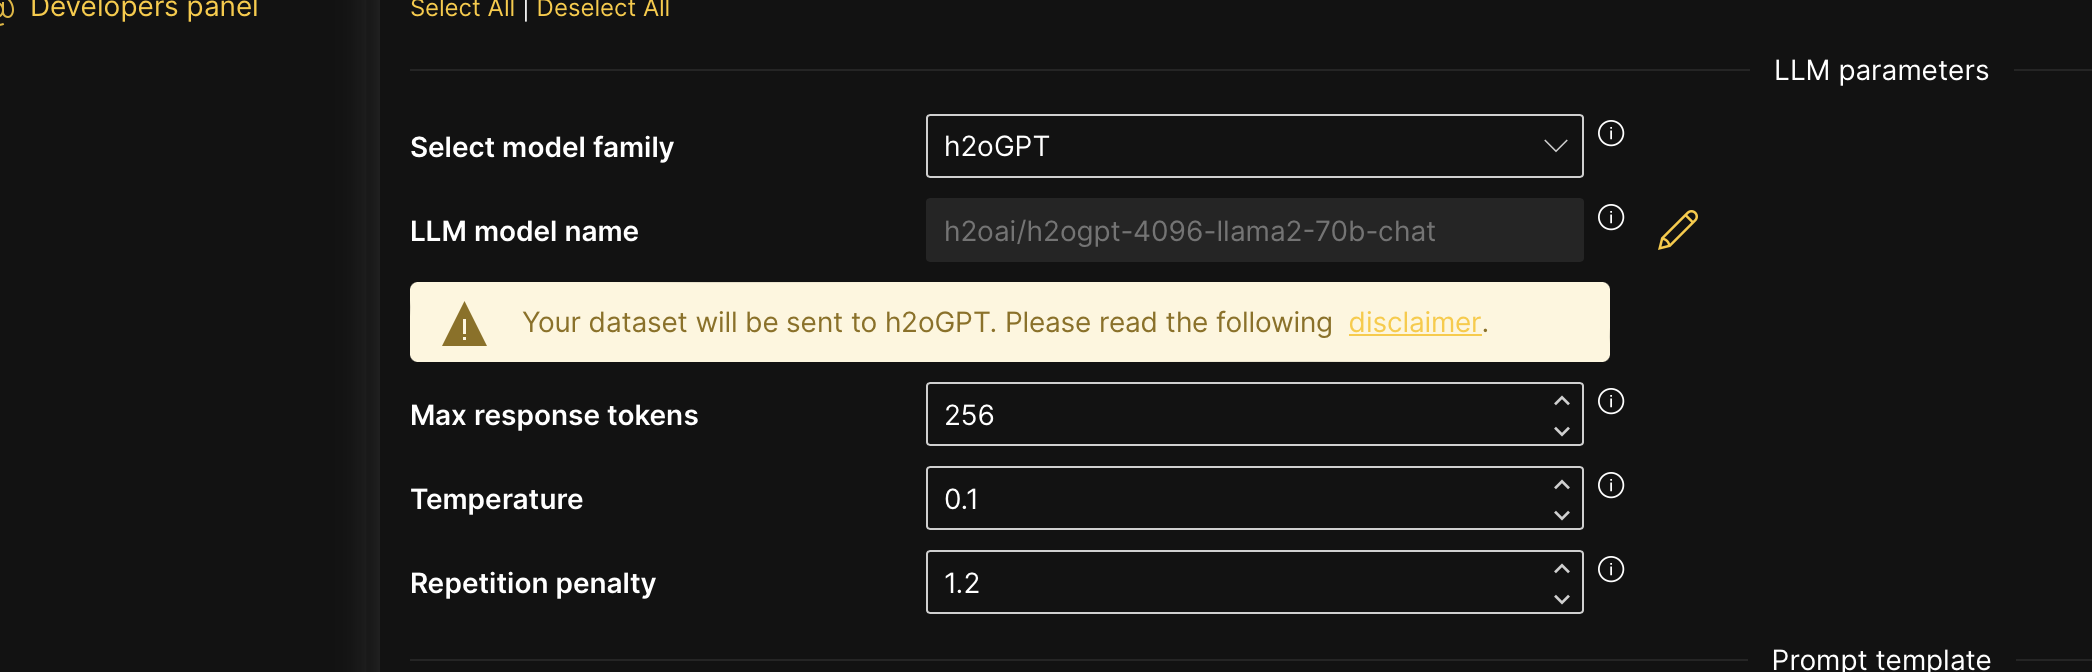
A: Let's begin by defining a zero-shot learning model (large language model (LLM)) and its parameters.
- In the Select API endpoint type list, select h2oGPT.
- The Select API endpoint type setting defines the zero-shot learning model family to utilize in the annotation task
- After selecting a model family, H2O Label Genie, by default, selects an h2oGPT zero-shot model for the task. For purposes of this tutorial, let's utilize the default selected model (in the LLM model name setting). To learn more, see Zero-shot learning models: Text-generative AI.
- For purposes of this tutorial, let's utilize the default values for the other LLM parameters. To learn more about each parameter, see Large language model (LLM) parameters.
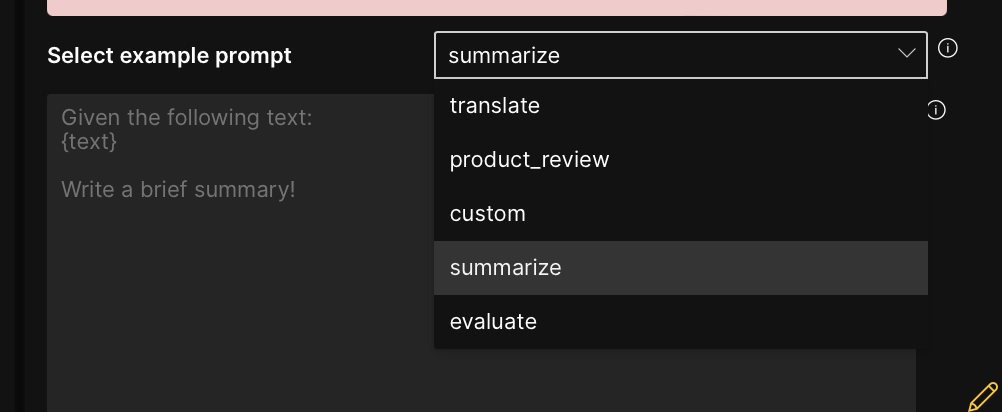
B: Now, let's define the prompt the zero-shot learning model will receive as inputs.
- In the Select example prompt list, select summarize.
 note
noteFor purposes of this tutorial, we selected the summarize prompt (to submit as inputs to the LLM), but note that there are several other options, including the option to create your own custom prompt. To learn more, see Select example prompt.
- Click Edit.
- In the Prompt for large language model write box, modified the text as follows:
Given the following text:
{comment}
Write a brief summary!note- The
{comment}placeholder refers to one of the reviews in the dataset. To summarize a review, H2O Label Genie places a review in the placeholder, which the LLM utilizes to summarize - The
{comment}placeholder refers to the column name containing the Amazon product reviews
- The
- Click Save.
- Click Continue to annotate.
Step 4: Annotate dataset
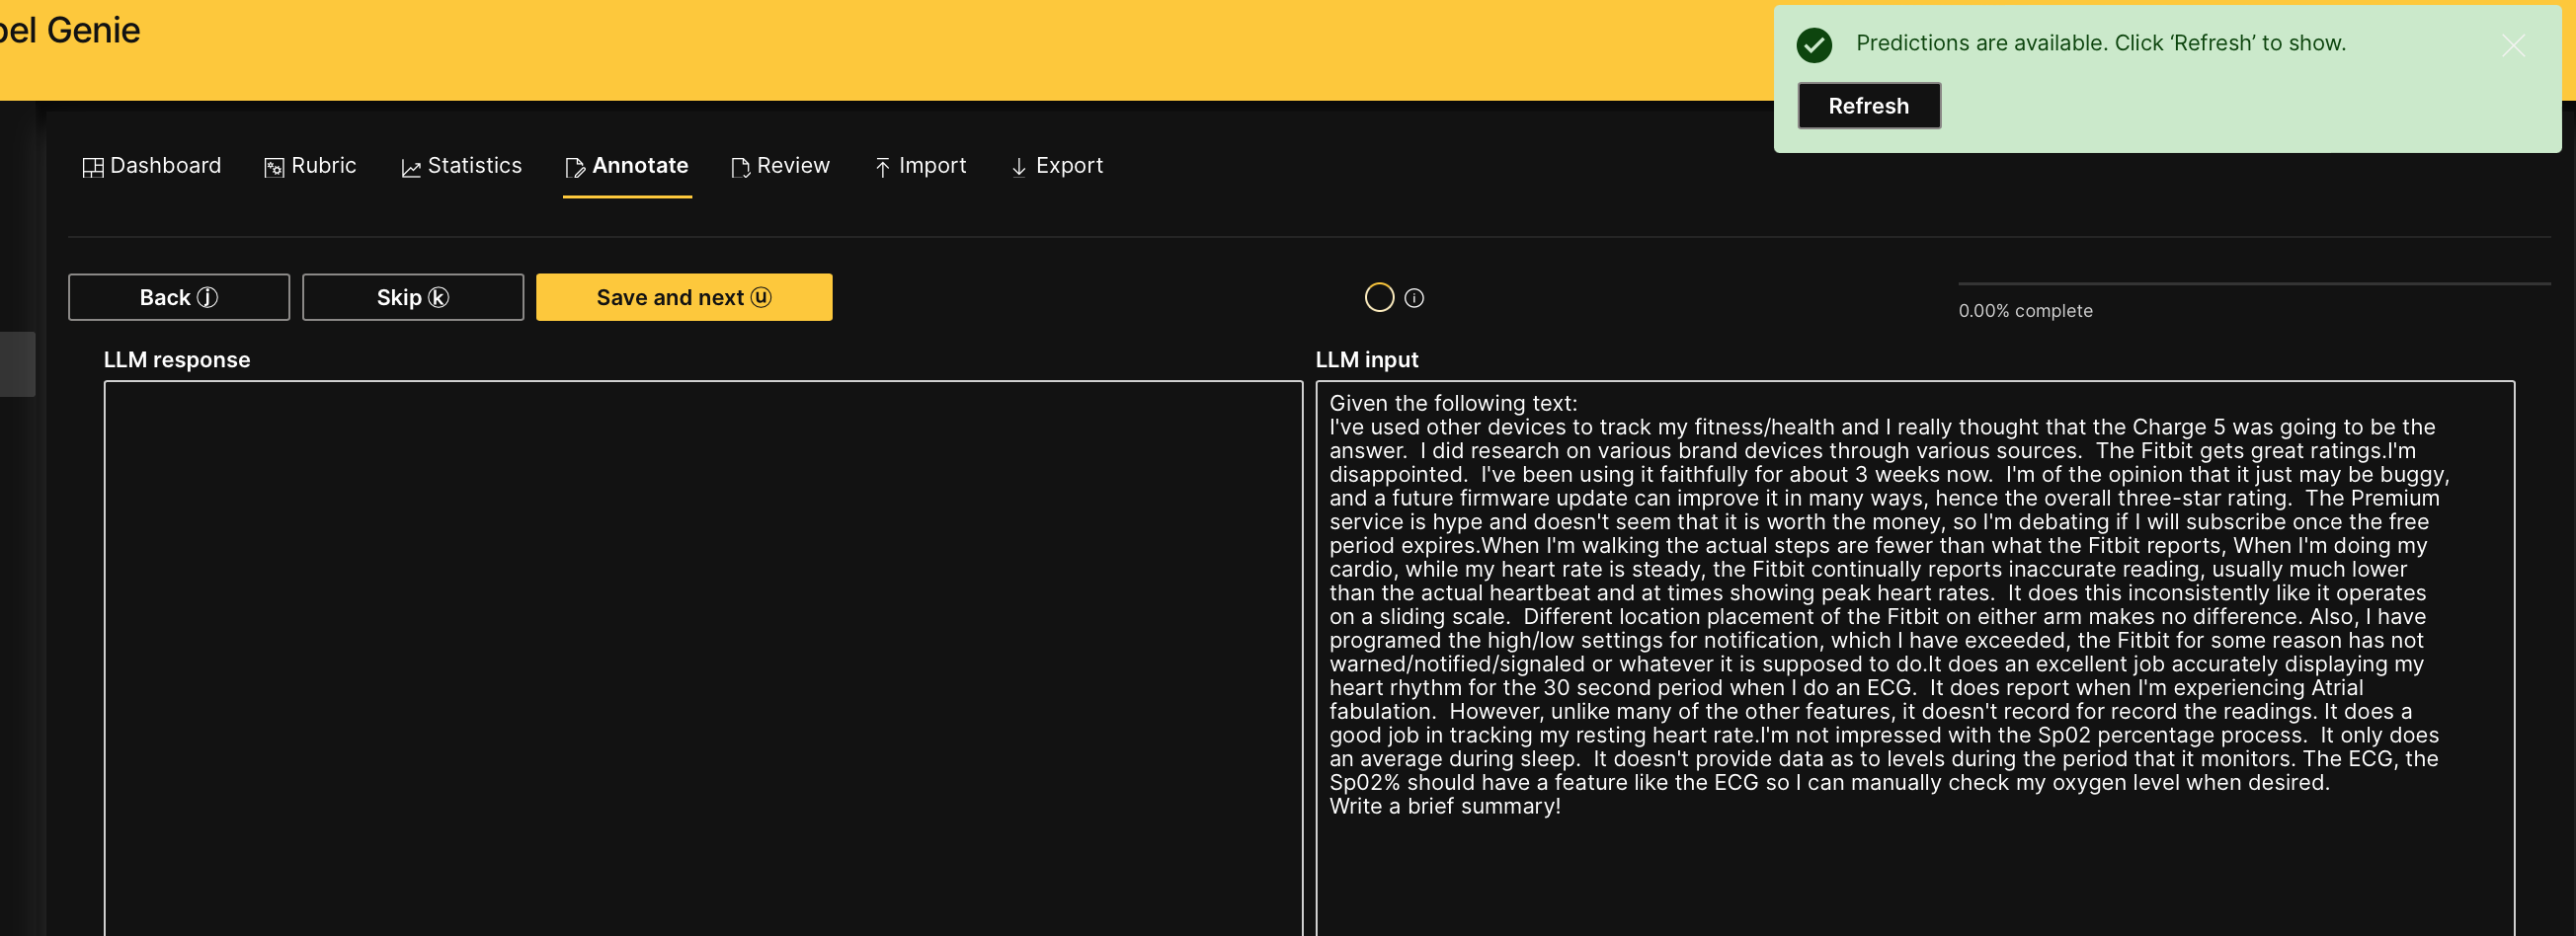
In the Annotate tab, you can individually annotate each review (text) in the dataset. After proceeding with the annotation task:
- H2O Label Genie sends each review (prompt) to the zero-shot learning model to summarize, right after
- H2O Label Genie notifies you to Refresh the instance when the responses (summaries) become available
- Click Refresh.
- (Optional) If you want to edit a review's response, in the LLM response write box, click .
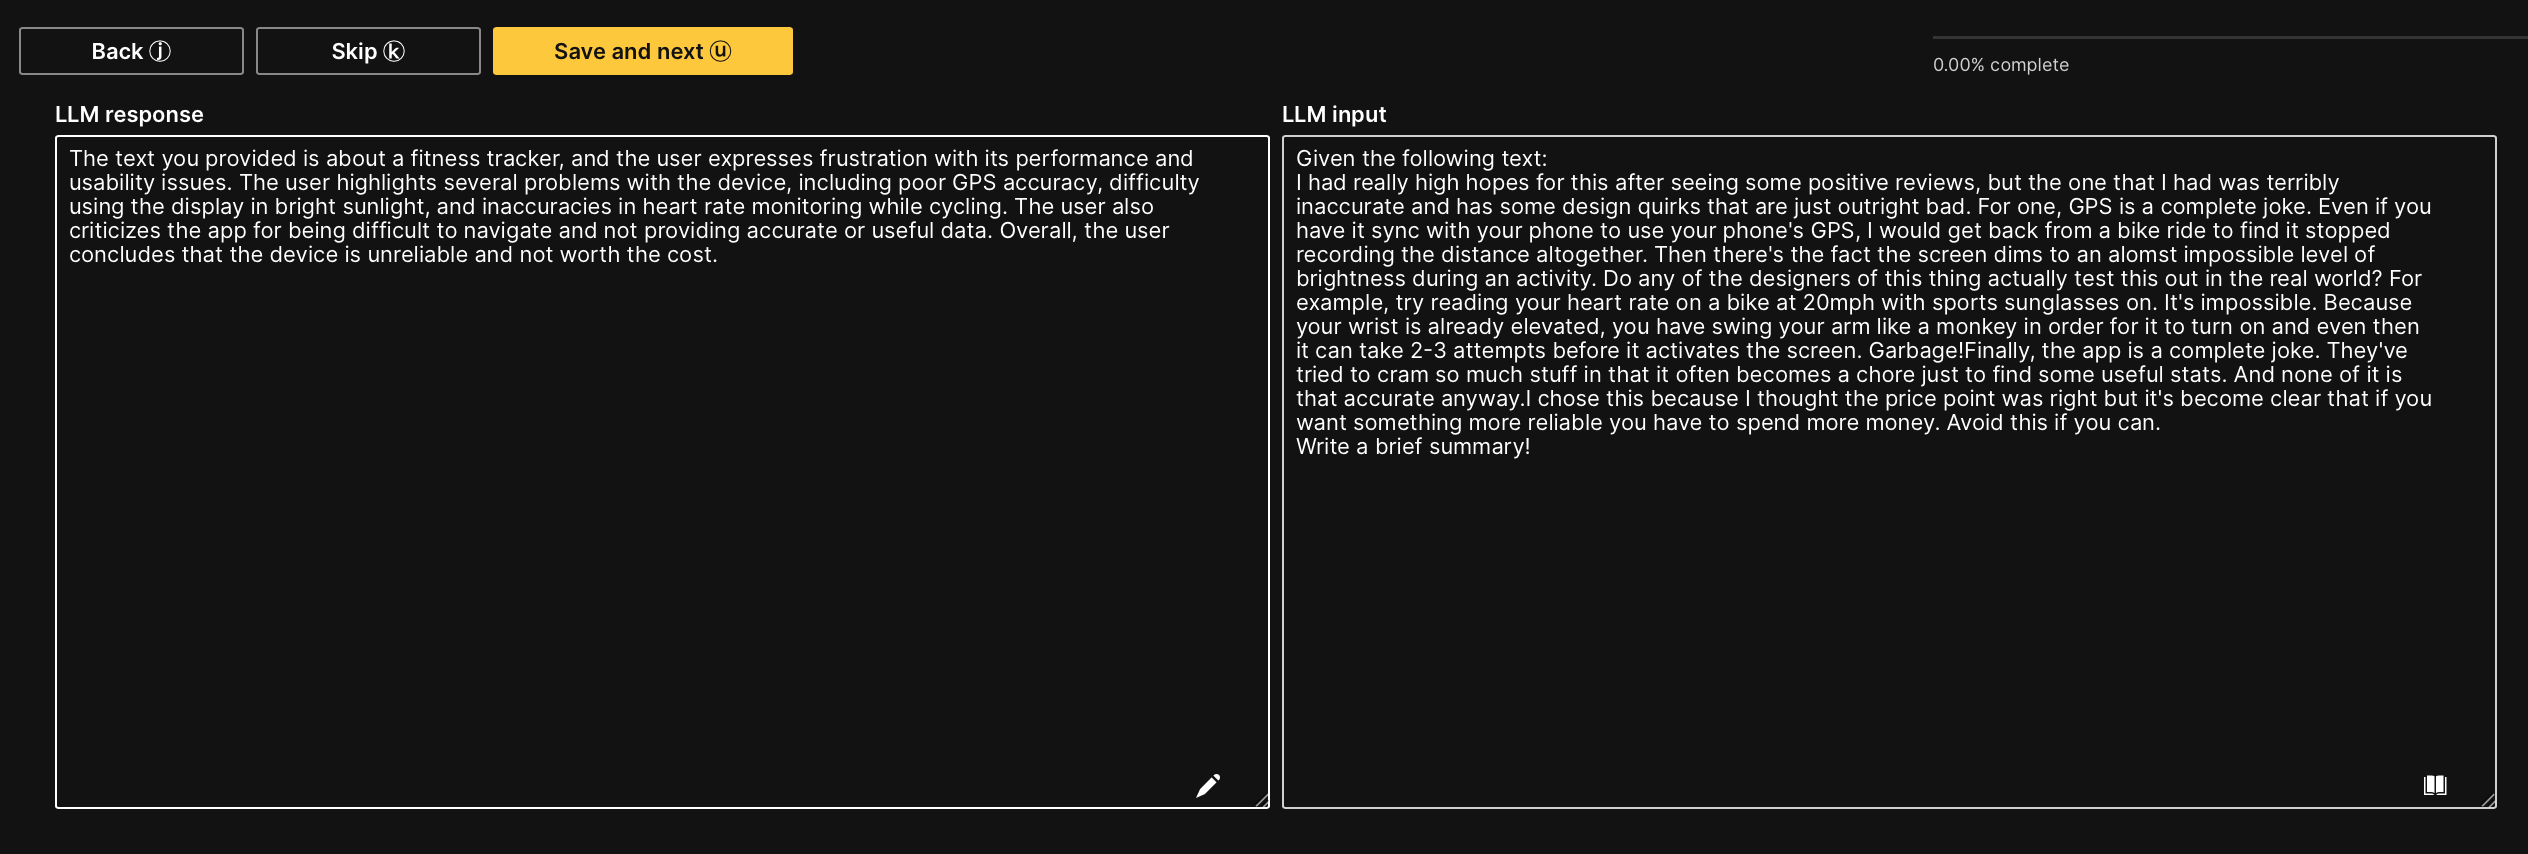
- Click Save and next.
note
- Save and next saves the annotated (summarized) text (approves it)
- To skip a text to annotate later: Click Skip
- Skipped summaries reappear after all non-skipped summaries are annotated
- Annotate all dataset samples.
note
At any point in an annotation task, you can download the already annotated (approved) samples. You do not need to fully annotate an imported dataset to download already annotated samples. To learn more, see Download an annotated dataset.
Summary
In this tutorial, we learned how to annotate and specify an annotation task rubric for a text-generative AI annotation task.
Next
To learn the process of annotating and specifying an annotation task rubric for other various annotation tasks in computer vision (CV), natural language processing (NLP), and audio, see Tutorials.
- Submit and view feedback for this page
- Send feedback about H2O Label Genie to cloud-feedback@h2o.ai