Creating and managing a project
A Project is a set of data (documents or pages with various annotations used for training and evaluation) and models (a system that you train on the training data to make the predictions on other documents or pages not seen before).
Create a new Project
- Click the Create a new Project panel on the H2O Document AI - Publisher homepage

- Enter the name of your project
- Toggle whether to auto-purge your training artifacts
- Toggle whether to schedule the deletion of your project along with its resources
- (Optional) Add a description for your project
- Input any collaborators you want to work with on this project (if none, then leave empty)
- Upload the desired documents, images, or compressed files
- Click Create project
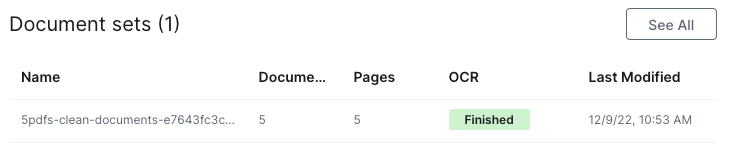
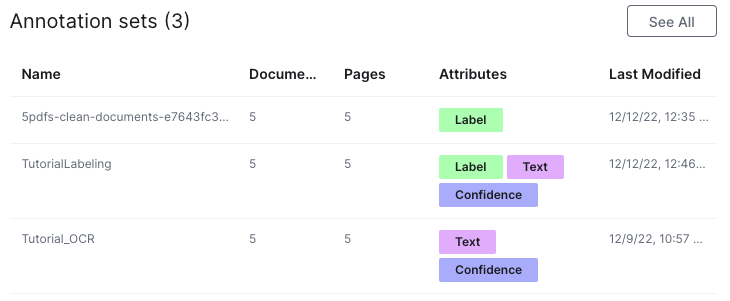
You will find your newly created project under Projects on the left navigation bar. You will also see the artifact uploaded under the Documents sets and Annotation sets sections on your Project home page.
Depending upon the size of the uploaded file, it might take some time to populate the Documents sets and Annotation sets sections with the number of documents and the number of pages. You can check the status of the upload by looking at the Status column on the Document sets, Annotation sets, or Jobs pages. A job that is running is pending or processing. A finished job is done or ready.
You can also check the status of a project by opening the background processes tab. You access this by clicking the bell icon next to your account name.
Auto-purge
Automatically purge your training artifacts. Set this option when creating or editing your project. This feature is enabled by your system administrator. The retention period is set by your system administrator, too.
Scheduled deletion
Schedule the deletion of your whole project and all of its resources. By toggling on this feature while creating or editing your project, you can set the date you want to erase your project.
Project collaboration
You can add other users (collaborators) to work on your project by providing their email addresses in the Edit Project panel in the upper navigation bar.

The project creator is the owner, and ownership cannot be transferred. Only the owner can add or remove collaborators and open the Edit Project panel. Aside from these owner-specific privileges, collaborators have the same permissions as the owner, including the ability to work with document and annotation sets and publish pipelines.
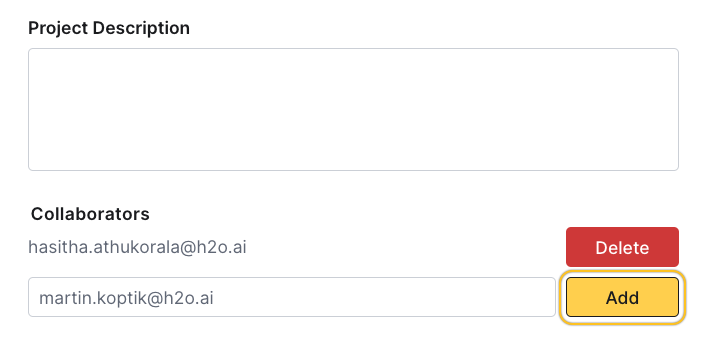
The UI manages collaborators using a picker component, and role bindings are made exclusively through email. The UI verifies that the email exists within your organization, but it does not provide autocomplete. If the email is invalid, an error response will be displayed.
Project panels
The project panels show overviews of each page. You can access each page by clicking See All on this panel or by accessing it via the left navigation bar.
Document sets
See the most recent updates and scroll through older ones. Select "See All" to access the Document sets page.
Annotation sets
See the most recent updates and scroll through older ones. Select "See All" to access the Annotation sets page.
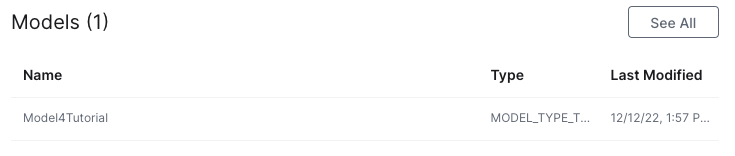
Models
See the most recent updates and scroll through older ones. Select "See All" to access the Models page.
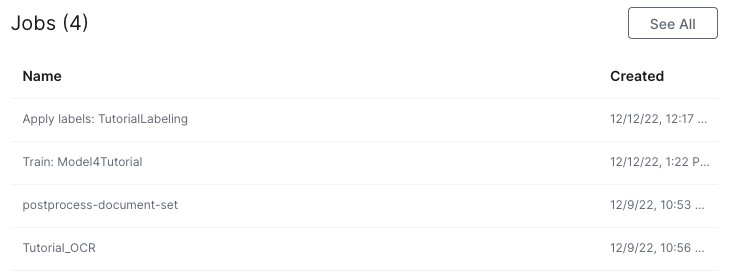
Jobs
See the most recent updates and scroll through older ones. Select "See All" to access the Jobs page.
Project jobs
Interact with your project from the upper navigation bar.
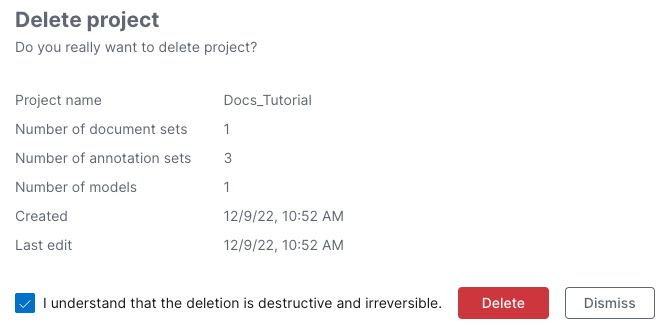
Delete project
Delete your project. You will be prompted to acknowledge that the act of deletion is destructive and irreversible.
Export Project images
Export all or selected images from your project. Exporting lets you work with annotation sets offline.
- Choose which annotation set images to export by clicking the box next to their names
- Click Export
When the job is finished running, the images will be downloaded to your local computer.
Import Post Processor
Import a custom Post Processor.
- Provide a name for your post processor
- (Optional) Provide a description of your post processor
- Drag and drop the zipped post processor directory or browse your local files
- Click Import
Import Model
Import a previously built model that you have saved to your local computer.
- Provide a name for your imported model
- (Optional) Provide a description for your model
- Drag and drop the file or browse your local files for the zipped model file
- Click Import
Import Annotation set
Import a JSON file of a previously annotated annotation set that you have saved to your local computer.
- Provide a name for the imported annotation set
- (Optional) Provide a description for your annotation set
- Drag and drop the JSON file or browse your local files for the file you want to import
- Click Import
Import Document set
This will import a set of documents.
- Provide a name for the document set
- (Optional) Provide a description for your document set
- Select if you want to copy the attributes from an available attribute set
- Upload the desired documents, images, or compressed files. You can either drag and drop the zip file or browse for it
Once the document is imported, it will appear in the Document sets page and an entry will appear in the Annotation sets page.
- Submit and view feedback for this page
- Send feedback about H2O Document AI to cloud-feedback@h2o.ai