Create and manage a workspace
This page guides you through using, creating, and managing Workspaces in H2O AI Cloud.
Switching between workspaces
Users may switch between workspaces in two ways:
- Using the "Workspace" dropdown on the top left of the navigation bar
- Using the "Manage Workspaces" interface
When a user switches to a workspace, the resources they can access are filtered by their permissions in that workspace.
Create a new workspace
Any user may create a workspace—no special permissions are required. To create a workspace:
Navigate to H2O AI Cloud and log in.
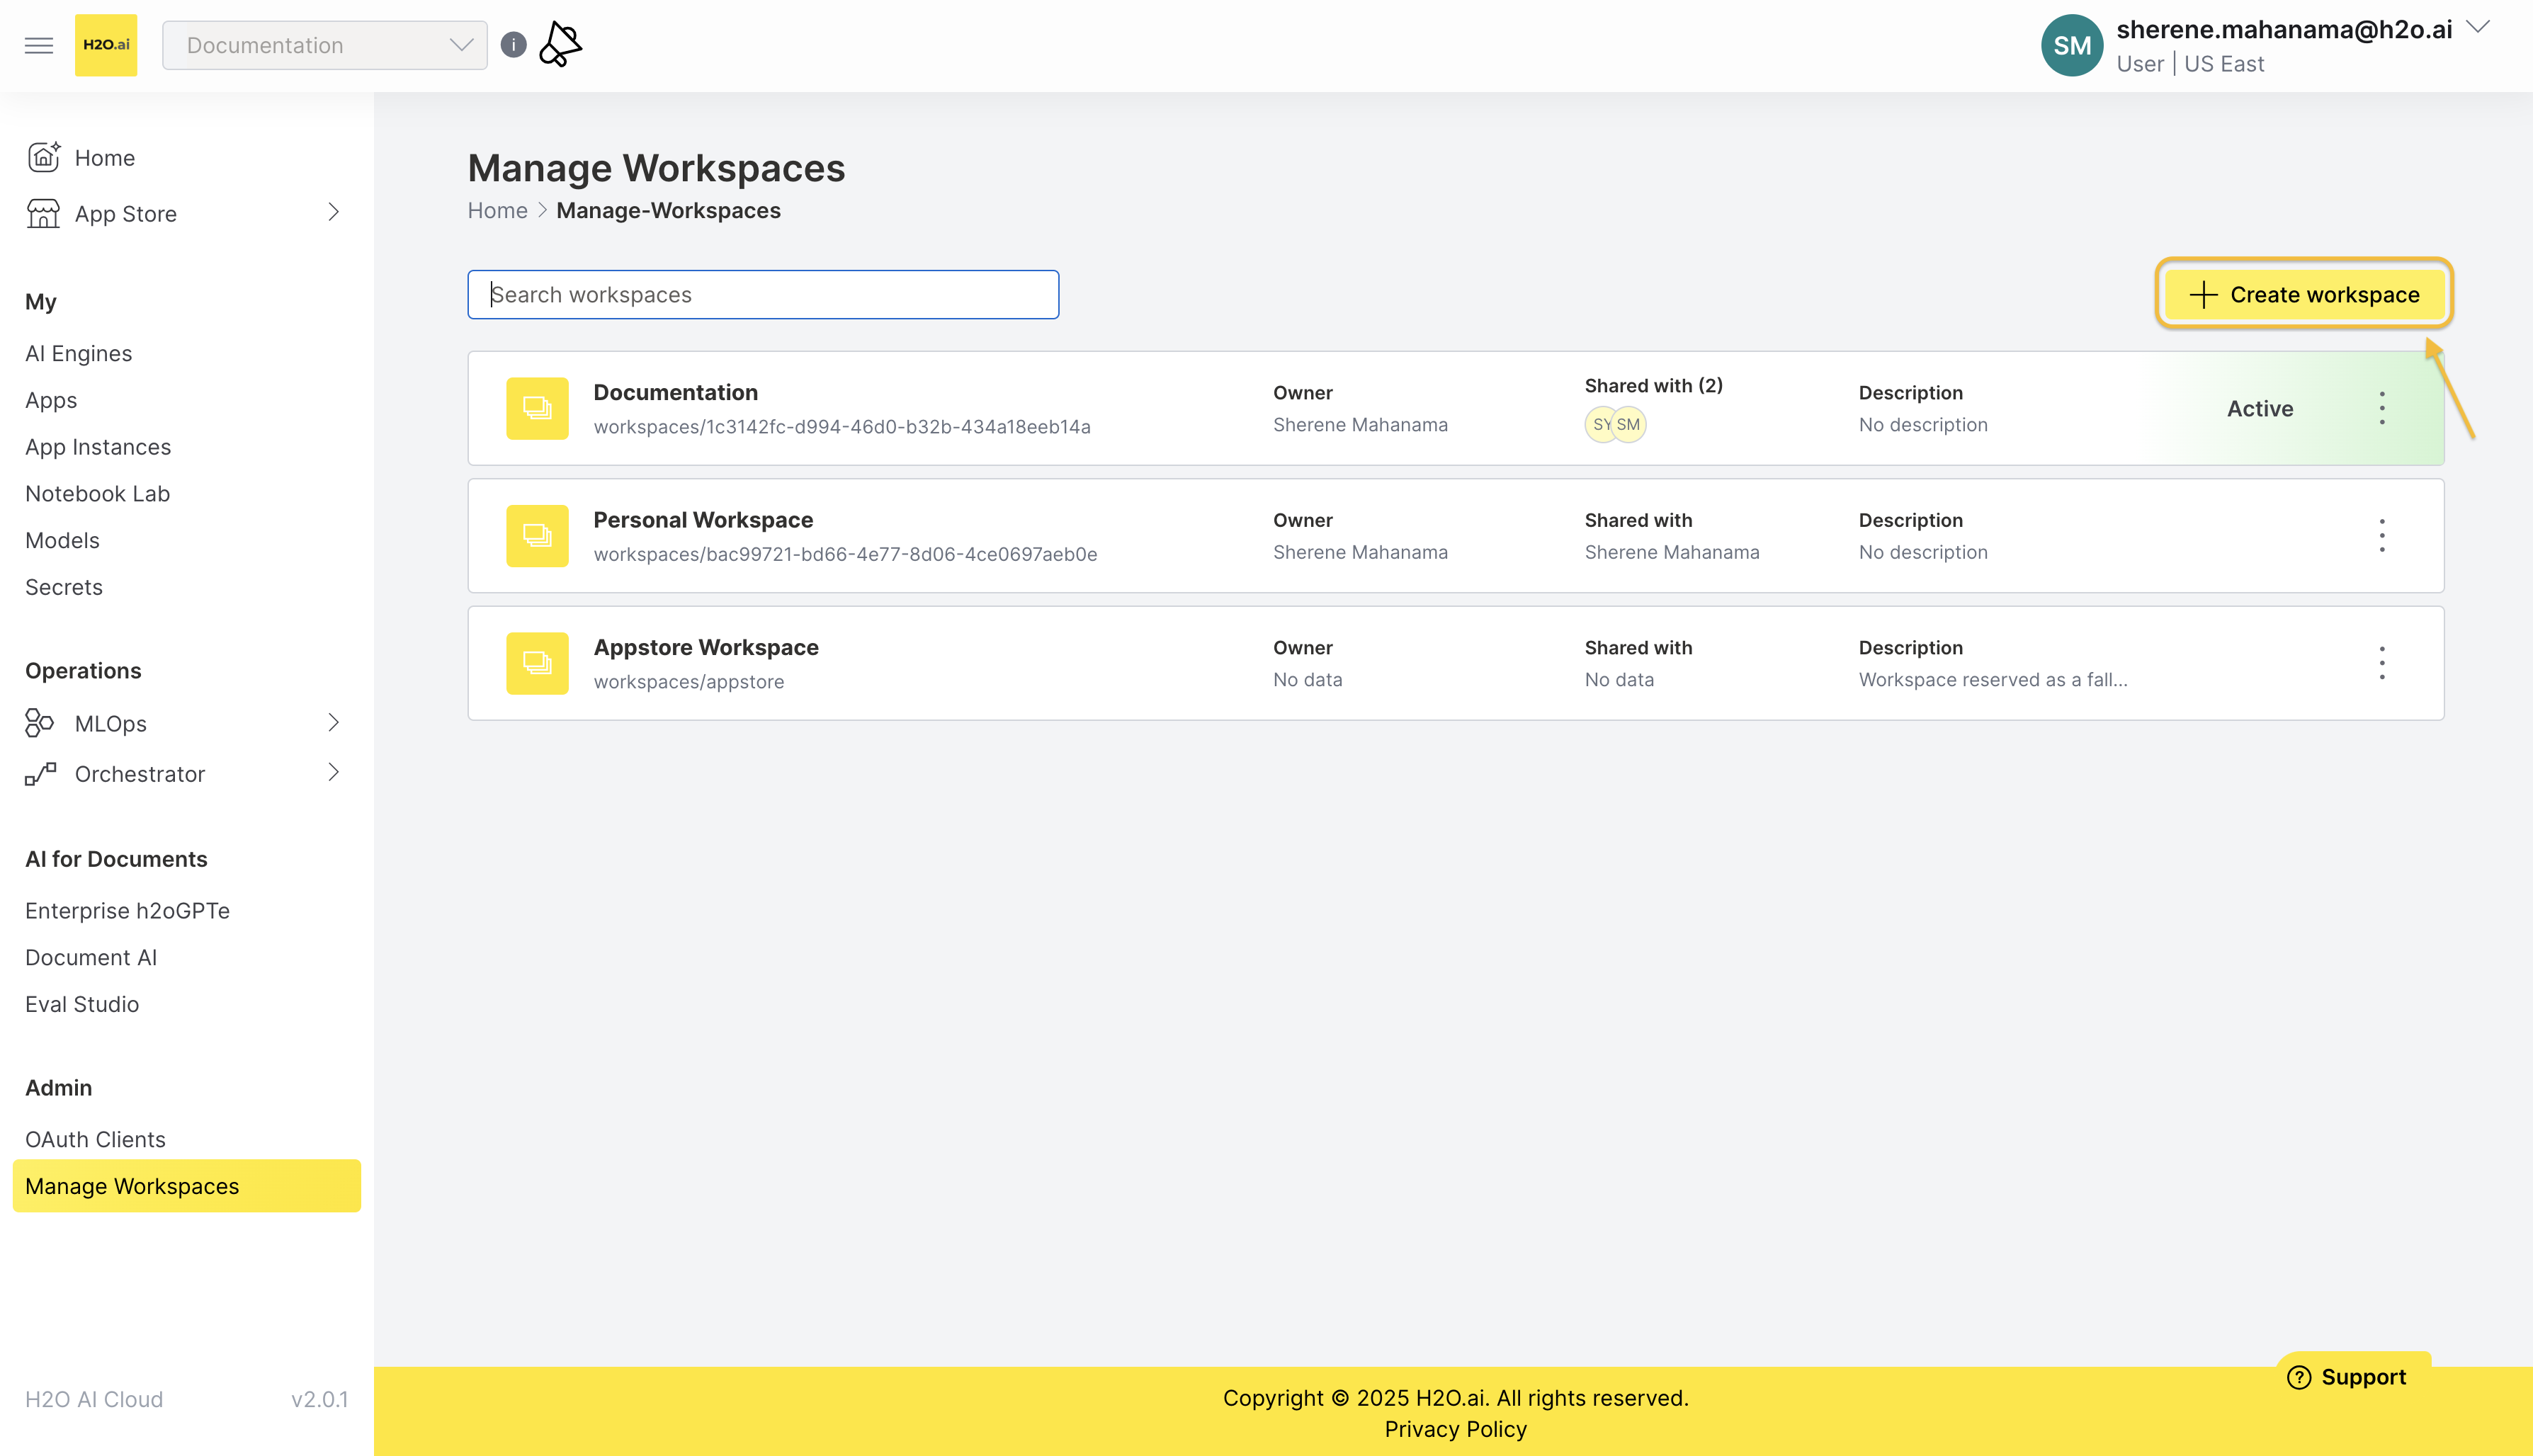
On the homepage top-left corner, you will see the workspaces dropdown. Click the dropdown and select Manage workspaces.
Click Create workspace.
Enter a workspace name and description. Admin users can also select tags in the Tags section to organize the workspace. Then select the members that you wish to give access to the workspace.
Select the relevant permissions for each member and click Add user to add that member to the workspace.
 info
infoNote that the user will only have access to carry out actions that they have been assigned permission for within the workspace, as well as actions that are permitted according to their assigned platform role.
Click Save to finish creating the workspace. The created workspace is now listed on the workspaces list.
A workspace may have multiple owners, who function as administrators for that workspace. Workspace owners can easily delete workspaces to facilitate short-lived collaboration between users.
Manage a workspace
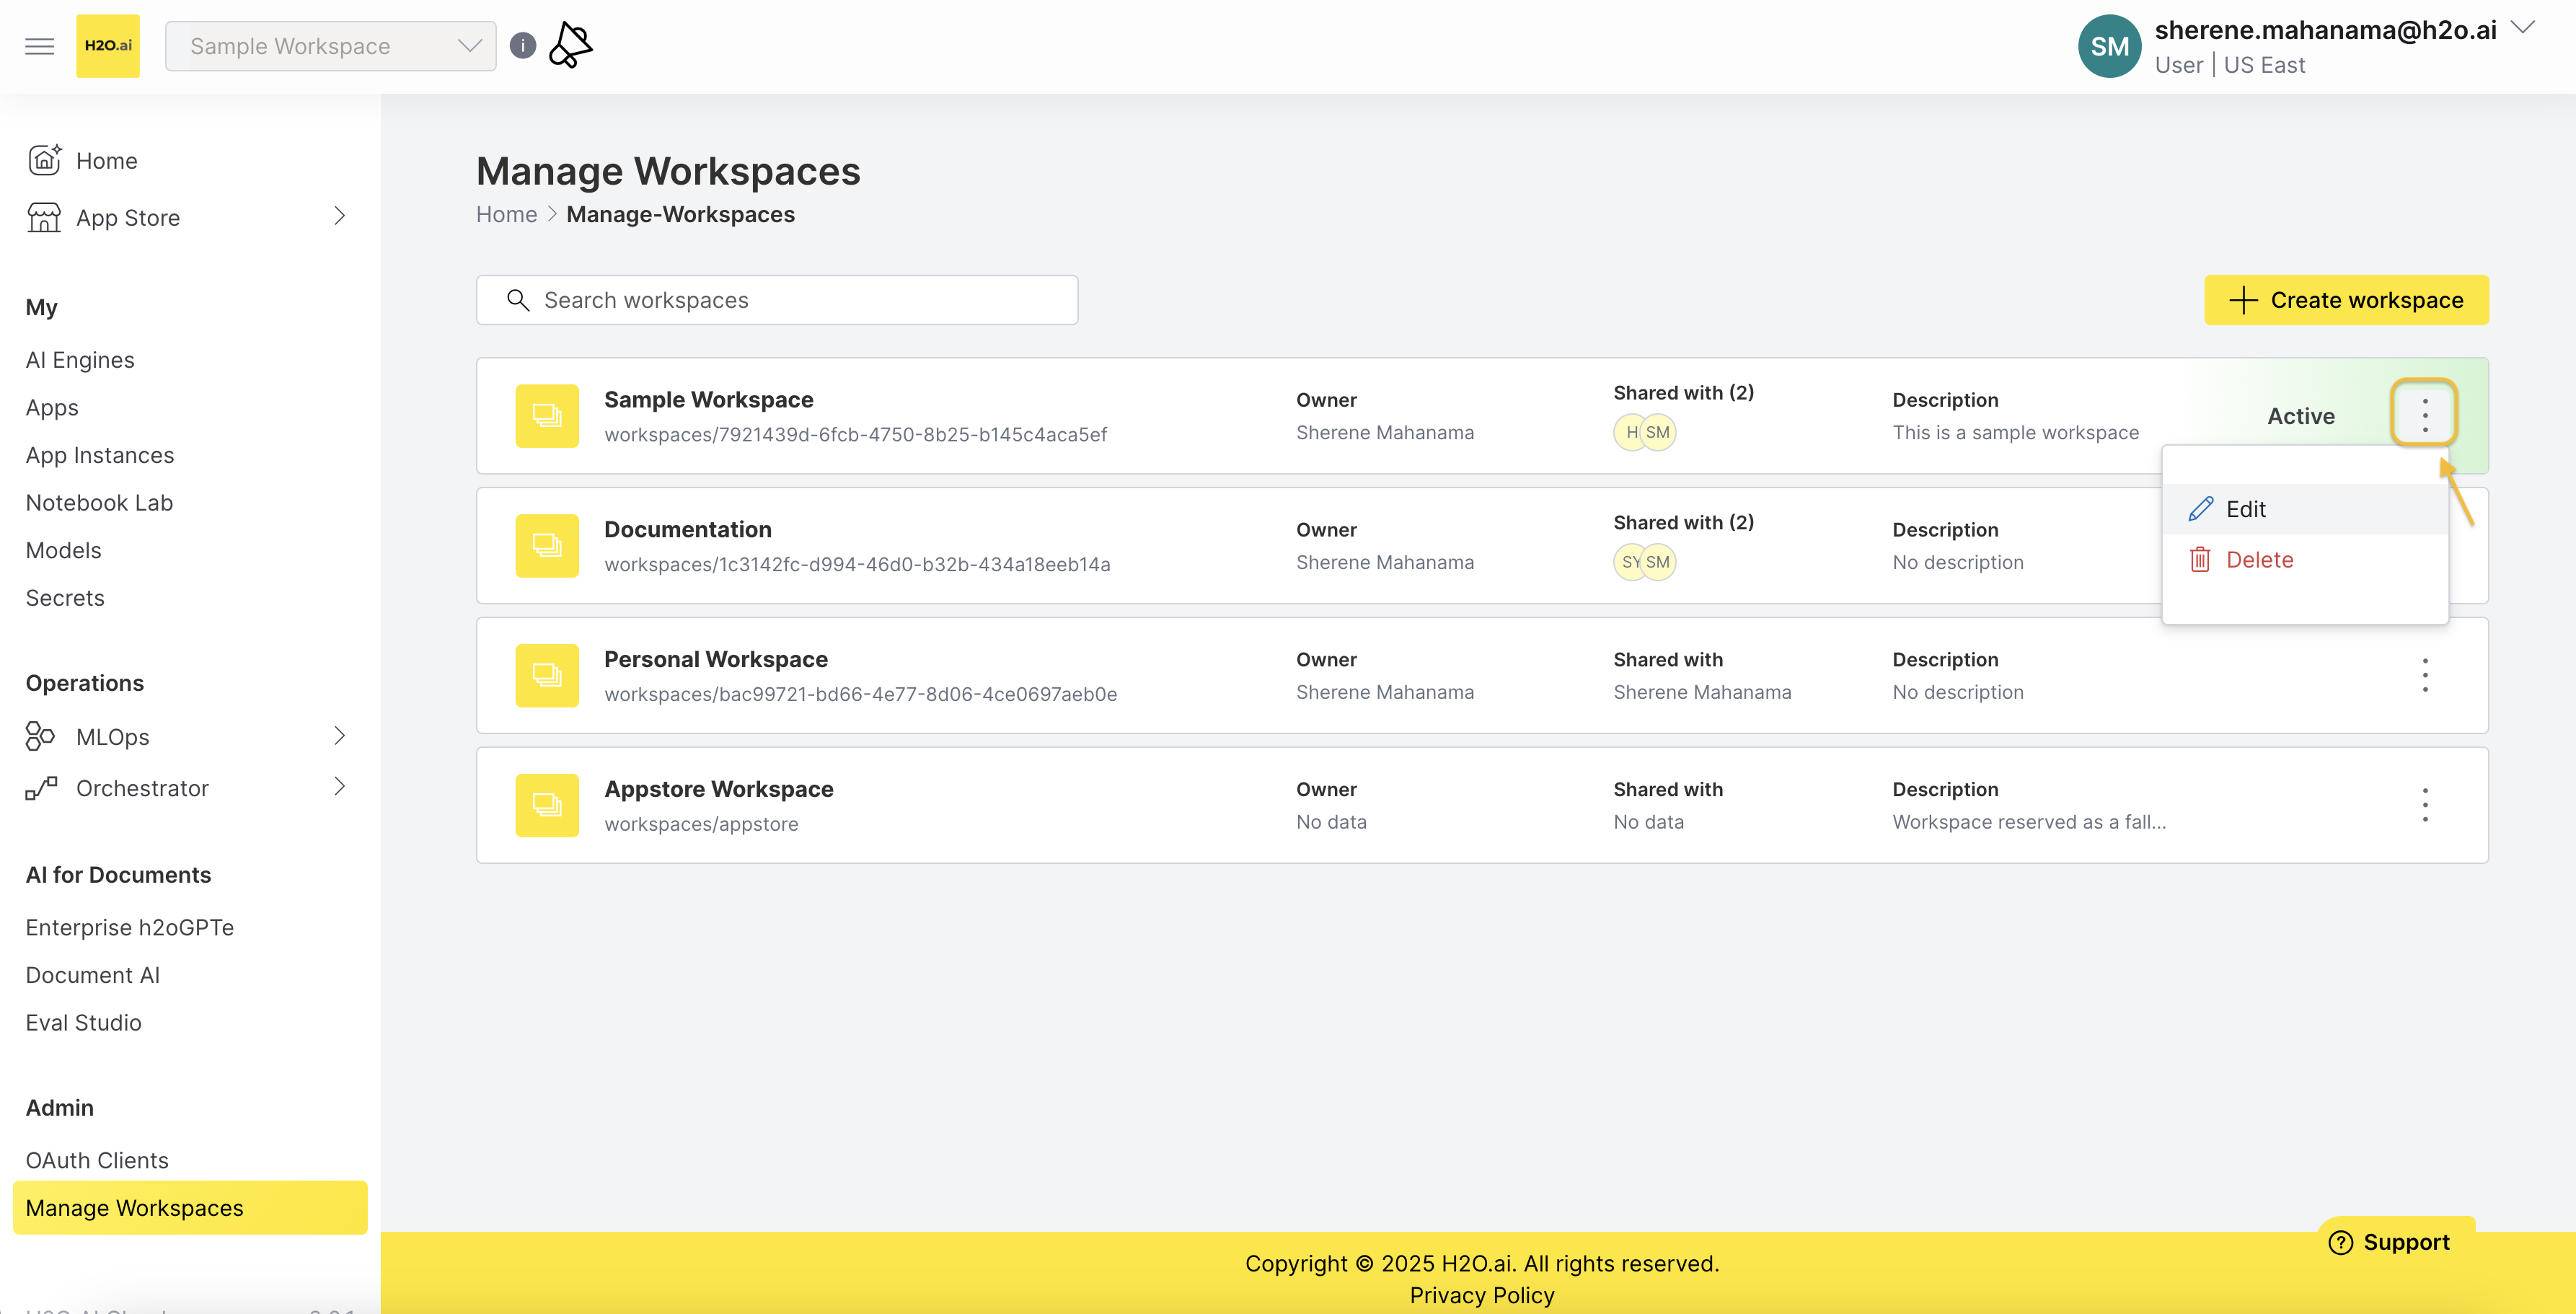
Once you have created a workspace, you can edit it by adding or removing new users, changing the user permissions, updating tags, or deleting the workspace.
To manage or edit a workspace, click the kebab menu corresponding to the relevant workspace name and click Edit.
Adding and editing workspace tags
Workspace organization with tags
Admin users can organize and manage workspaces using tags to categorize and filter workspaces, making it easier to find and manage workspaces in large deployments.
To add tags when creating a workspace:
In the Add New Workspace dialog, locate the Tags section.
Use the Select tags dropdown to choose one or more tags for the workspace.
The selected tags will be associated with the workspace when you click Save.
To modify tags for an existing workspace:
Click the kebab menu for the workspace and select Edit.
In the workspace edit dialog, locate the Tags section and modify tags using the Select tags dropdown.
Click Save to apply the changes.
Filtering workspaces
Filter the workspace list to quickly find workspaces that match specific criteria:
In the Manage workspaces interface, locate the Filters section.
In the Available Filters dropdown, select a filter type (such as Owner, Date Created, or Tags).
Use the filter input field to specify your filter criteria.
The list displays only workspaces that match the selected filter criteria.
You can combine multiple filters (for example, filter by Owner and Tags simultaneously). Use the Reset filter button to clear an individual filter or Clear filters to remove all active filters.
- Submit and view feedback for this page
- Send feedback about H2O AI Cloud | Docs to cloud-feedback@h2o.ai