Workflow
Overview
The typical H2O MLOps workflow can be summarized in the following sequential steps:
- Step 1: Select the workspace
- Step 2: Add a model
- Step 3: Deploy the model version
- Step 4: Score against the deployment
- Step 5: Monitor the deployed model
In the below sections, each step above, in turn, is summarized.
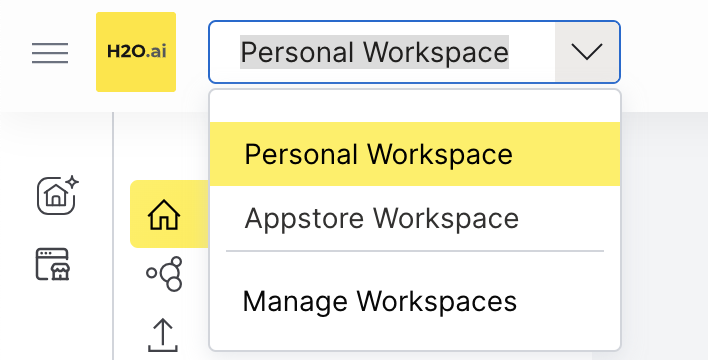
Step 1: Select the workspace
To begin, select your workspace from the workspaces drop-down in the top navigation bar.
- To learn how to create and manage a workspace, see Create and manage a workspace.
- To learn how to manage workspaces using H2O MLOps Python client, see Manage workspaces.
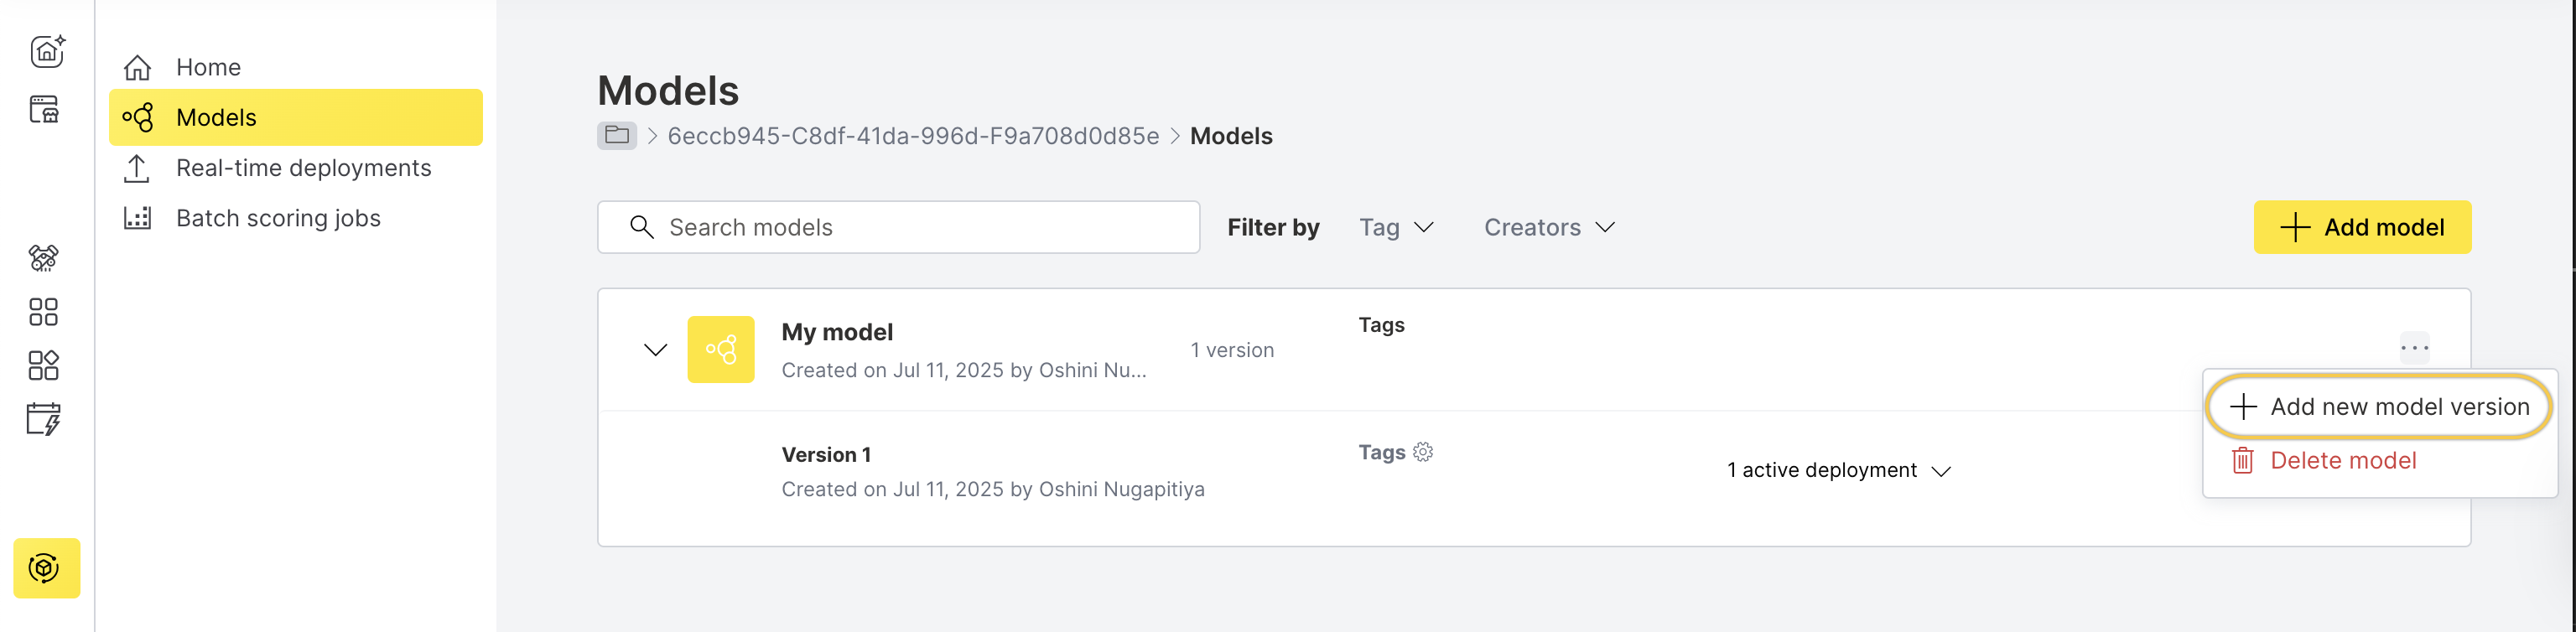
Step 2: Add a model
After selecting a workspace, go to the Models tab in H2O MLOps and add your machine learning model.
The first model you add becomes the initial version. You can add more versions later.
- To learn more about models, see Understand models.
- To learn how to add a model, see Add models.
- To learn how to view models, see View models.
- To learn how to manage models using H2O MLOps Python client, see Manage models.
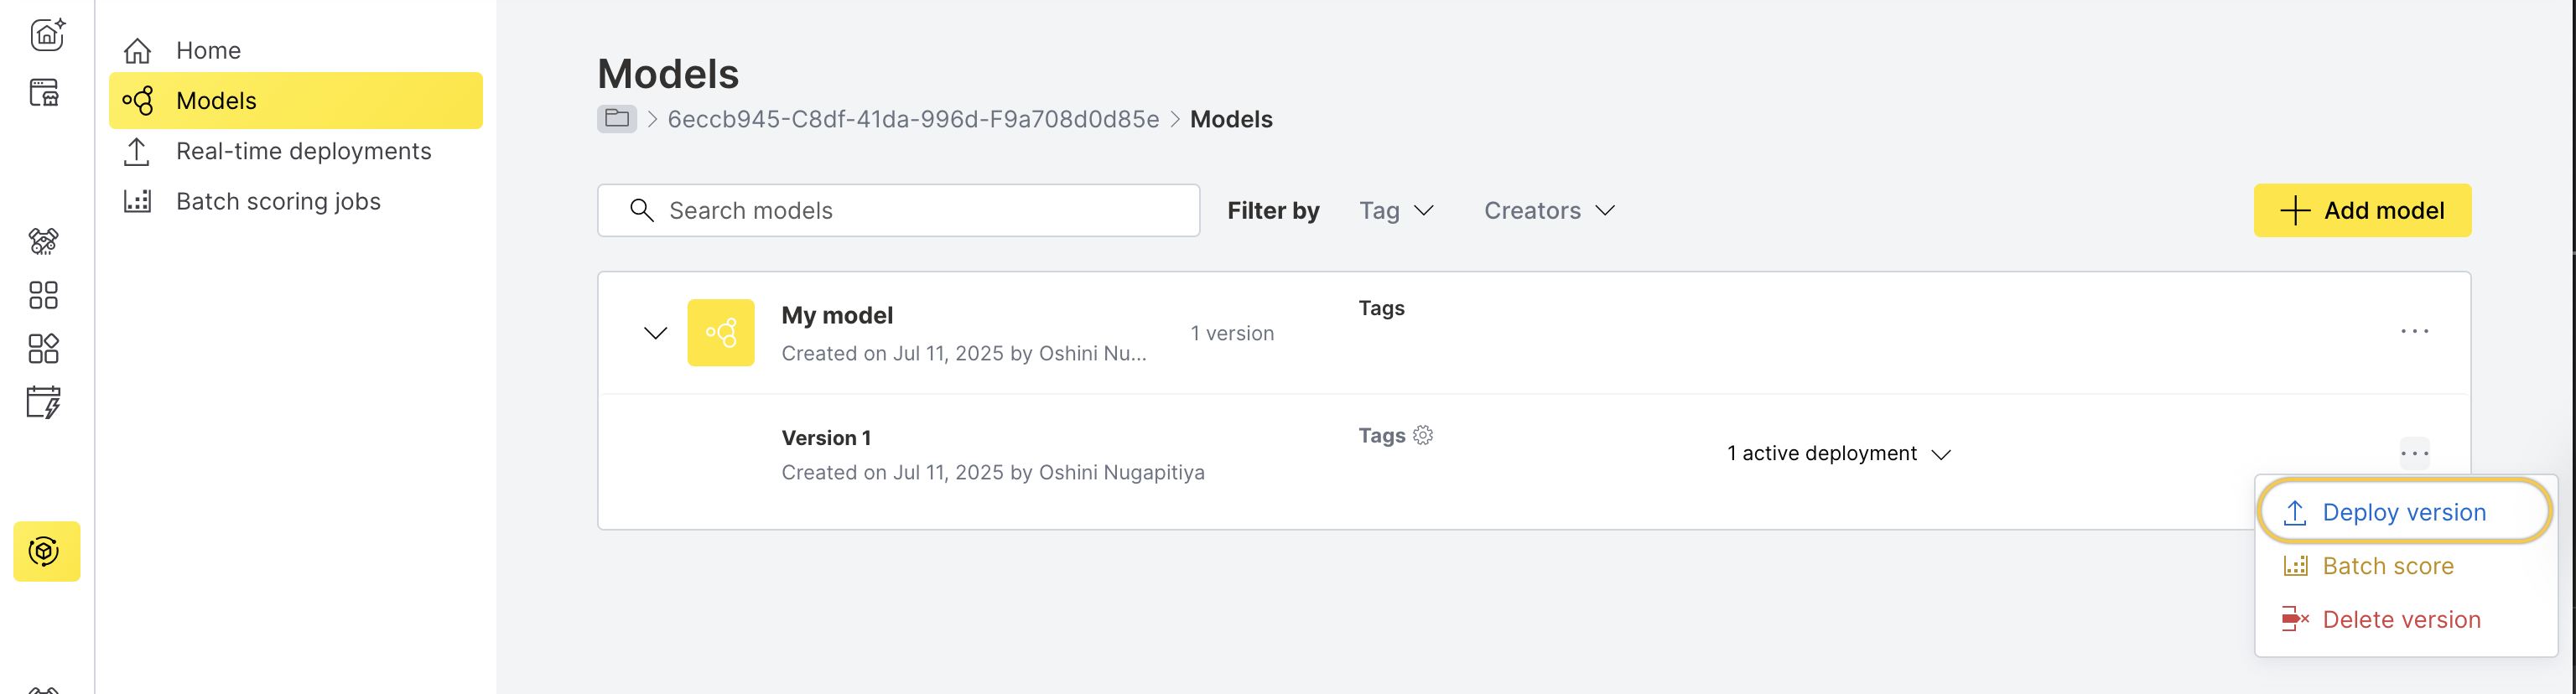
Step 3: Deploy the model version
After adding a model, create a deployment for a model version so you can score and monitor its performance.
- To learn about deployments, see Understand deployments in MLOps.
- To learn how to create a deployment, see Create a deployment.
- To learn how to view deployments, see View deployments.
- To learn how to configure a deployment using H2O MLOps Python client, see Configure deployments.
- To learn how to manage deployments using H2O MLOps Python client, see Manage deployments.
Step 4: Score against the deployment
After deploying the model, you can run quick scoring on the deployment.
- To learn more about quick scoring, see Quick scoring.
- To learn how to score against deployments using H2O MLOps Python client, see Deployment scorer.
Step 5: Monitor the deployed model
After scoring, monitor the deployed model to track its performance and detect issues such as model drift.
You must enable and configure model monitoring when you create the deployment.
- To learn more about model monitoring, see Model monitoring.
- To learn how to set up monitoring alerts, see Monitoring alerts.
- To learn how to configure monitoring for your deployment using the H2O MLOps Python client, see Monitoring setup.
- Submit and view feedback for this page
- Send feedback about H2O MLOps to cloud-feedback@h2o.ai