Account menu
Overview
The Account menu centralizes actions that are specific to you as a signed‑in user.
From here, you can check your usage and quota, adjust personal preferences, open documentation, manage connectors and API keys, access administrator tools, and sign out.
The exact options available in the account menu depend on your role and how Enterprise h2oGPTe is configured by your administrator. Some options might not appear in all environments.
Access the account menu
To open the account menu, follow these steps:
- In Enterprise h2oGPTe, click Account Circle.
- The account menu opens and lists the available options.
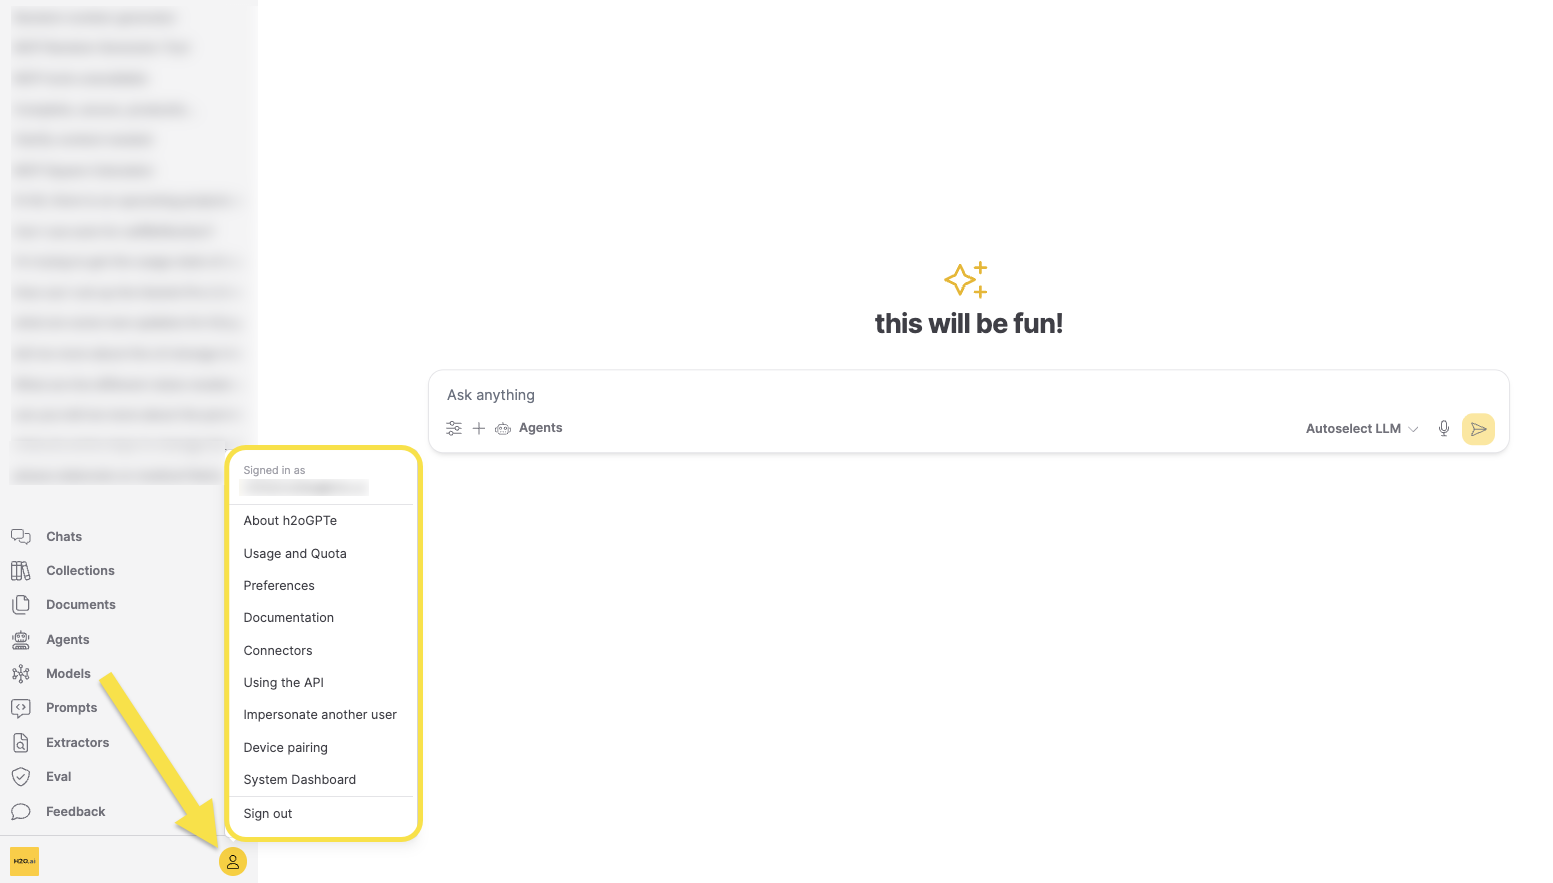
Menu options
Each option in the account menu opens a panel or page with additional information or settings. The following sections describe what opens when you click each option and how it is useful.
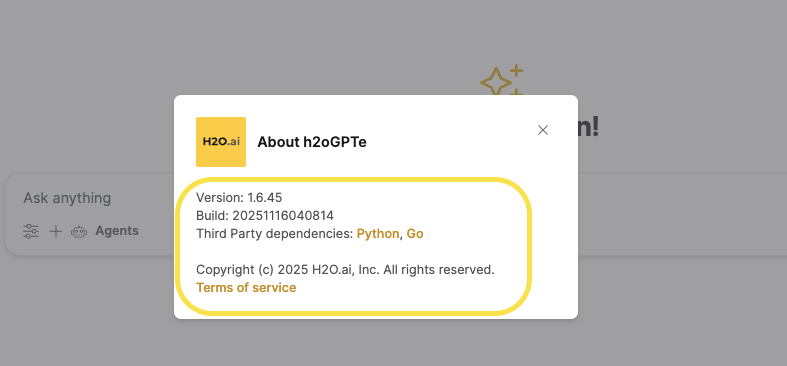
About h2oGPTe
The About h2oGPTe panel shows information about the current deployment, including:
- The version of Enterprise h2oGPTe you are using.
- The build identifier and copyright.
- Links to Terms of service and third‑party dependencies.
This panel is useful when you:
- Need to confirm the exact version for troubleshooting or when reporting an issue.
- Want to verify licensing or third‑party components.
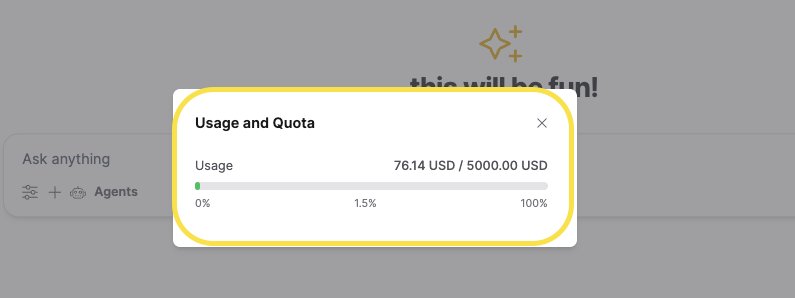
Usage and Quota
The Usage and Quota view summarizes how much of your allocated usage you have consumed. You can see your current usage, total quota, and whether you are approaching or have exceeded your limit.
Typical uses:
- Monitor how close you are to your usage limits.
- Understand whether a recent spike in activity is due to your own usage.
- Troubleshoot why new requests may be throttled or rejected.
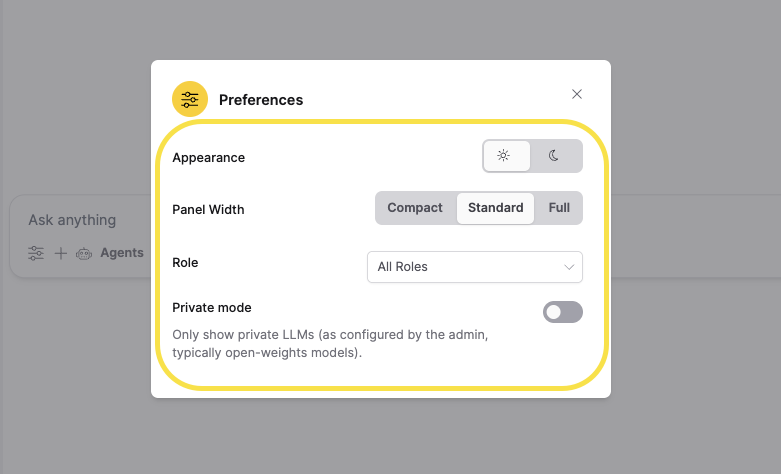
Preferences
The Preferences panel lets you personalize how Enterprise h2oGPTe behaves and appears. Depending on your environment, you may see options such as:
- Appearance: Switch between light and dark themes.
- Panel width: Choose between compact, standard, or full‑width layouts for the chat input panel.
- Math formula rendering: Enable or disable formatted mathematical equation rendering in chat responses using KaTeX.
- Role: Choose one of the roles that your administrator has assigned to you.
The options in this drop‑down come from the roles configured on the Roles and Permissions page in the System Dashboard by the administrator. For more details, see Roles and Permissions. - Private mode: Show only private LLMs (typically open‑weights models configured by your administrator) instead of all available models.
Use this menu to tailor the UI to your preferences and ensure that the default behavior aligns with how you like to work.
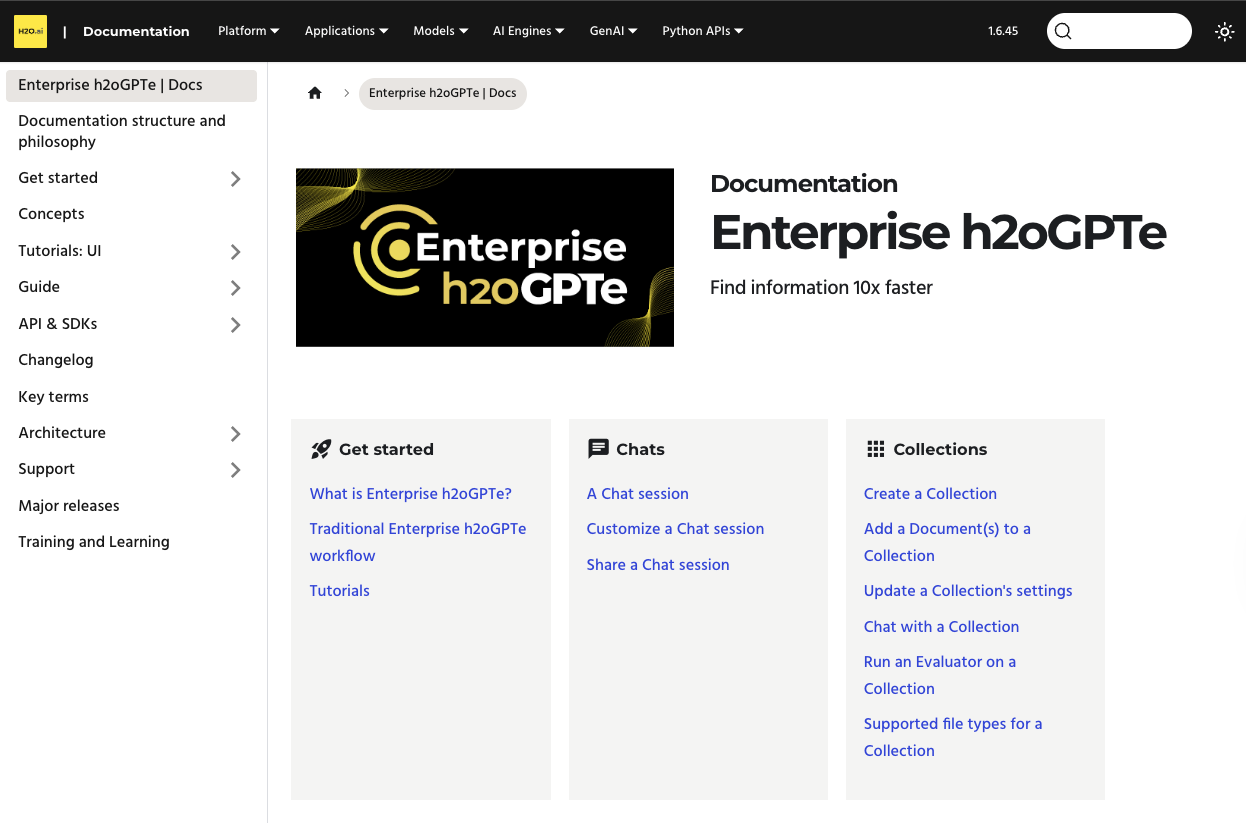
Documentation
The Documentation option opens the Enterprise h2oGPTe documentation site in a new browser tab. From there, you can browse:
- Feature‑specific Guides such as Chats, Collections, Connectors, and Prompts.
- Tutorials, Architecture, and API & SDKs sections.
This is the fastest way to jump from the product UI into the official documentation when you have a question about a feature.
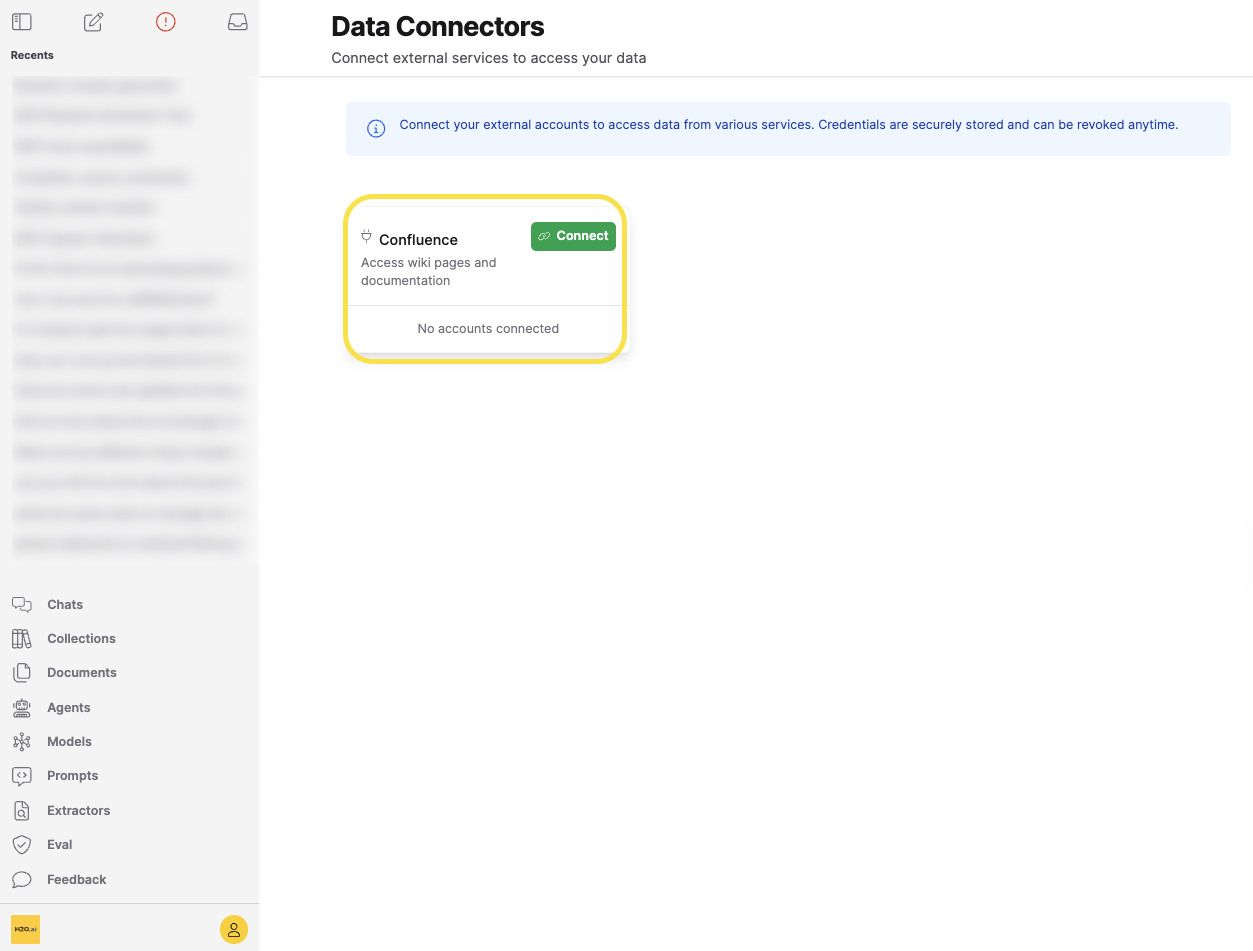
Connectors
The Connectors option opens the Connectors page, where you can work with data connectors that bring content into Enterprise h2oGPTe. For example, you can configure or review connectors for:
- Local or network file systems.
- Cloud storage (such as Amazon S3, Azure Blob Storage, or Google Cloud Storage).
- SharePoint (online or on‑premise).
- Optional web crawling.
For more details on available connectors and use cases, see Connectors.
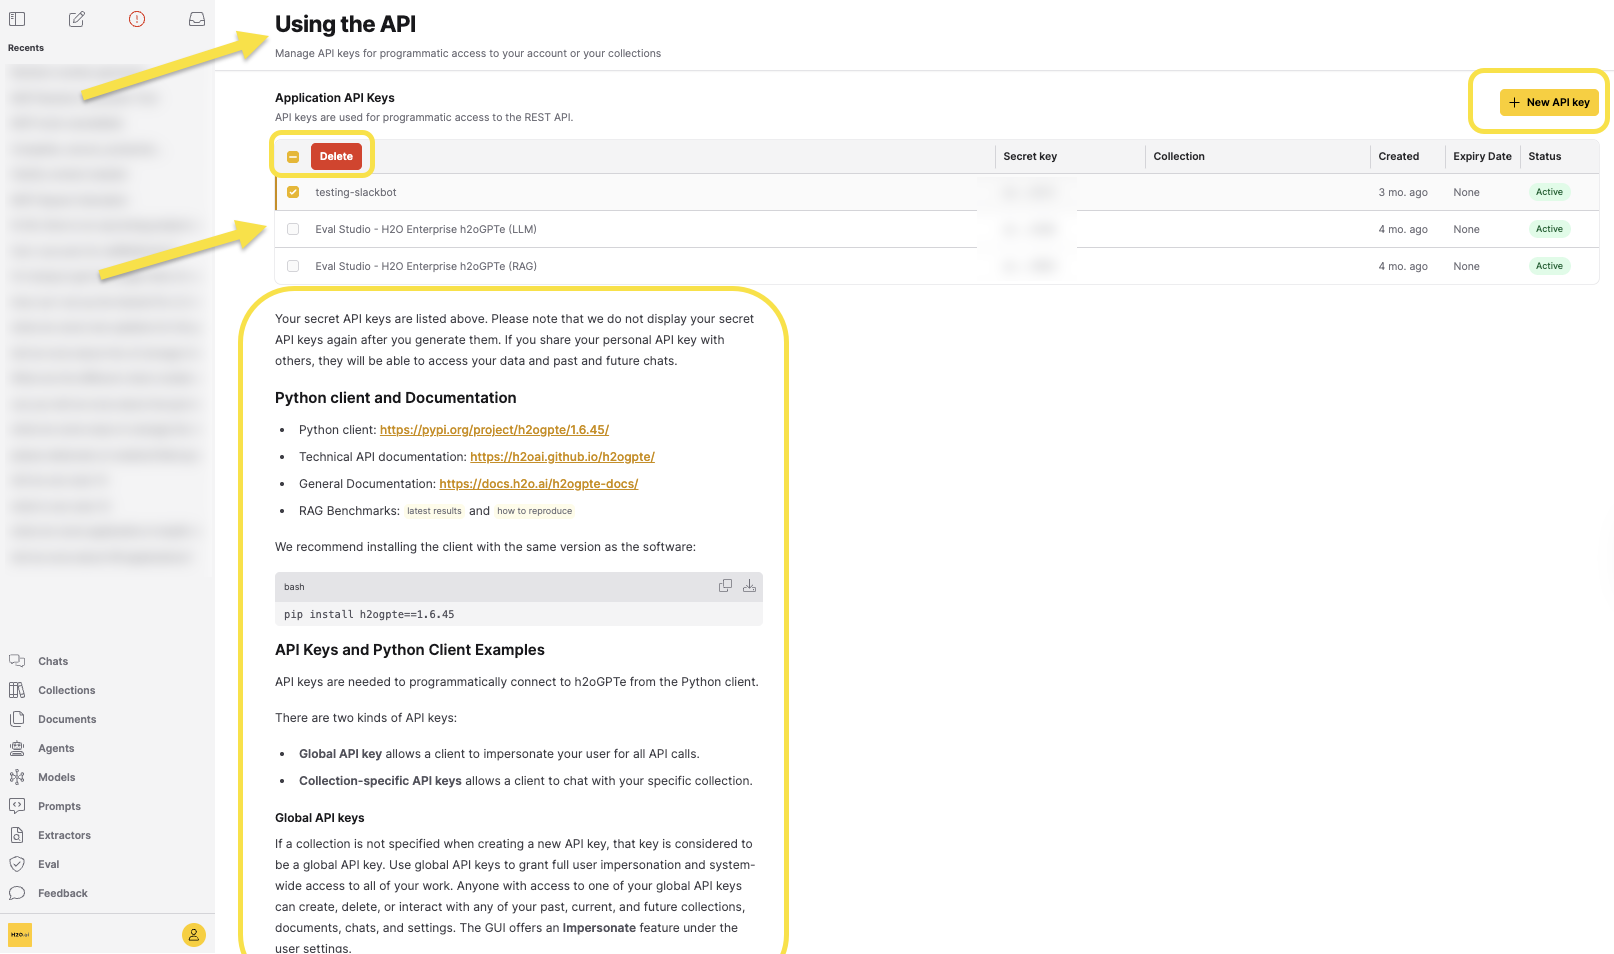
Using the API
The Using the API option opens the APIs page, which lets you create and manage API keys for programmatic access. From this page, you can:
- Click + New API key in the upper‑right corner to generate a New API key.
- View your existing Application API Keys in a table, including the collection (if any), creation time, expiry date, and status.
- Select one or more keys in the table and click Delete to remove keys you no longer need.
- Review the Python client and Documentation section, which provides links, installation commands, and examples for using your API keys with the Enterprise h2oGPTe Python client.
- Read the API Keys and Python Client Examples section, which explains the difference between Global API keys and Collection‑specific API keys.
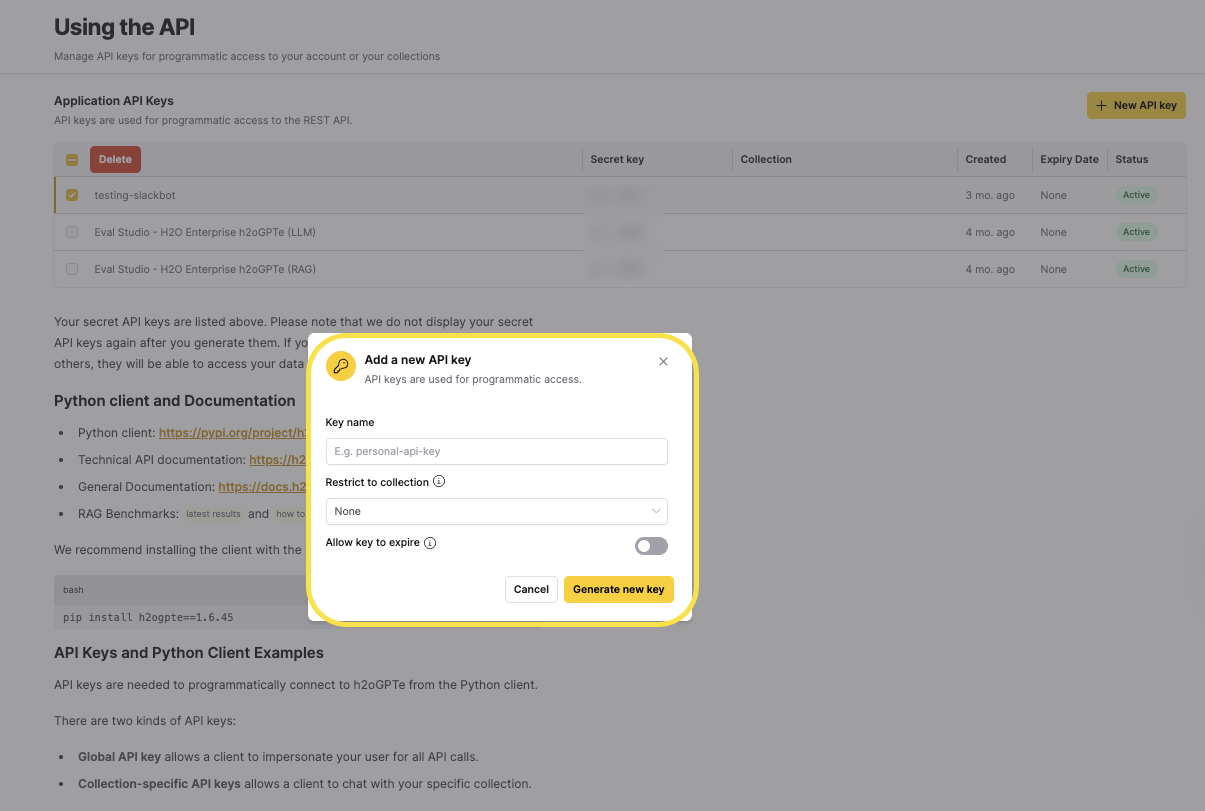
After you click + New API key, the Add a new API key dialog appears:
- In Key name, optionally enter a descriptive label for the key (for example,
personal-api-key). - In Restrict to collection, choose None or select a specific Collection to create a collection‑specific API key.
- (Optional) Turn on Allow key to expire and configure an expiry date if you want the key to be automatically revoked after a certain time.
- Click Generate new key to create the API key, or click Cancel to close the dialog without saving.
Use this option whenever you need to integrate Enterprise h2oGPTe with scripts, applications, or external systems. For more details on API settings, see APIs.
Impersonate another user
The Impersonate another user option lets you temporarily sign in as a different user.
Impersonation uses a global API key to act on behalf of that user for all API calls.
User impersonation is typically used by administrators and support staff to:
- Reproduce issues as a specific user.
- Validate permissions, collections, and settings from another user’s perspective.
- Troubleshoot configuration or access problems without needing the user’s password.
Because impersonation grants full access to the impersonated user's data and actions, it should be used carefully and only by trusted administrators.
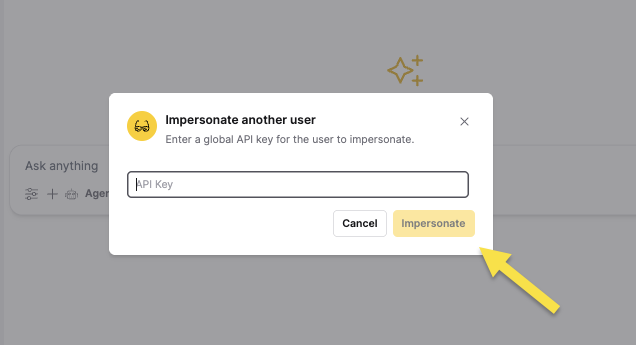
To impersonate a user from the account menu:
- On Enterprise h2oGPTe, click Account Circle.
- Select Impersonate another user.
- In the Impersonate panel, enter the global API key for the user you want to impersonate.
- Click Impersonate.
You can create a new global API key for a user in the Using the API section of the account menu.
Device pairing
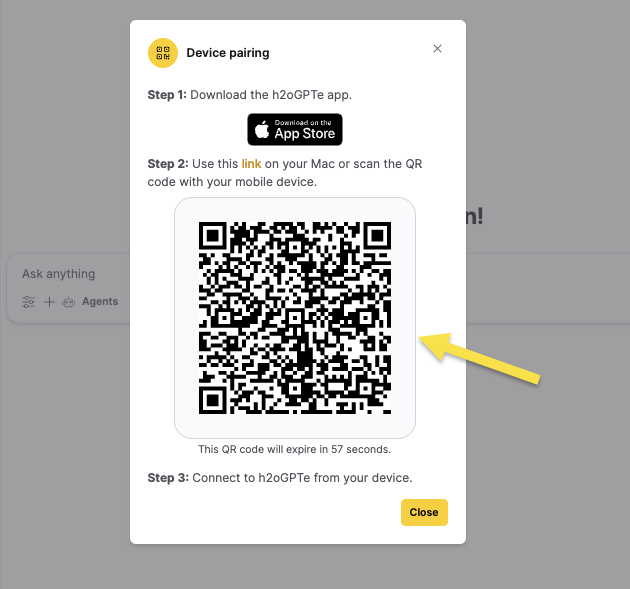
The Device pairing option opens a guided flow for connecting another device (such as a desktop application or mobile app) to Enterprise h2oGPTe. This panel typically shows:
- A short three‑step guide explaining how to download the h2oGPTe app and connect it.
- A pairing link you can open on your device.
- A QR code with an expiration timer that you can scan to complete pairing.
Device pairing is useful when you want to securely connect a native desktop or mobile client to your Enterprise h2oGPTe instance without manually copying long credentials.
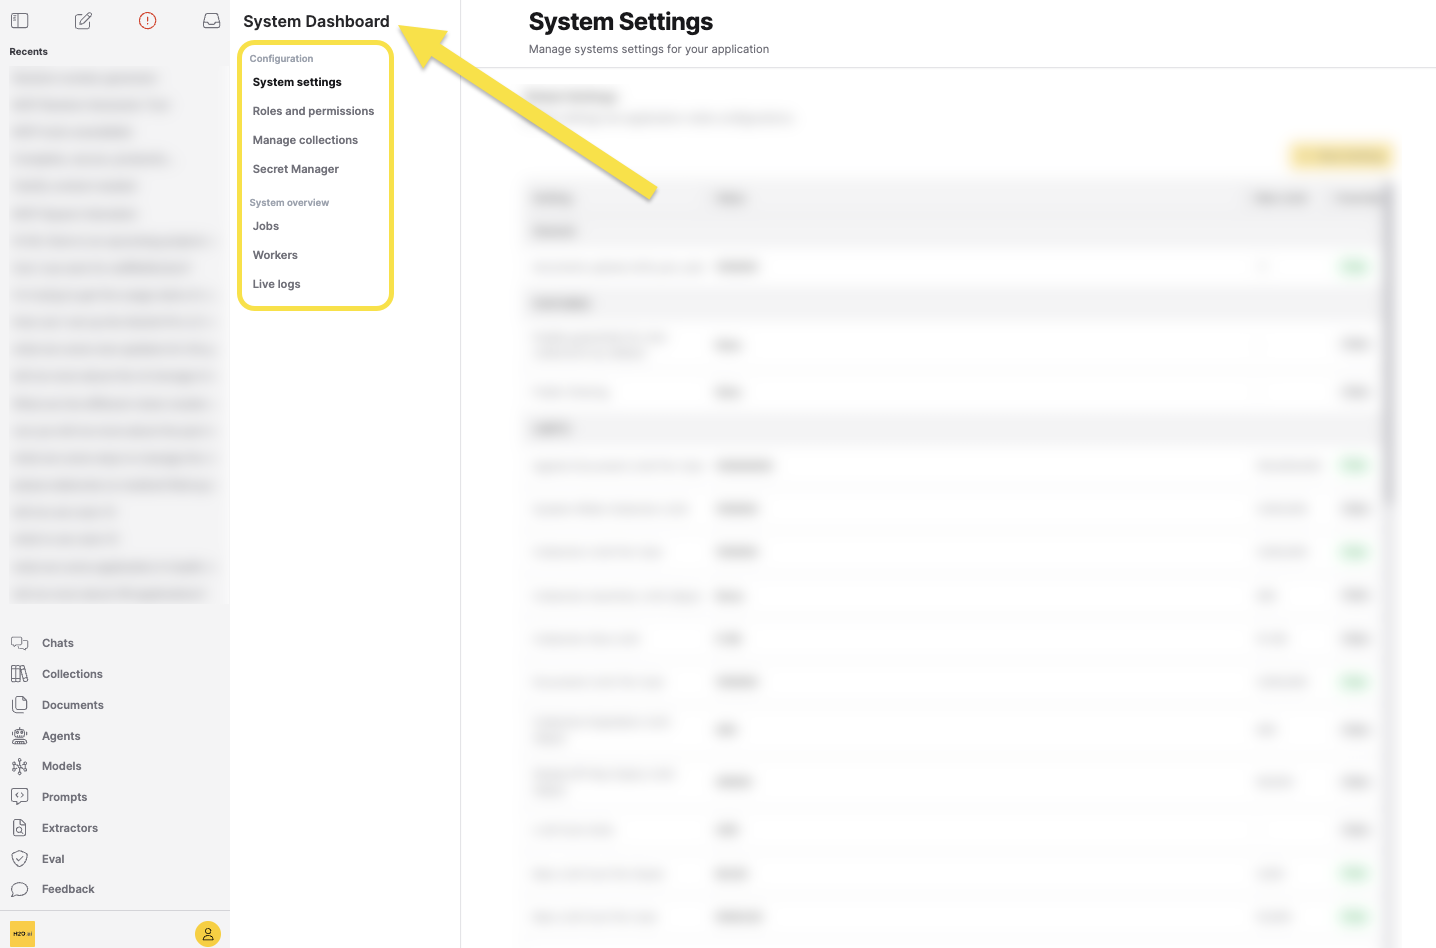
System Dashboard
The System Dashboard entry opens an administrative area that provides a system‑wide view across various settings. For more information, see the System Dashboard guides:
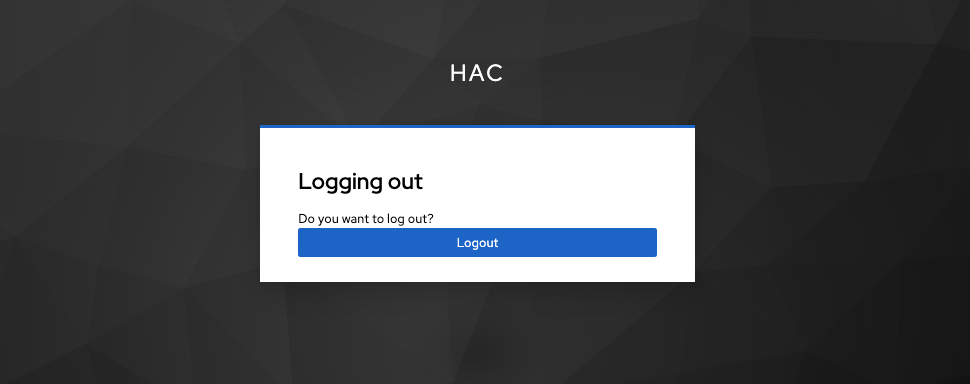
Sign out
The Sign out option ends your current session and returns you to the sign‑in page.
- Submit and view feedback for this page
- Send feedback about Enterprise h2oGPTe to cloud-feedback@h2o.ai